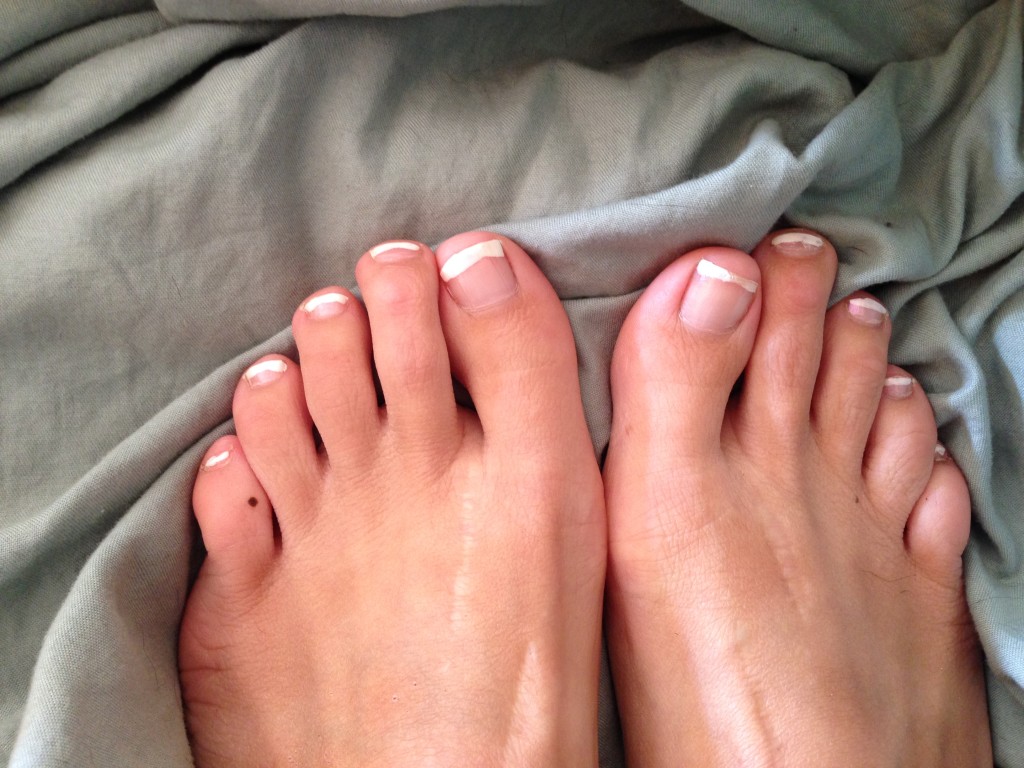
Everyone loves a good manicure or pedicure…or a mani-pedi combo! Am I right? The big problem? They can be quite expensive! This past weekend I was in a wedding of a great friend of mine. To cut some personal costs, I decided to do my nails myself! The day before the wedding, all of the women involved spent some quality bonding time at the nail salon. While I already had my own DIY mani pedi done ahead of time, I still had a great afternoon spending time with all of the other ladies!
Setting aside time for a DIY mani pedi is also a great way to take some quality time for yourself. While the mani pedi is fairly straight forward, the nail polish takes time to dry…creating a great space to just sit and relax. Whether you’re a caregiver or survivor, or a long term illness sufferer, this DIY mani pedi is a fabulous excuse for having some self-care and you time. 🙂
Here is how you can do your own, at home DIY Mani Pedi!
First off, to get a great french manicure or pedicure, I suggest a french manicure boxed set. I used a Sally Hansen French Manicure boxed set. The little sticker guides that the sets give really help you get the hang of creating the white tipped nails…and later on when you run out of the stickers you can improvise because by then, you’ll be a pro! I misplaced the top coat that went with this set though so recently I invested in an Essie top coat. One key thing to do-it-yourself nails? Buying quality polishes. While paying $8 for a bottle of nail polish may seem outlandish (yea, it is), you will use that small bottle over and over and over…and definitely get your money’s worth compared to the $20 nail salon french manicure that lasts 1-2 weeks.
So, here’s what you’ll need for your at home, DIY mani pedi:
[list type=”like”]
[list_item]nail polish remover[/list_item]
[list_item]cotton balls (or tissues)[/list_item]
[list_item]french manicure set (or just white polish and your favorite nude/almost nude polish) (or just a colored polish!)[/list_item]
[list_item]base coat[/list_item]
[list_item]top coat[/list_item]
[/list]
Best to get all of the supplies you’ll need right from the start. This way, you can settle in for a great chat with a friend, movie, television show, or radio listening hour while you paint your nails and calmly let them dry 🙂
Quickly swipe all of your nails with nail polish remover…even if you didn’t have nail polish on already that needed to be removed! This will take away the dirt and oil on your nails and help the polish to stay on, chip free for longer.
Next, apply a thin coat of a base coat. I don’t have a particular brand to recommend. I’ve used SinFulColors base coat for a while now and like it a lot. It is important though, to not use a base coat that also acts as a top coat…they aren’t the same thing and the polishes that act as both don’t do either task as well.
Once the base coat has dried, I used the sticker guides provided by the french manicure set to define where the white tipped region of my nails would be. I also did a french manicure on my toes, did not use the stickers, and was quite happy with the result. I think whether you use the french manicure set, and whether you use the sticker guides, is just up to you. As I’ve become more comfortable with my steady hand, I tend to like the white tips that I can apply myself to nails just as much as the ones I can draw when helped by the sticker guides. If you want to try without the guides, I suggest taking a bit more time to let each hand dry before applying the white tips to the other hand…this way you can prop your hand in any position to make the best looking white tip and not have to worry about ruining the white tips you’ve already painted on. 🙂
If, however, you are just painting your nails a regular color, this is where you go to town with a few, thin layers of your chosen colored nail polish. Make sure to let each coat dry completely before painting the next coat.
The last step of the french manicure set kit is to apply the nude/shimmery/pink color over the dried white tipped nails. I actually have an Essie shade that suites this purpose quite well if you just add a thin coat….the pink is really transparent in a single coat and quite lovely. Once this dries, apply a thin coat of your top coat and you’re done!
Now that you have the basics, you can experiment any way you want! You can try painting the tips with another color…maybe gold or dark blue? 🙂 You can add a few embellishments before adding the top coats…flowers, flags, stars. The possibilities are endless!
Have you done your nails at home before? Do you have any techniques to help the polish stay on longer?


