Embroidered Pictures DIY

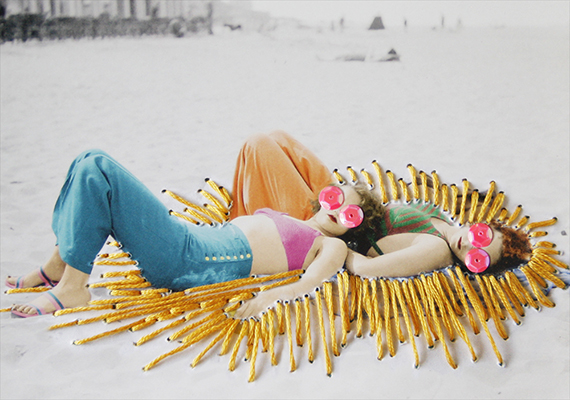
Embroidered pictures look like the perfect DIY for young adult cancer survivors (patients, caregivers, you name it!).  When I was going through cancer treatments, I had no idea that awesome, simple, and calm DIY projects even existed.  (I think I was living under a rock?)  🙂  This embroidered pictures DIY has been showing up in a few of the blogs that I frequent and it looks like the perfect, fun project for a young adult survivor to me!

This cool looking DIY involves actually adding embroidered embellishments to pictures and postcards!   Talk about a neat and creative way to spice up some of the pictures in your home or postcards from places you’ve visited!  The process is super straight forward and I’ve seen the project done multiple ways now.  Etsy has an article where they explain how to embroider pictures or postcards and A Beautiful Mess has a great tutorial as well.  The Glamorous Housewife explains how to iron pictures onto fabric and embroider from there.  Get the kids together and go to town!

If you try this project (or any other here on Lacuna Loft) let us know!  We’d love to hear from you!

image via

Surviving With An Herb Garden

For my dad’s 60th birthday I decided that we both needed an herb garden.  You’re allowed to buy yourself things too right, for someone else’s birthday?  😉

For me, the hardest part of survivorship has been learning to take care of myself.  Before acting as a caregiver for my mother during her cancer illness, and before my own cancer diagnosis and treatments, I would have told you that I was just too busy to worry much about self-care.  I worked out and I slept as much as possible…other than that I studied, worked, danced, and partied…I was basically your run of the mill, hardworking undergraduate student.  Fast forward a few years though…add in a few crises along the way…and my day to day is much different.

This project is probably not for the cancer patient…when I was going through treatments, I wasn’t allowed to play with dirt.  Starting an herb garden is a great activity for a caregiver or survivor though!  You might even encourage the kiddies to plant a few herbs or flowers of their own and see what happens 🙂

I’ve never had an herb garden so I’d like to add here that this is definitely not a post designed to teach you the best way to cultivate and grow plants.  This is, however, a post designed to show that new things are always on your horizon and that self-care comes in many forms.  For me, self-care means trying new things, spending time outside, and believing in the process instead of the outcome.  This past week, self-care meant attempting to start an herb garden!

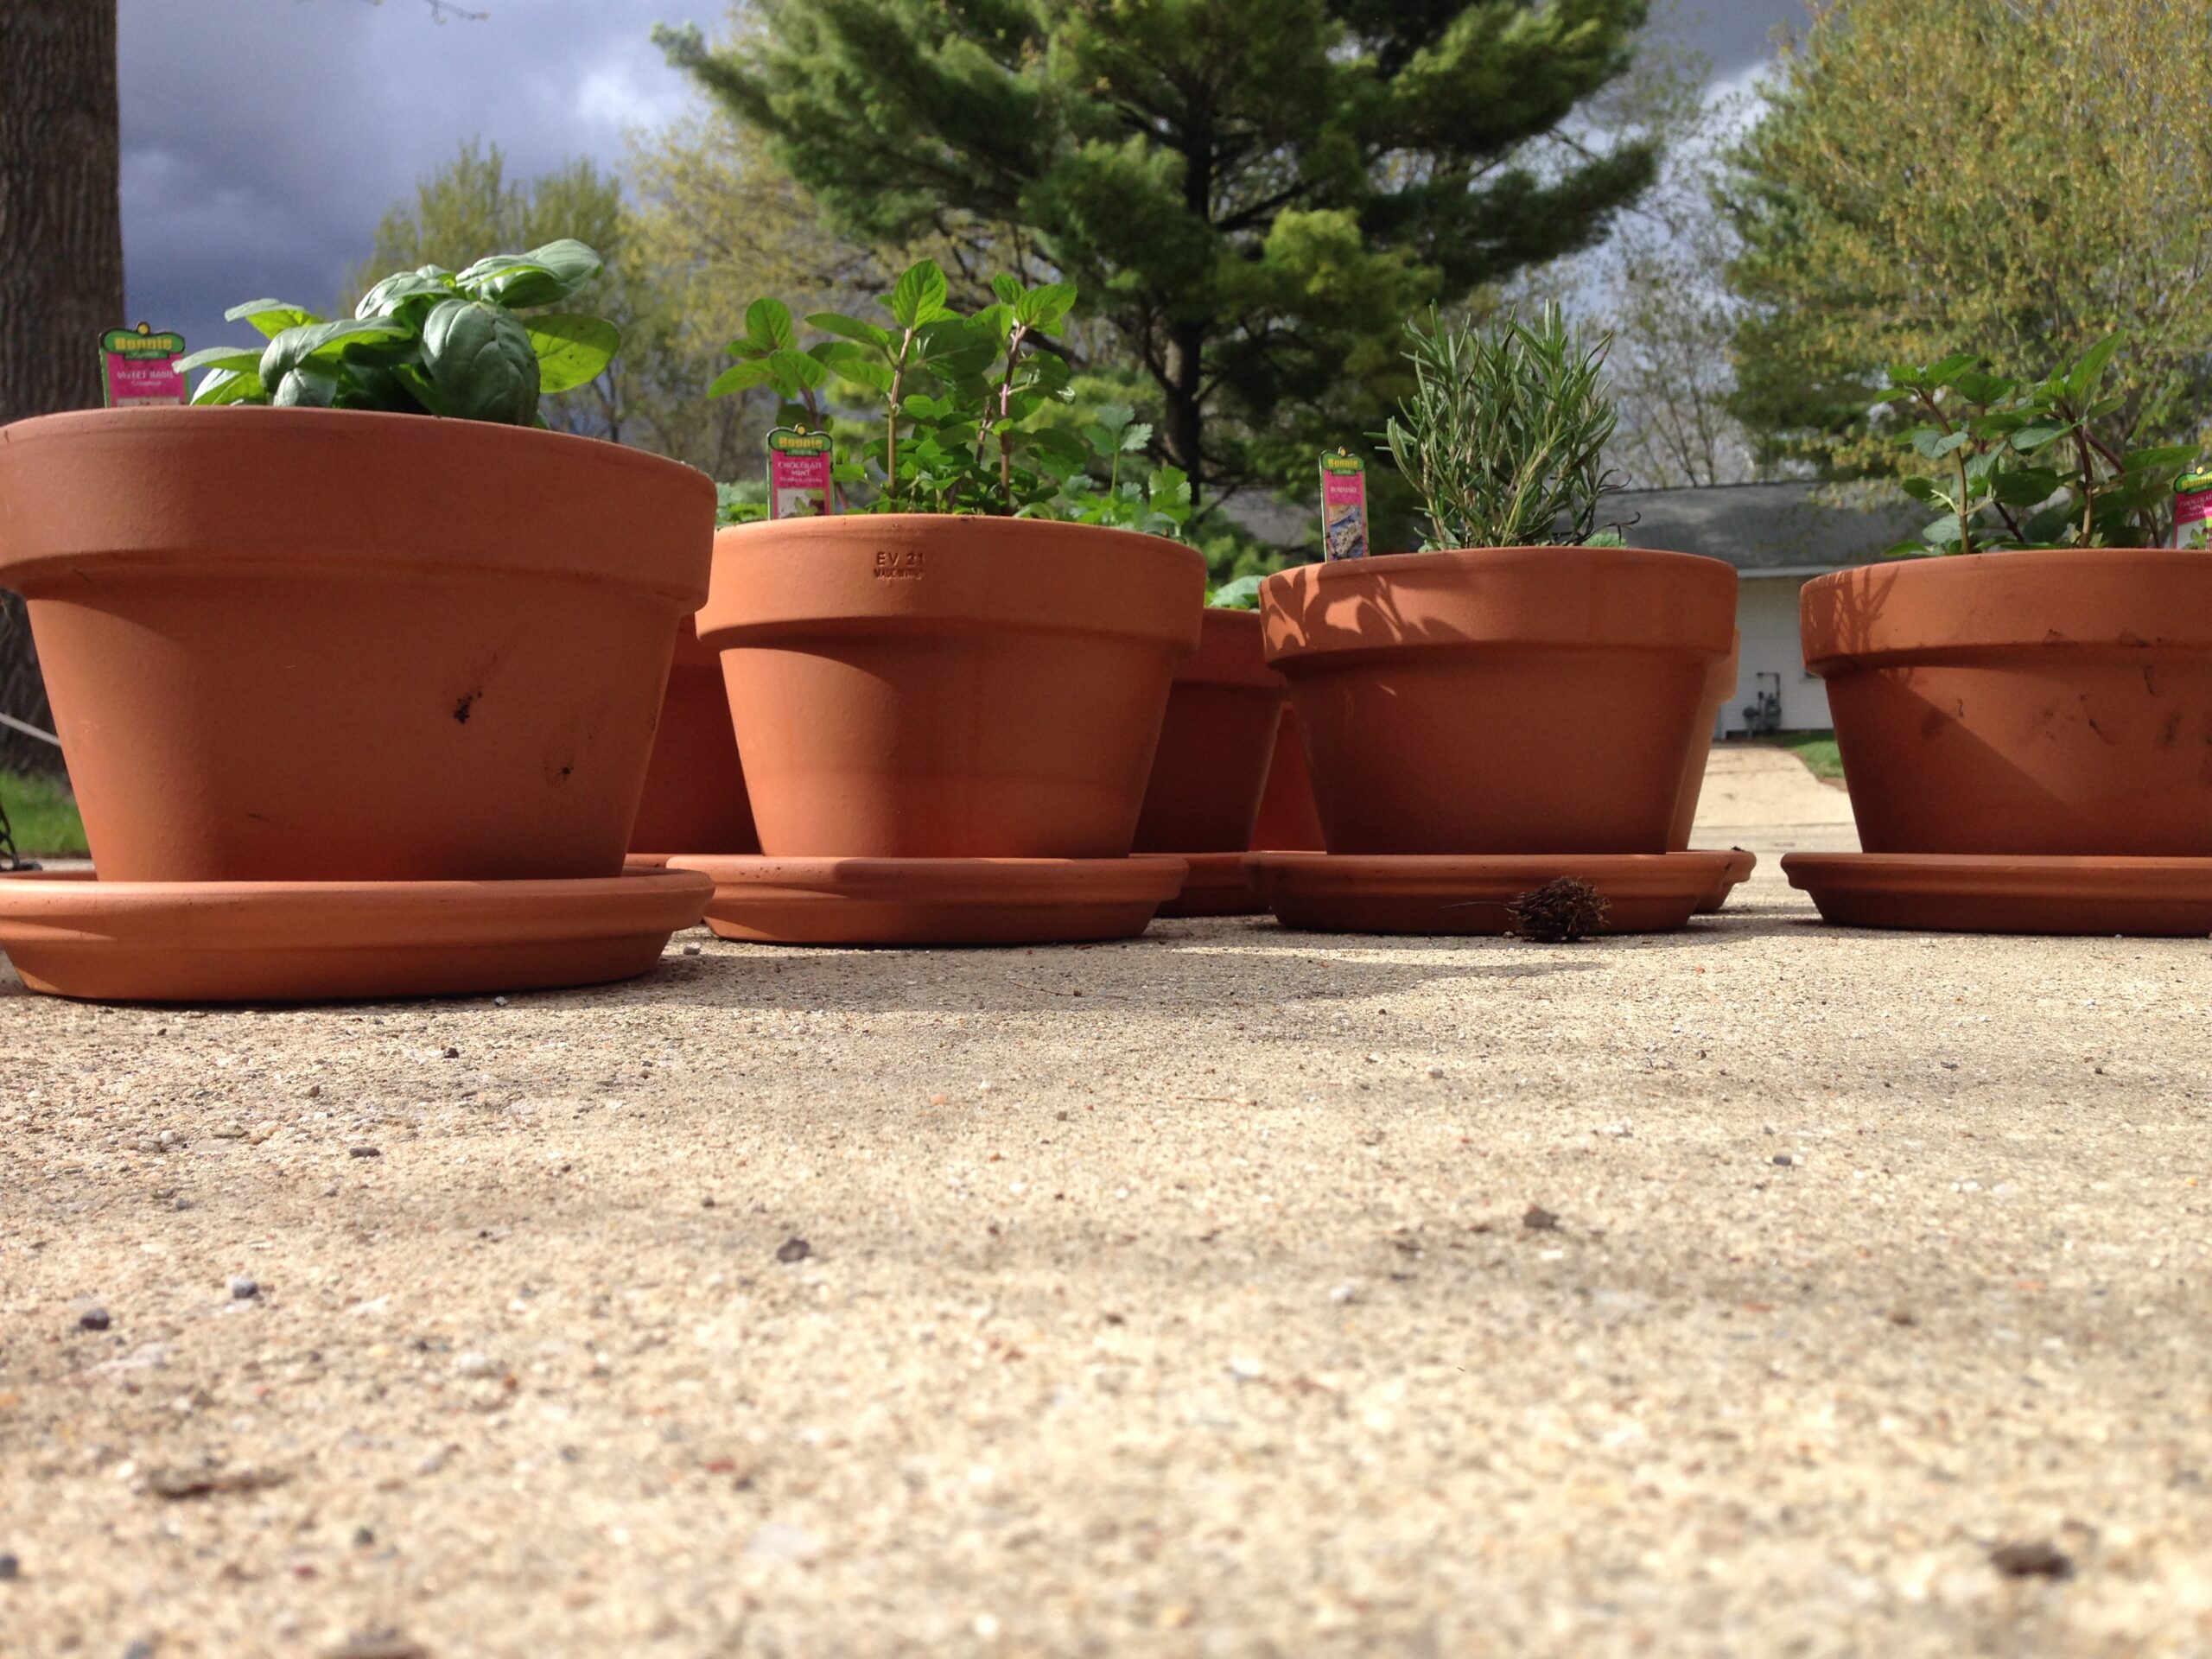
I started at the hardware store, and bought the pots, soil, and plants.  I chose 8″ pots in the hopes that I wouldn’t have to repot anything for a while.  I decided to start with basil, cilantro, lemon balm, chocolate mint (yea, that is a real thing!), and rosemary.  With a storm on the horizon, I wanted to repot all of the little plants before the rain hit!

herbs_1

As a small side note:  Are herbs vegetables or flowers?  😉

herbs_4

herbs_5

herbs_6

herbs_3

herbs_8

herbs_9

I also replanted a succulent that disappeared over the summer from a backyard pot, as well as an ivy plant that I accidentally let outside for too long last fall.

herbs_10

herbs_7

What does self-care mean for you?  What kinds of things have you done that define your views on survivorship?

A Pleated, Bi-Color Throw Pillow DIY

Interested in DIY throw pillows?  These are so fun to make, super easy to customize, and are a great budget-friendly way to decorate your home.  This project was SO much fun to do!  It is perfect for those on a budget (like we are!) and also provides a calm, low-key activity when you might not be feeling well.  If you have any slightly older kiddos, this project might be fun to do with them too!  The pleated pillow case is also modern looking, and definitely adds character and style to a young adult house 🙂  You could definitely experiment with this project too…maybe add more pleats and create a bolder, pleated pattern?

My mother-in-law’s birthday was coming up, and being on a budget, my husband and I try to get creative when it comes to gifts.  I saw a purse a little while ago that had this really pretty, pleated front, and I thought that I might be able to replicate that on a pillow!  Having made DIY throw pillows case before, I knew the basics to creating the shell and installing the zipper so I thought I’d try and play around with a really lovely, pleated front.

I started with a 16″x16″ pillow form.  You can buy these at most craft stores.  I usually wait for there to be some sort of 40% off sale (seriously…you can find these all the time!) and then I buy a couple of them.

pillowcase_1

My husband and I picked out a couple of fabrics and I had a general idea of how I wanted to piece everything together.  I ended up not using one of the fabrics at all but that is ok!  I’ll use it another time!

Normally, I always start by washing, drying, and ironing my fabrics.  This ensures that any shrinkage happens before you sew the finished product so that the end result stays the intended size.  This time though, because I was using home decor fabrics, I did not wash or dry anything.  Home decor fabrics are often treated with stain and wrinkle resistant things…I decided to leave the fabrics as stain resistant as possible.  I did iron everything however.

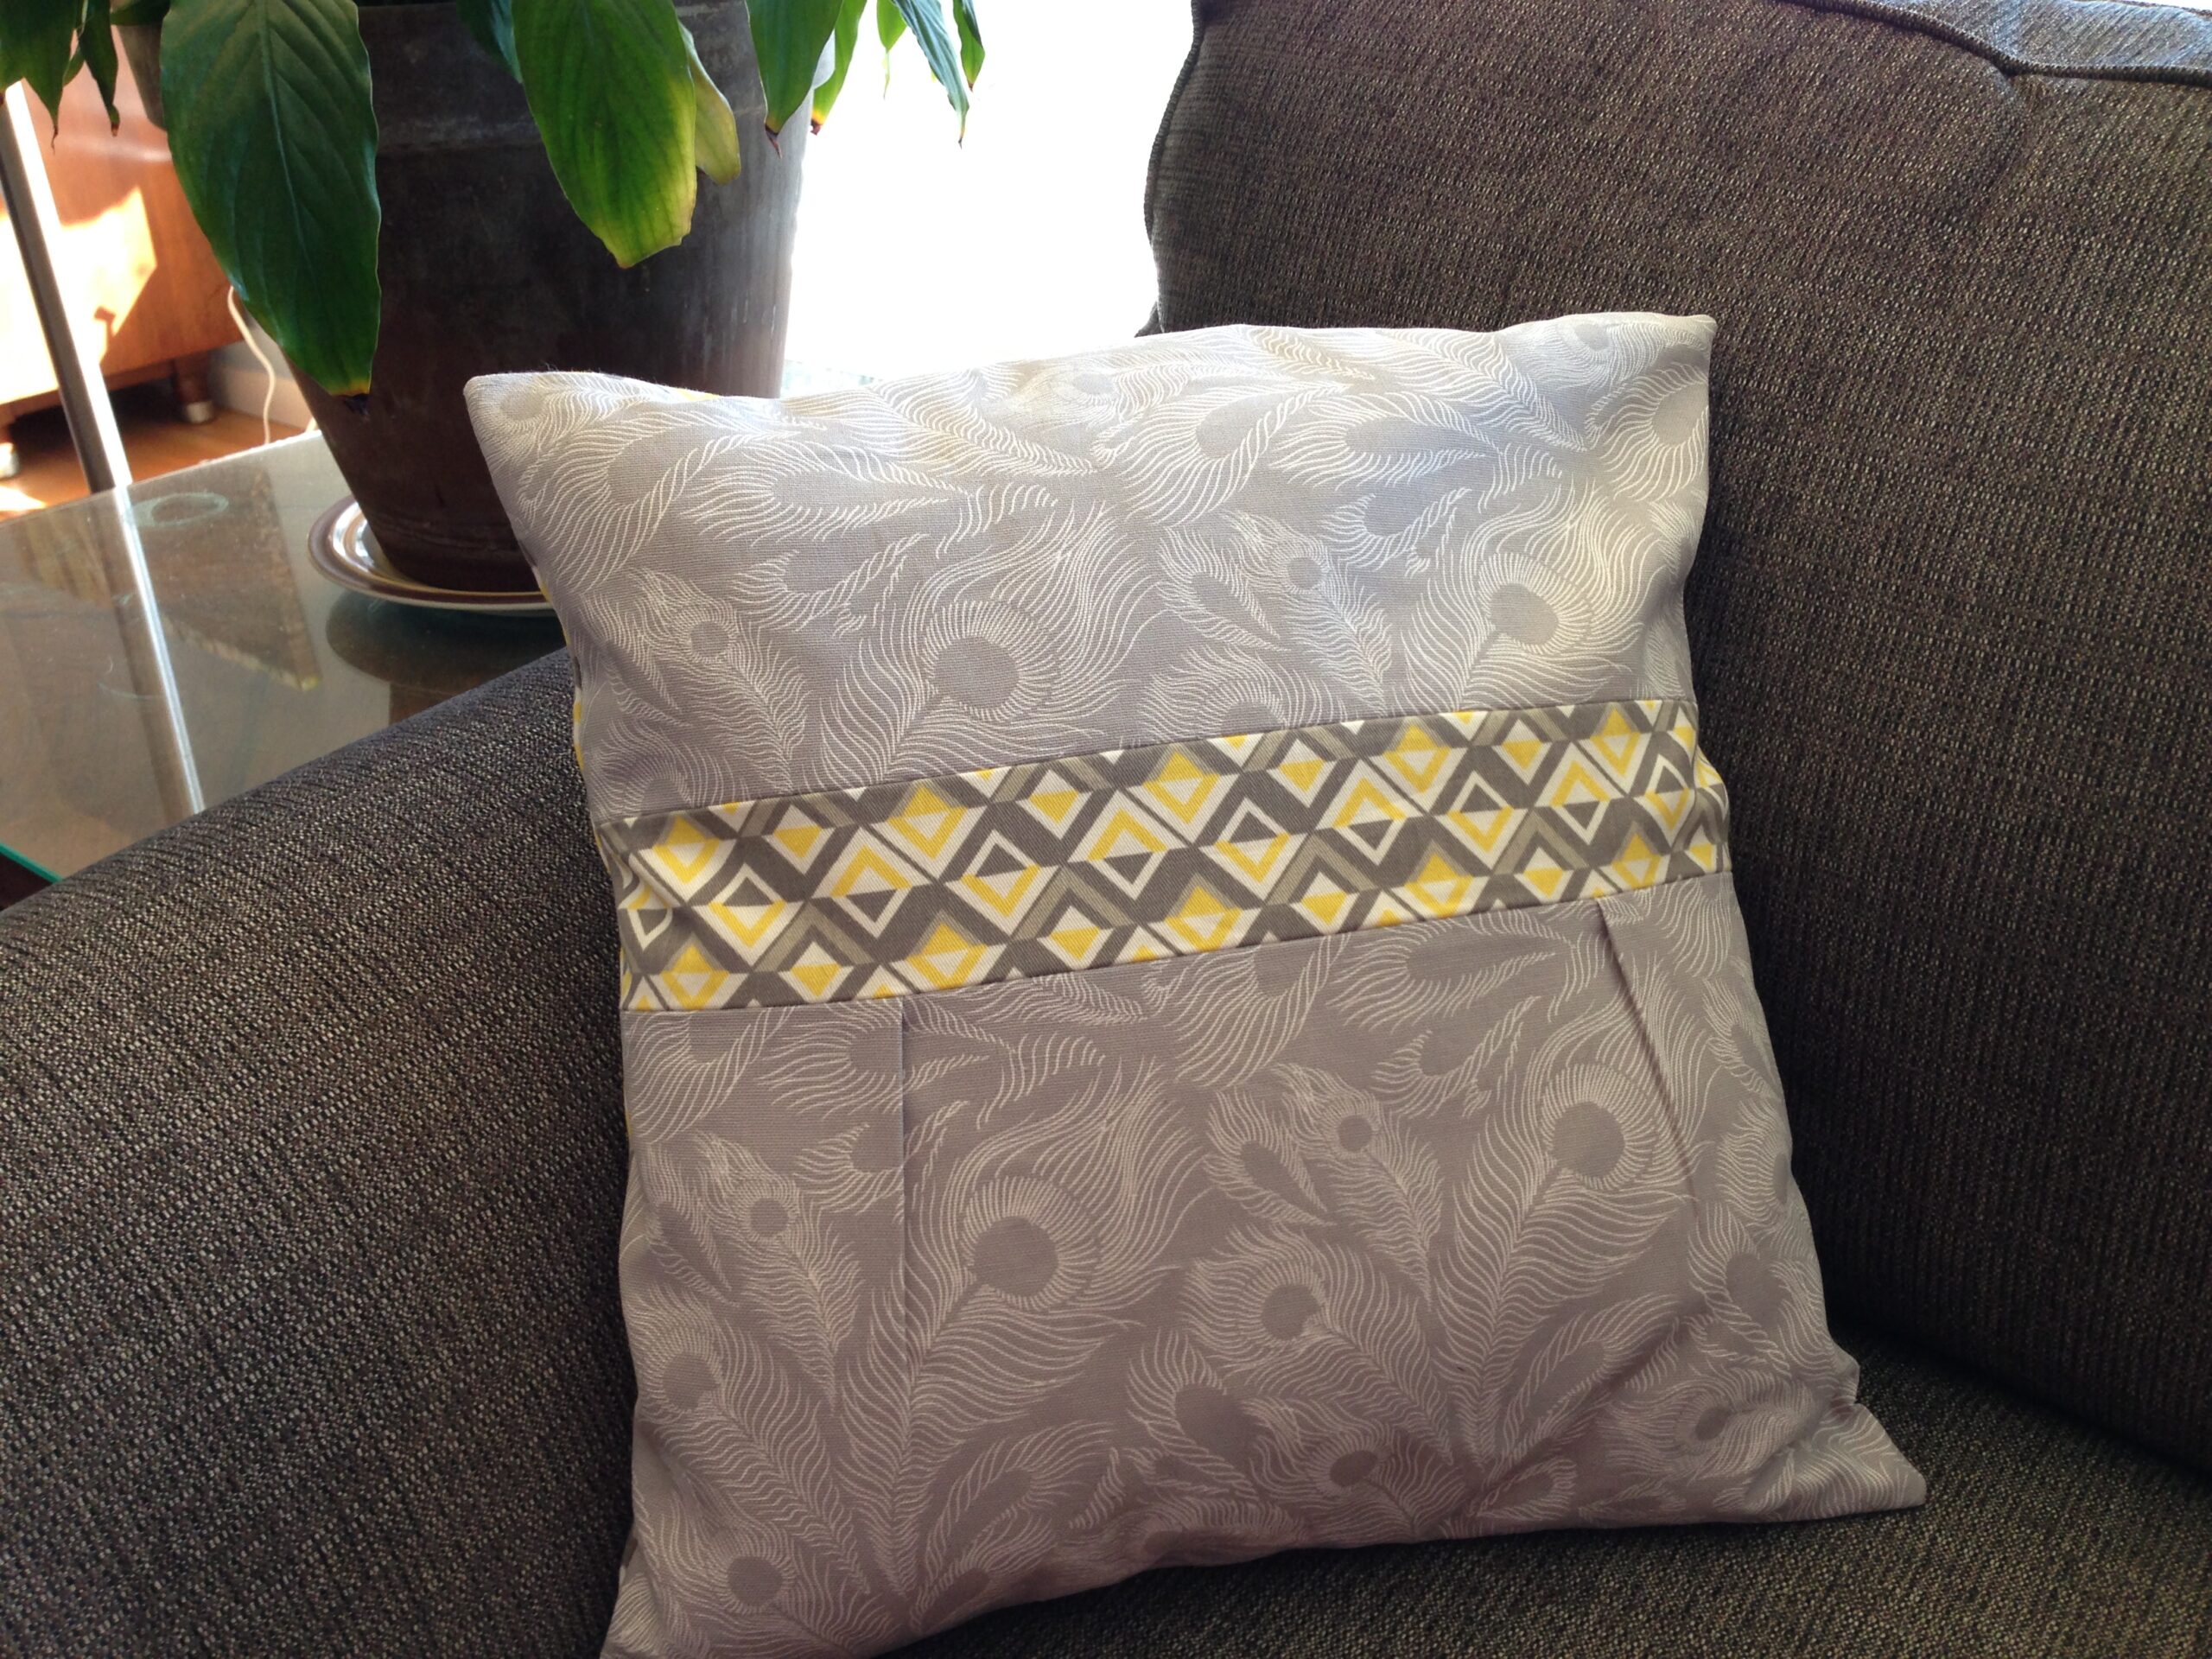
The diagram below maps out some of the dimensions of my pillow front.  You can play around with these measurements as much as you want!  🙂  I measured out a not-quite rectangular cut of the gray, feathered fabric.  The height was 9″ while the top width was 19″ and the bottom 18″.  I decided to create 1/2″ pleats in two different locations, 5.5″ from each edge of the bottom, gray fabric.   After the pleats were in place, the bottom piece of gray fabric ended up being 9″x18″

Pillowcase_diagram

pillowcase_2

In order to create the pleats, I measured 5.5″ in from one side, and made a small pencil mark.  Then I measured 1/2″ in (towards the center of the fabric piece), made another small pencil mark, and folded the outer mark onto the inner mark.  I pinned each pleat in place.

pillowcase_5


pillowcase_3

I then cut a 3″x18″ strip of my second fabric.  I used a yellow/gray geometric pattern.  I laid this second strip pretty side up on my table and placed the pleated, gray fabric pretty side down on on top of that strip.  (Sandwich the pretty sides together).  It is important to make sure that the pleated edge of the gray fabric is pinned to the top edge of the smaller strip of yellow/gray fabric.  (I am going to keep referring to my fabrics based on color…you can definitely pick your own colors though!)  🙂

pillowcase_15

For the top section of the pillow, I used the same fabric as I had for the pleated section (like in the diagram near the top).  You can use whatever fabric you want!  (even a third one!)  I cut a 6″x18″ piece of the gray, feathered fabric and placed it face down, on top of the free edge (not the edge already sewn to the bottom portion of gray fabric) of the pretty side of the middle strip of fabric (again, sandwich the pretty sides together).  Then I pinned these two edges together and sewed.  Next I ironed the seams open and voila, the front face of the pillow is done!

pillowcase_11

pillowcase_16

pillowcase_17

After finishing the front face of the pillow, I cut out the fabric for the back.  I decided to use the same fabric for the back of the pillow as I had for the small, 3″x18″ strip (yellow/gray geometric).  You can use whatever fabric you want.  I had a third fabric that I had intended for the back but changed my mind 🙂

In my case, having a 16″x16″ pillow form, I cut out a 18″x18″ back and chose the yellow/gray, geometric patterned fabric that I had used for the middle stripe.  You will now have a front piece of fabric (sewn together with pleats) and a back piece of fabric.  Now we want to sew the zipper onto each piece.  You’ll want a 14-16″ invisible zipper (mine here is a 12-14″ which wasn’t quite long enough…the store didn’t have a longer one and I didn’t want to wait, so I made it work) in a color that coordinates with the other colors used.  I placed the front of my pillow face up on the table and pinned the zipper, face down to the top edge of the pillow face.

pillowcase_10

pillowcase_6

pillowcase_7

Then I placed the pillow back face up and pinned the free edge of the face down zipper in place.

pillowcase_12

pillowcase_8

pillowcase_9

I folded the two pillow sides (face and back) together with their pretty sides facing in and the zipper at the top.  I pinned around the 3 open edges (the 4th edge has the zipper) and unzipped the zipper half way.  I sewed around the 3 sides and trimmed the extra edges.  Once I flipped the pillow form right-side out (through the opened zipper hole) the pillow case was done!….it just needed the pillow!

pillowcase_10

pillowcase_11

When I turned my pillow case right-side out, it was a tad big compared to my pillowform.  To fix this, I turned it inside-out again.  Unzipped the zipper half way, and sewed around the outside about 1/2″ in from my original seam.  I trimmed the edges, flipped it back right-side out, and voila!  🙂

pillowcase_12

pillowcase_13

pillowcase_14

Free Printable Coloring Pages = Free & Creative Things To Do

When I was going through treatments, I rekindled a love for coloring.  In the treatment area, volunteers sometimes came around with craft/coloring/drawing supplies.  One day I took a coloring page and some colored pencils, and I was hooked 🙂  I spent hours at home and at treatments coloring.  I even watched videos online and learned to shade and blend different colors 🙂  My favorite colored pencils are the Prismacolor colored pencils.  You can find them here.*  They are awesome and let you really blend and shade the colors

photo 2

Today we are sharing some great online sources for free printable coloring pages.  You can find anything to color… from astronauts to plants and animals to presidents to disney characters.  This is great for the young adults facing long term illness or cancer as well as the kiddos!  Whether you are caregiving for a kiddo with cancer or you are going through cancer and need something for the little ones to do, look no further!

crayola_coloringpages

photo 3

You can find great coloring pages here, here, here, and here!

Are there any other cool places to find coloring pages?  Any other activities that you like to entertain kiddies with or entertain yourself?


*while some links are affiliate, all ideas and opinions are those of the author

DIY Art With Paint Swatches!

I really love DIY projects!  Some of my favorites are the ones that help to brighten up your home.  My family is also a little strapped for cash…a past cancer diagnosis, along with grad student incomes can do that to you.  This project meets both of those objectives: bright & colorful AND cheap 🙂

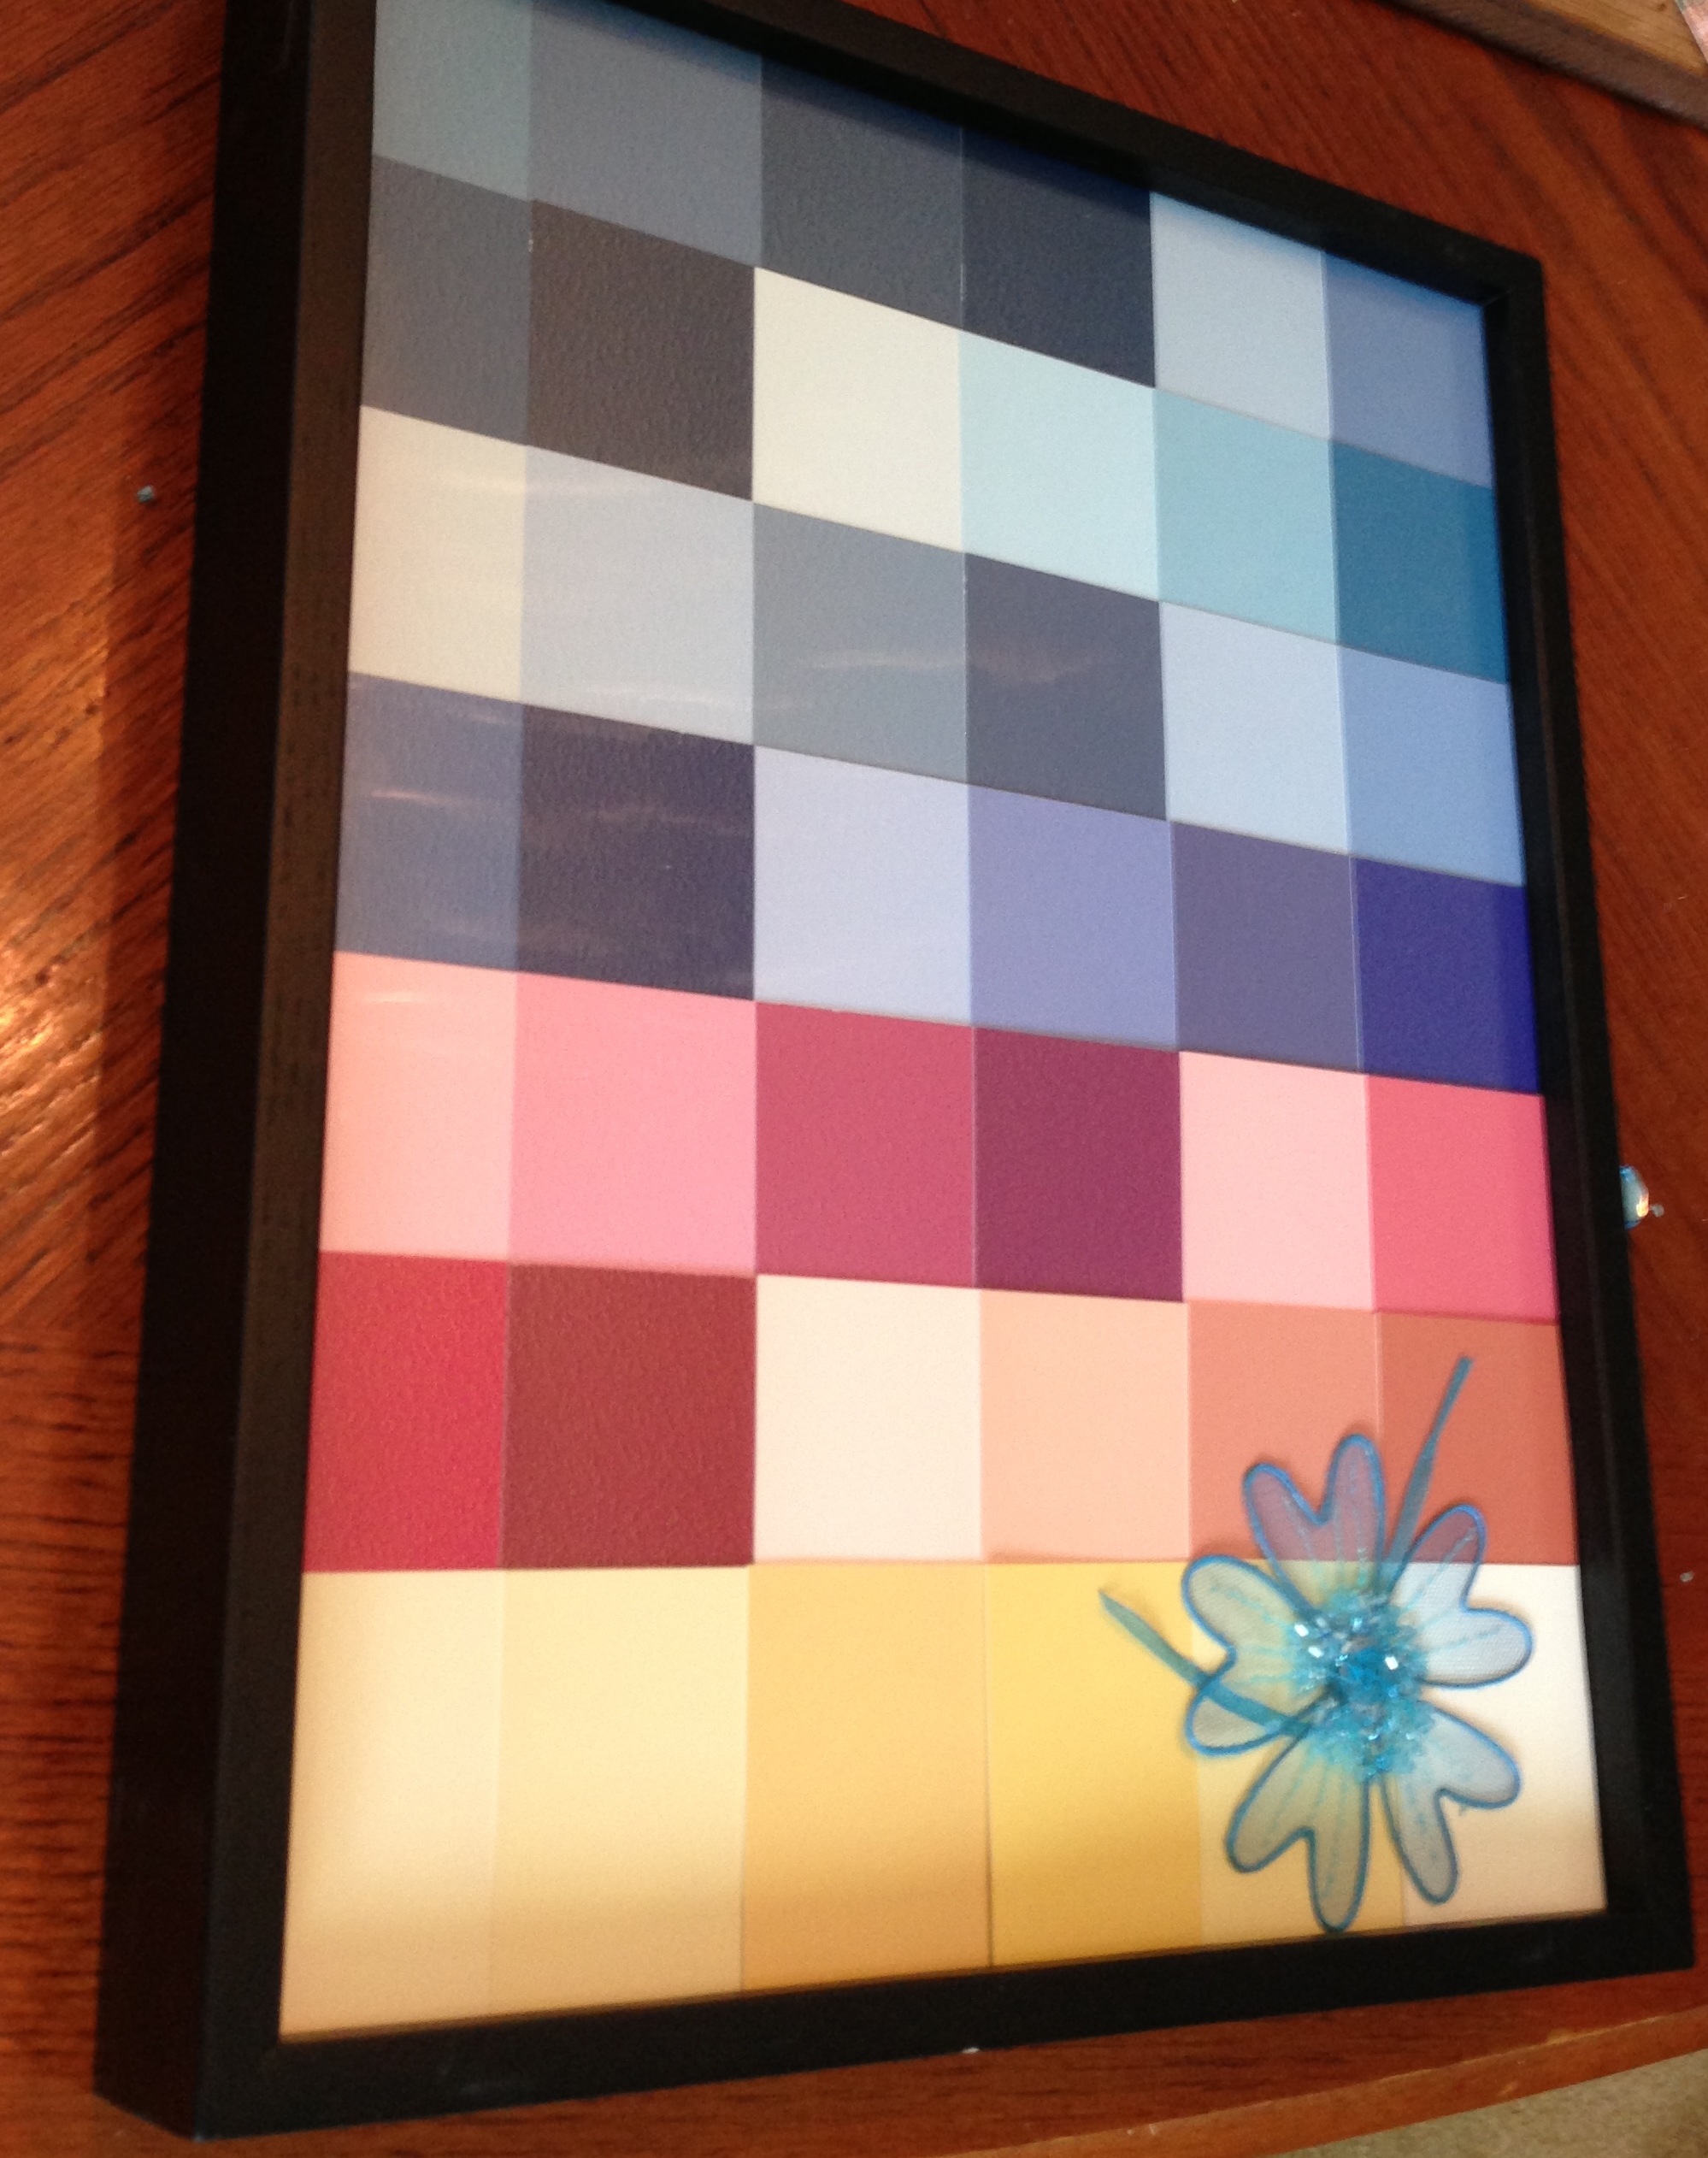
You know all of those beautiful paint swatches in the hardware store?  Well I recently found a blog post where those swatches were put to good use for some DIY crafting fun.  A dear friend of mine just moved all the way across the country (literally…from Connecticut to LA) and I figured that I could help make her new apartment feel like home from afar…because going out and visiting right now just isn’t an option. :)  Another awesome thing about this project is how low key it is.  There are very few materials that you need and the entire project can be assembled on a kitchen table with minimal physical effort.  If you are feeling tired from a chemo treatment but still want something to keep you busy, this is the project for you!  Here is how you can create your very own DIY paint swatch wall art!

I took a regular, 11×13 frame

blog_paint1

I then assembled all of the pretty paint chips onto the paper insert from the frame

blog_paint2

Using glue dots (1/2″ diameter), I adhered the paint chips carefully in place

blog_paint3

The blog post where I found this project used vinyl letters to spell something out on the paint chip mosaic.  Instead, I found some great, blue, glitzy flowers

blog_paint4

The gem in the center of the flower was too thick for the frame though so I removed it, and put some wrapped ribbon in its place.

blog_paint5

I put everything back in the frame and voila!  🙂

blog_paint6

What do you think?  What kinds of projects do you like doing?

Check Out Our Pre-Launch Content!

While our blog here at Lacuna Loft is definitely still in its growing phases, there were a handful of posts that went live before our official launch.  We thought, on this lovely Thursday, we would point you back to those posts that you might have missed!

[list type=”like”]
[list_item]a really cool DIY project decorating mugs (you could do plates or vases too!)[/list_item]
[list_item]a post about buzz cuts and hair loss[/list_item]
[list_item]starting to learn the process of surviving[/list_item]
[list_item]some tips on how not to say the wrong thing to a young adult in crisis[/list_item]
[list_item]free, printable puzzles to take anywhere[/list_item]
[/list]

Happy Thursday!

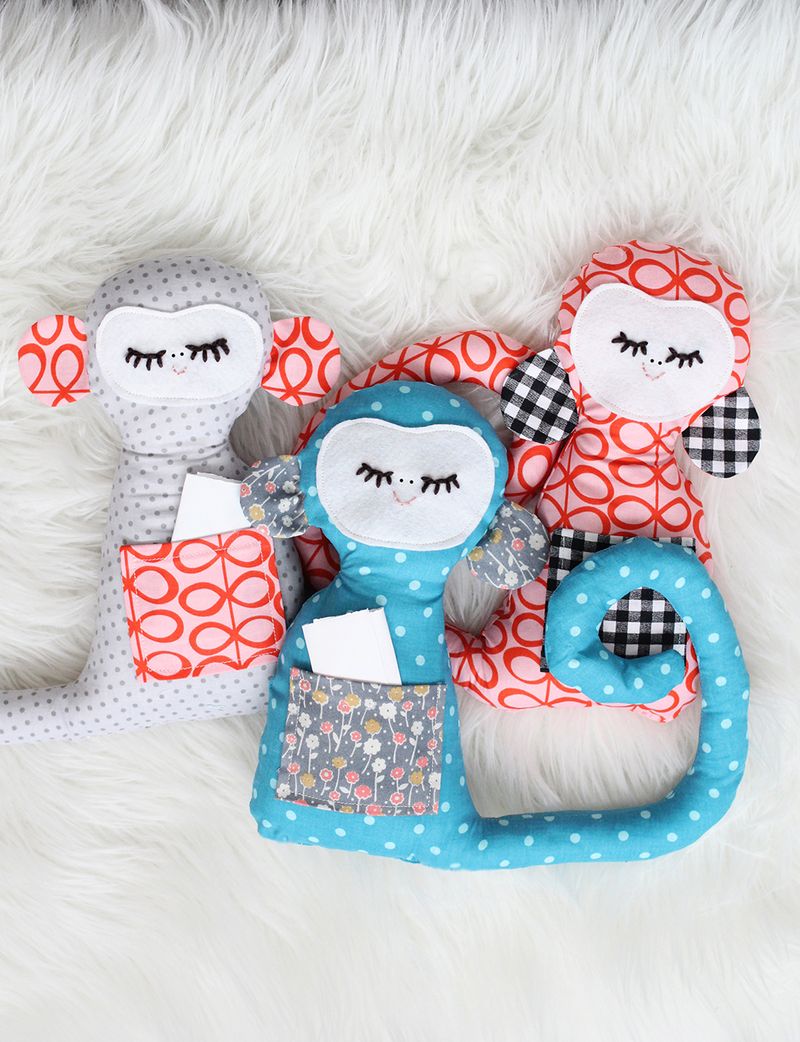
Plush Monkey DIY craft

The folks over at A Beautiful Mess always have great DIY ideas.  They have certainly outdone themselves with this Secret Notes Monkey plush doll.  The project is fun, easy, and the perfect gift for kids.  The monkey requires a bit of fabric cutting, fabric sewing, and a touch of hand stitching…but the instructions from ABM are so easy to follow and they even provide a free, downloadable pattern!

Are you having a hard time and your kids always seem to be looking for something to keep their attention for more than 5 minutes?  Look no further!  The kiddos will have a blast writing secret notes to one another and putting them snuggly into the pocket of their little monkey.  Depending on the age of your kiddies, you could keep them involved by letting them help stich the face of their own adorable monkey!  If your kiddos are old enough, they could even try the project themselves!  Whether you’re looking for a project to keep yourself busy, or one for yourself and the kiddos, this DIY plush monkey seems to be the place to go 🙂  The little monkeys are the perfect child gift…whether for a kid needing comfort or just a new cute plush friend!

photo via A Beautiful Mess

DIY Decorated Mugs!

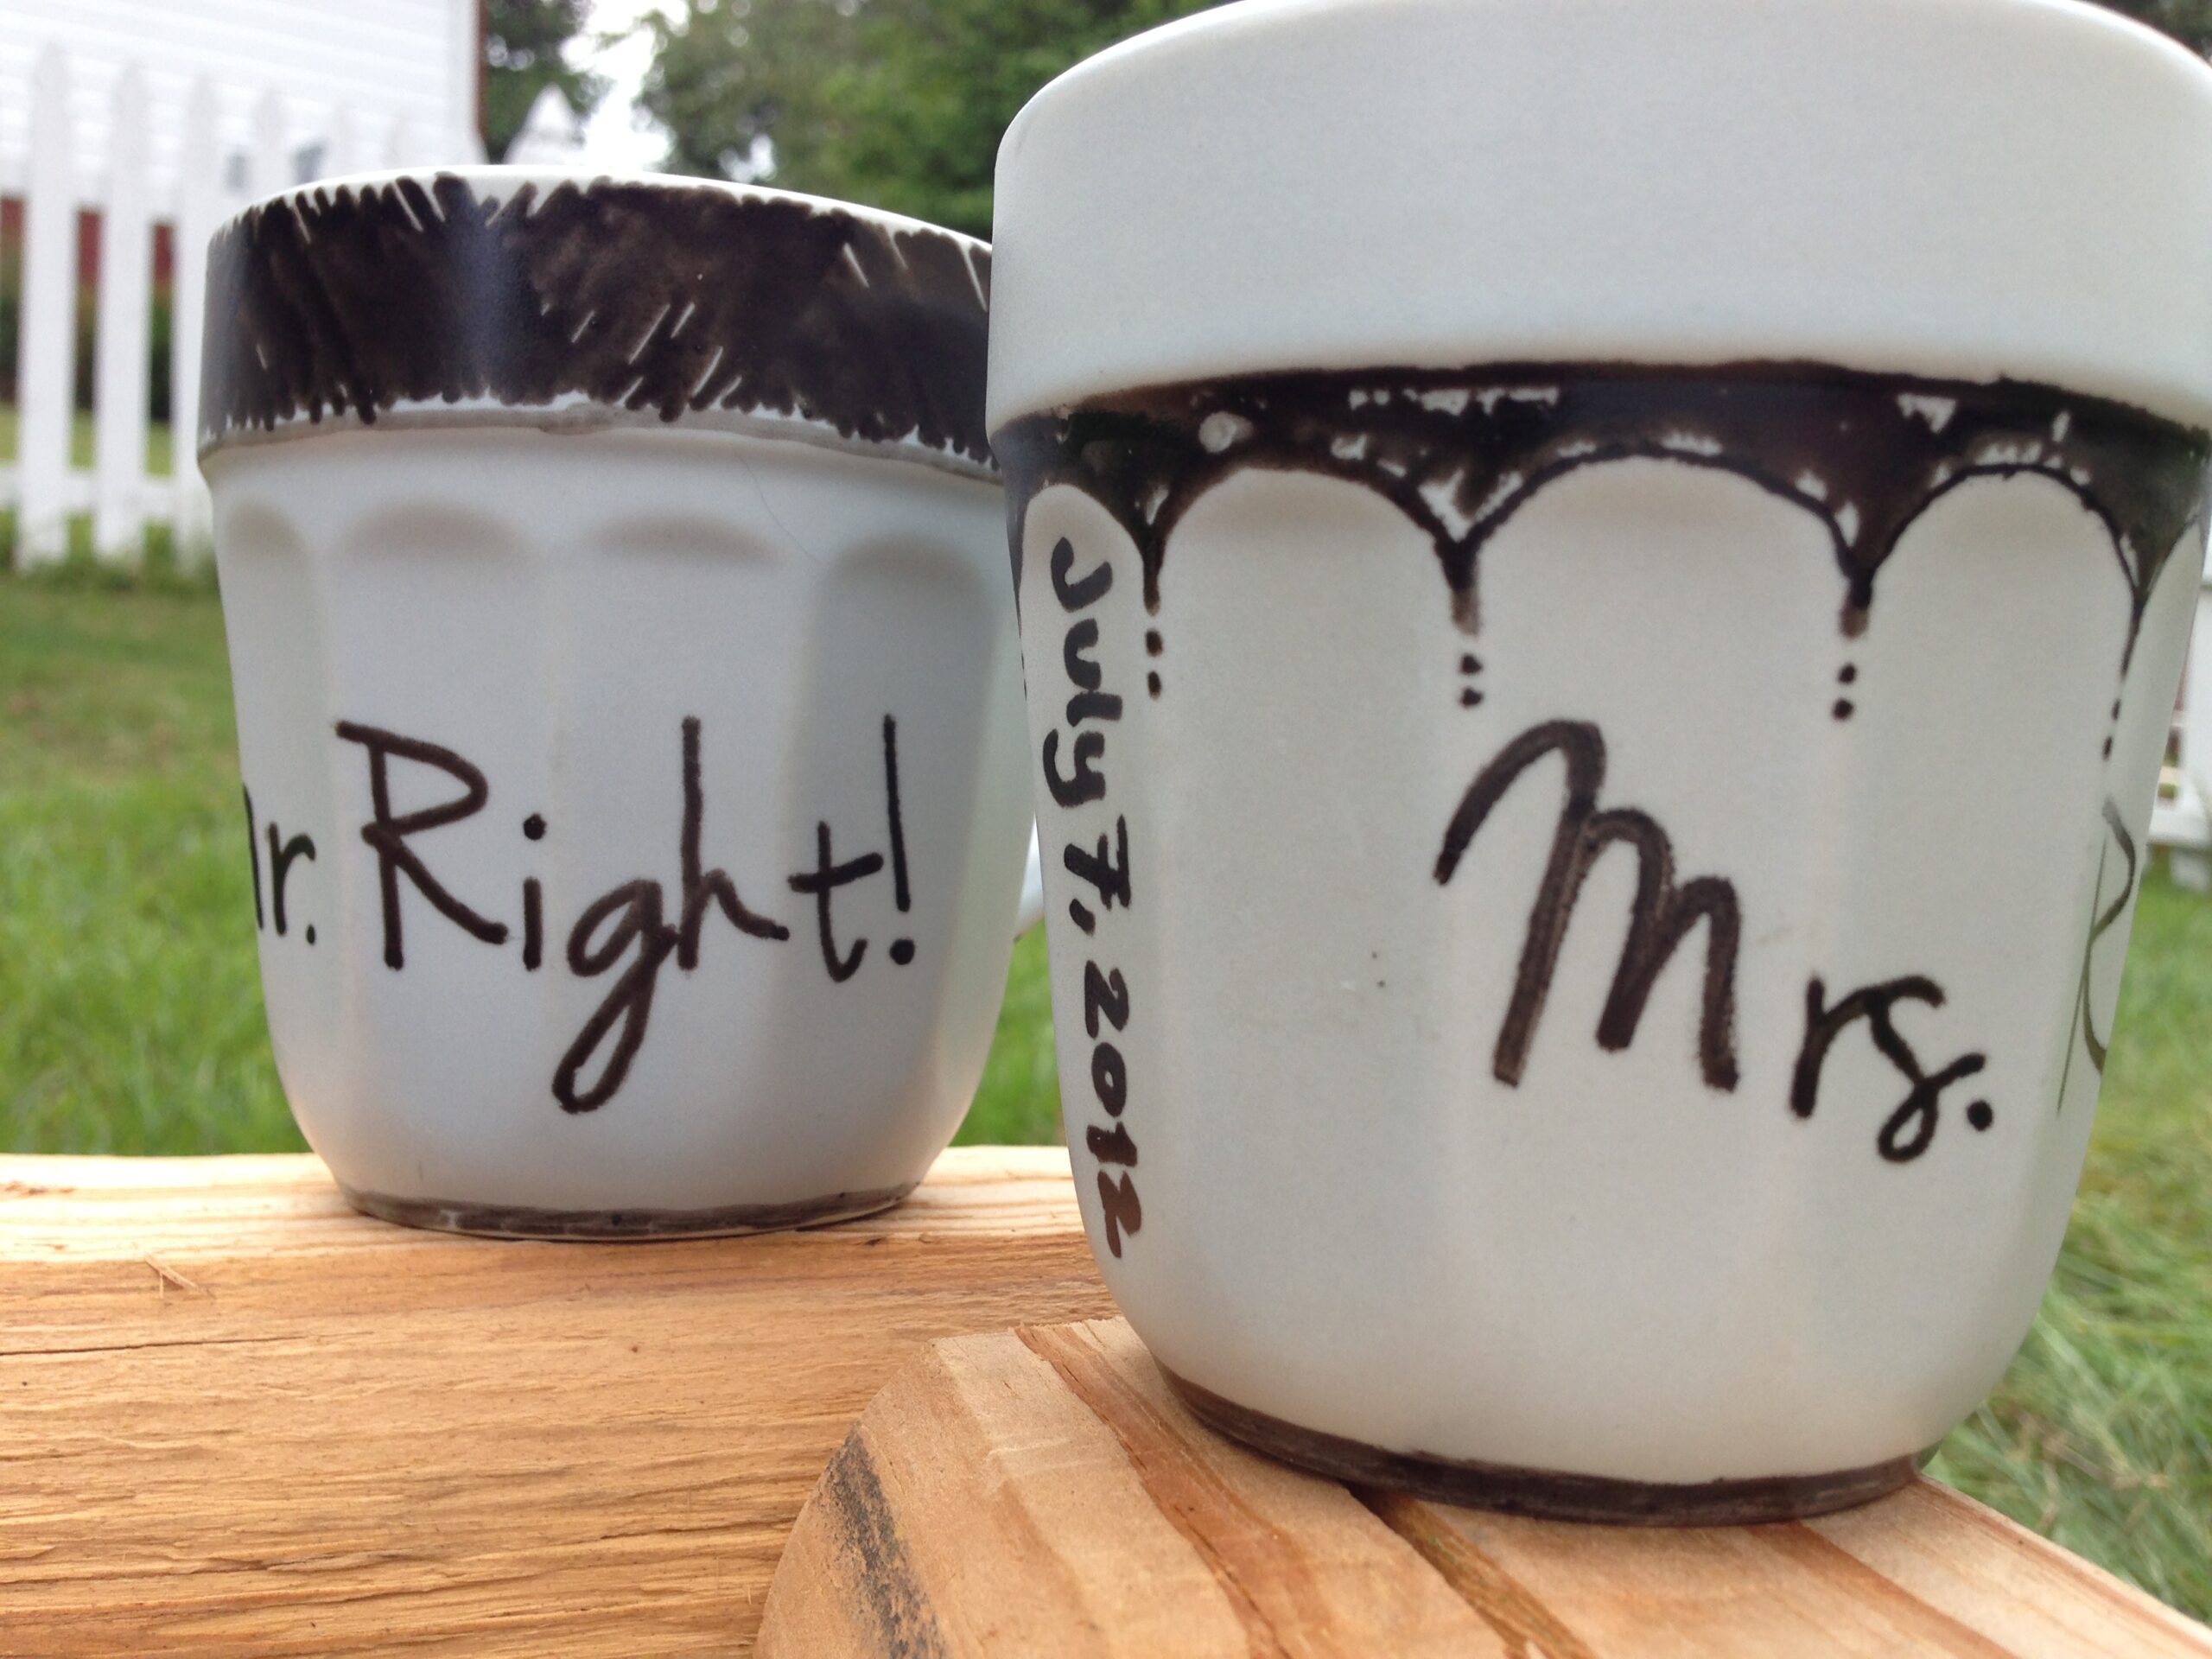
Looking for a fun and easy craft project?  Or maybe a less expensive gift idea for the coming holidays?  I recently decided to try a fun (and very easy) DIY project.  I saw an article here for completing these quirky, monogrammed mugs.  My husband and I decided not to exchange 1-year anniversary presents.  I thought making a few of these DIY decorated mugs using one of our wedding stationary fonts would be a creative and inexpensive way to make 1-year anniversary mementos 🙂
I followed the general directions provided by the DesignMom blog but because of how I wanted to decorate the mugs I did deviate a little from the instructions.  I went to Goodwill and purchased a few mugs.  I had trouble finding 2 that were exactly alike but finally stumbled upon a few that I liked.  Plus, you can’t beat $0.50 a piece!  Then I went to a few craft-y stores and bought graphite transfer paper, some tape, and some scissors.  My first deviation from the instructions provided by the DesignMom blog comes from the pens that I used.  I bought a pack of the Pebeo Procelaine markers in black.  Instead of using the fine point, I used the Bullet Tip marker for a slightly thicker stroke mark.  I bought mine off of amazon because I couldn’t find the exact marker I wanted anywhere in town.  I actually thought I was buying a single pen and ended up with a whole pack of them!  (good day!)  🙂  The DesignMom blog used single letters to decorate the mugs (hence the name of the original project being monogram mugs)…but you can really do whatever you want.  🙂  I printed out the phrases, Mr. Right! and Mrs. Right! onto normal, printer paper using one of the primary fonts from our wedding stationary.

blog_mug1

I had never used graphite transfer paper before but had absolutely no problems.  I cut out a piece about the size of the writing that I wanted for the mugs.  By taping the darker side to the mug and the printed writing on the outside, I could use the printed font as a guide.  I used a normal pen, traced the printed words, and the transfer paper did the rest!  The transfer paper left a graphite residue where I had traced over it with the pen.

blog_mug2

Then I started using the procelaine pen.  I traced over the graphite markings with the text and added some fun embellishments to each mug.  I tried to make mine a bit more feminine and my husband’s a bit more masculine 🙂  I made some mistakes along the way but until the mugs are baked, you can use soap and water (and some scrubbing) to remove the marker.

blog_mug3

blog_mug6

Bake as recommended by DesignMom…

blog_mug7

…and you’re done!  Make sure to let them cool a bit when you take the mugs out of the oven…they will be quite hot!  The mugs (after cooling haha) are ready for use!  (and ready for dishwashing…which is a huge plus in my book)

blog_mug4 blog_mug5

Tips that I learned along the way:

1) Be careful with the pens…they are a little juicy and a little messy.  I had to wash the paint off of my legs more than once because the pen had been hanging above my legs and had dripped a little 🙂

2) These pens come in multiple colors…that might be fun 🙂

3) Having a plan ahead of time about how you are going to decorate the mug is helpful

What do you think?  The possibilities to take this project to the next level are really endless both in terms of decorating and in purposing the mug before giving it away.  DesignMom gives some ideas for ways to use this great project for the important people in your life.  Do you have any others?  🙂  Another huge plus for this project is that you can do it while sitting down 🙂  If you aren’t feeling well, this little project can take up the better part of an afternoon (especially if you are feeling ambitious with your decorating skills) but is also a calm and quiet activity.  With some supervision, this activity would be great for the kids too!  Let me know how your DIY decorated mugs turn out!