Coloring For Adults (And For Stress!)

coloring for adults

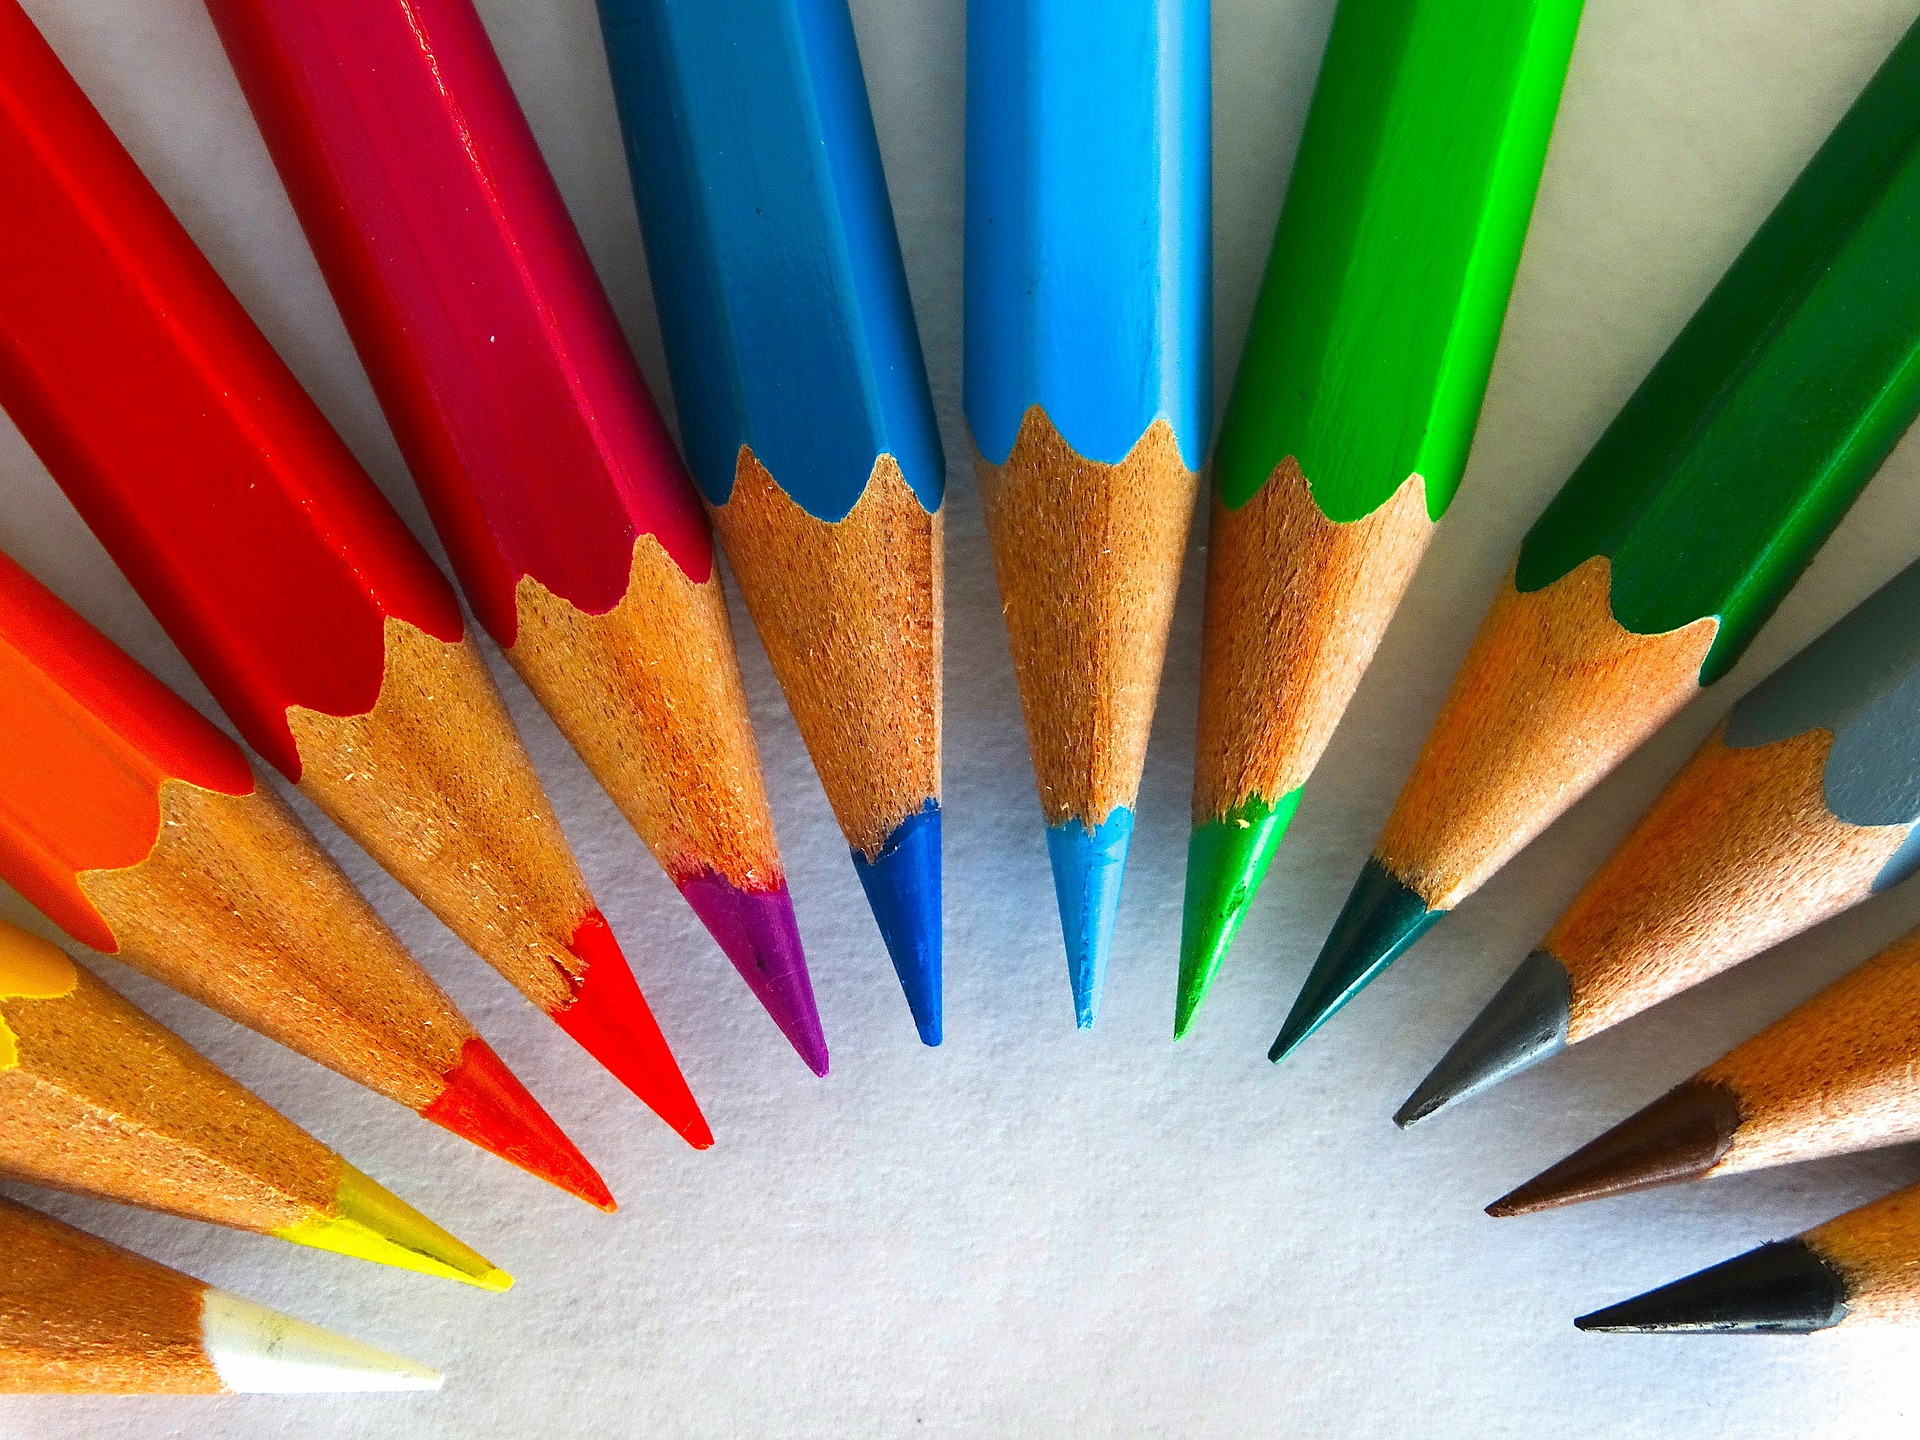
Coloring is no longer just for kids!  Here at Lacuna Loft, I’ve explained how helpful and calming coloring was for me during my chemo treatments…grabbing some colored pencils, blocking out the rest of the room, and focusing on the blending and shading that I wanted to produce on the coloring page was such a relief from hospital chemo rooms and boring hours alone at home!  For a while I was really into it and even spent time watching youtube videos on colored pencil blending techniques.  Well it turns out that psychologists are actually finding that coloring can be a great stress reliever in adults!

Coloring for adults?!…you might say.  But there has to be a limit to what kinds of illustrations you might find, right?  Nope!

There are so many different options popping up all over the place!  The NY times recently talked with the illustrator behind a really popular coloring book, the Secret Garden.  Her illustrations are absolutely beautiful.  I recently bought this one but there are so many different books that pop up if you search for coloring pages for adults.  There is even a book series equipped with Color Me Calm and Color Me Happy.

Have you tried coloring lately?  Interested in giving it a try for stress relief or just for fun?

How Knitting Saved My Life

how knitting saved my life

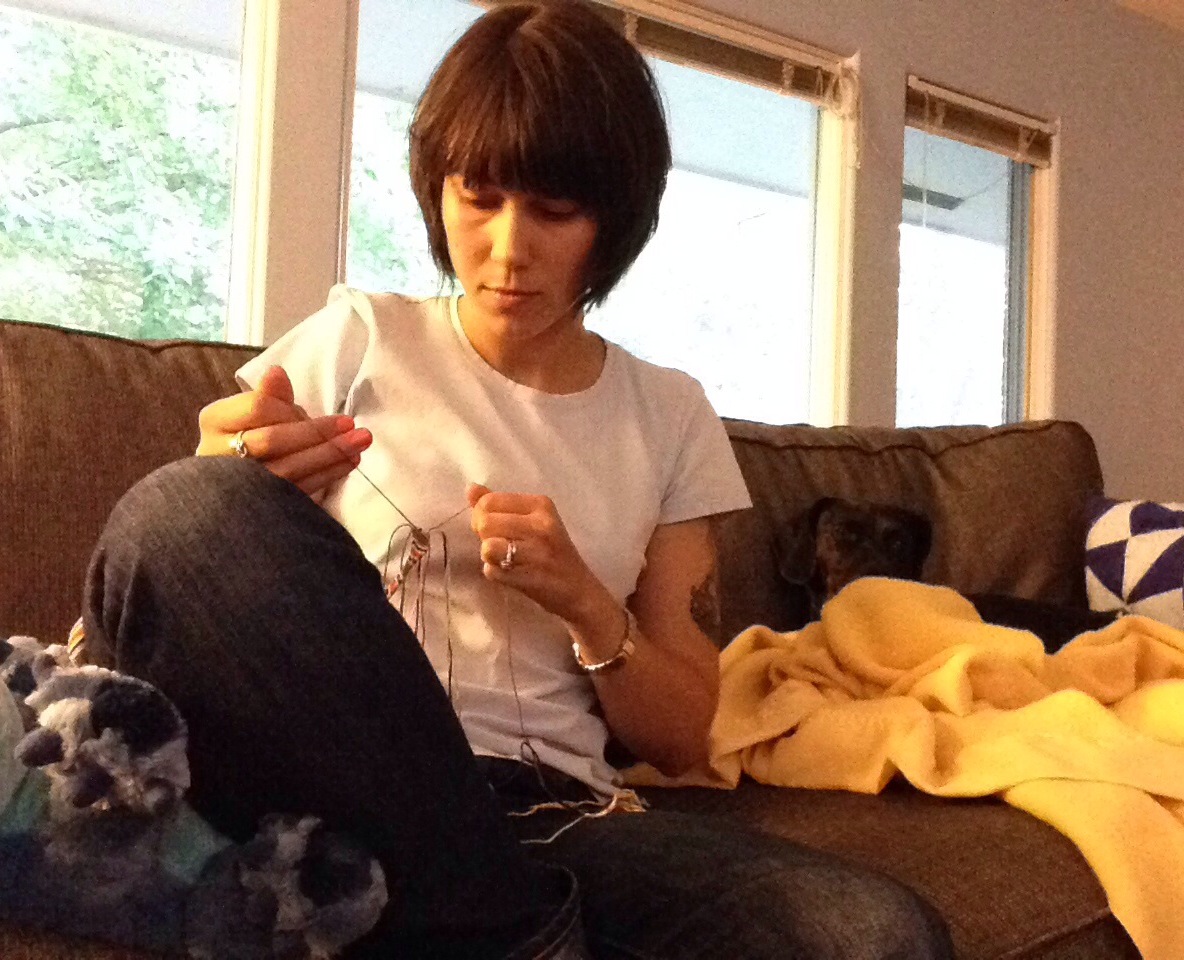
I was asked what was something that helped me get through my cancer diagnosis and treatment. Several things did help, journaling my feelings, talking to other cancer survivors (you’re a survivor from the moment of diagnosis!) and keeping as active as possible even if it was just getting out of bed and sitting up in a chair. But the number one thing that both saved my life and my sanity was my knitting.

Laven-knittingcirclesaroundcancer

During the months of chemotherapy I finished five hats, a cowl and a scarf. I started but never finished two sweaters and a pair of socks. Knitting gave me a purpose, a way to mark the passage of time, and most of all an outlet for my pent up anxiety and anger. Knitting went from something that I would do most days to something that I had to do every single waking moment. If I knit fast enough, I could outpace my cancer’s growth. If I bought enough yarn and had enough projects planned, I could keep death at bay. St Peter couldn’t take me away, I had a sweater to finish first!

Chemo made time slow horribly down. If I had something to work on, my day felt like it went by marginally faster. I would wake up at 5:30 am from a fitful night’s rest and just knit until the sun rose. If I had something to make, I could say that I did more than just lay in a hospital bed hooked up to an IV. My good days were ones where I knitted endlessly. My bad days were marked by stitches rather than inches.

Vanessahat2

Stabbing my knitting needles through the yarn became my rosary. The rhythmic click became at once soothing and my fight song. I would knit to examine my feelings and to gain distance from them. It was impossible to knit and cry simultaneously so I chose to knit. My world was suddenly much uglier and angry but now I had a way to bring some color and beauty into it.
Knitting helped to remind me that I had a modicum of control in the world and that I could grow something pleasurable. Every day that I made a stitch was a day that I brought beauty into my world even if my hands were numb.

The drive to create also became a beacon of hope. It was a reason to keep going through chemo. I had still many more yards to knit. And I still do. There’s still more beauty for me to knit, if cancer didn’t stop that, nothing else will. I am a knitter, I can do anything.

Vanessa is a martial artist, crafter and blogger living in Minneapolis Minnesota. While she doesn’t knit as much as she did, she keeps her hands busy by making plush internal organs for Survival Organs. You read more about her adventures in survivorship at Mixed Martial Arts and Crafts.

A DIY Snowman Pillow

diy snowman pillow

Winter is still here!  While the cold and gray might be getting you down, nothing will make your home cheerier than a DIY snowman pillow!  This DIY project is super simple…get the kids involved for an afternoon of fun!  This is a great project to do when you’re not feeling so hot from chemo, or when your life as a caregiver needs a little project to take your mind away for a while.

snowman_11

For this project you will need…

[list type=”like”]
[list_item]snazzy thread…I used a gold color but you could use thread matching the fabric or another great stand out color[/list_item]
[list_item]matching thread…I used a beige color[/list_item]
[list_item]1 yard white or beige flannel fabric[/list_item]
[list_item]1/2 yard black flannel fabric[/list_item]
[list_item]1/4 yard orange flannel fabric[/list_item]
[list_item]1/4 yard red flannel fabric[/list_item]
[list_item]craft batting…looks like fluff :)[/list_item]
[list_item]sewing machine or hand sewing needle[/list_item]
[list_item]one snowman pillow pattern[/list_item]
[/list]

The first step is to print out your pattern (found by following the link above) and to cut out each shape that you’ll need.  Then, starting with the snowman’s body, pin the body oval-like shapes onto your white/beige flannel fabric.  Since you’ll need a front and back to each piece, I found it easiest to double layer my fabric, pin the paper pattern to the two layers, and cut out at the same time.  Alternatively, you can just cut out one, simple body outline instead of three different oval parts of the body.

snowman_4

snowman_7

snowman_6

Next, sew each part of the front body together.  You will have a front body and a back body (seen in pieces next to one another above).  Keep these two bodies separate until the end.  Place the bottom oval pretty-side up (pretty-side = the side that will face outward when you are done) with the medium oval pretty-side down (face their pretty-sides towards one another), pin, and sew either by hand or with a sewing machine.  Repeat this step to sew the head onto the rest of the body, and then all over again for the back body of the diy snowman pillow.

snowman_5

snowman_8

Next tackle the hat.  You’ll need a front and back hat so double layer the black flannel fabric under your paper hat part of the pattern and cut out.  Then, pin the base of the hat onto the rest of the body and sew together.  Do this for the front body as well as the back body of the diy snowman pillow.

snowman_10

snowman_9

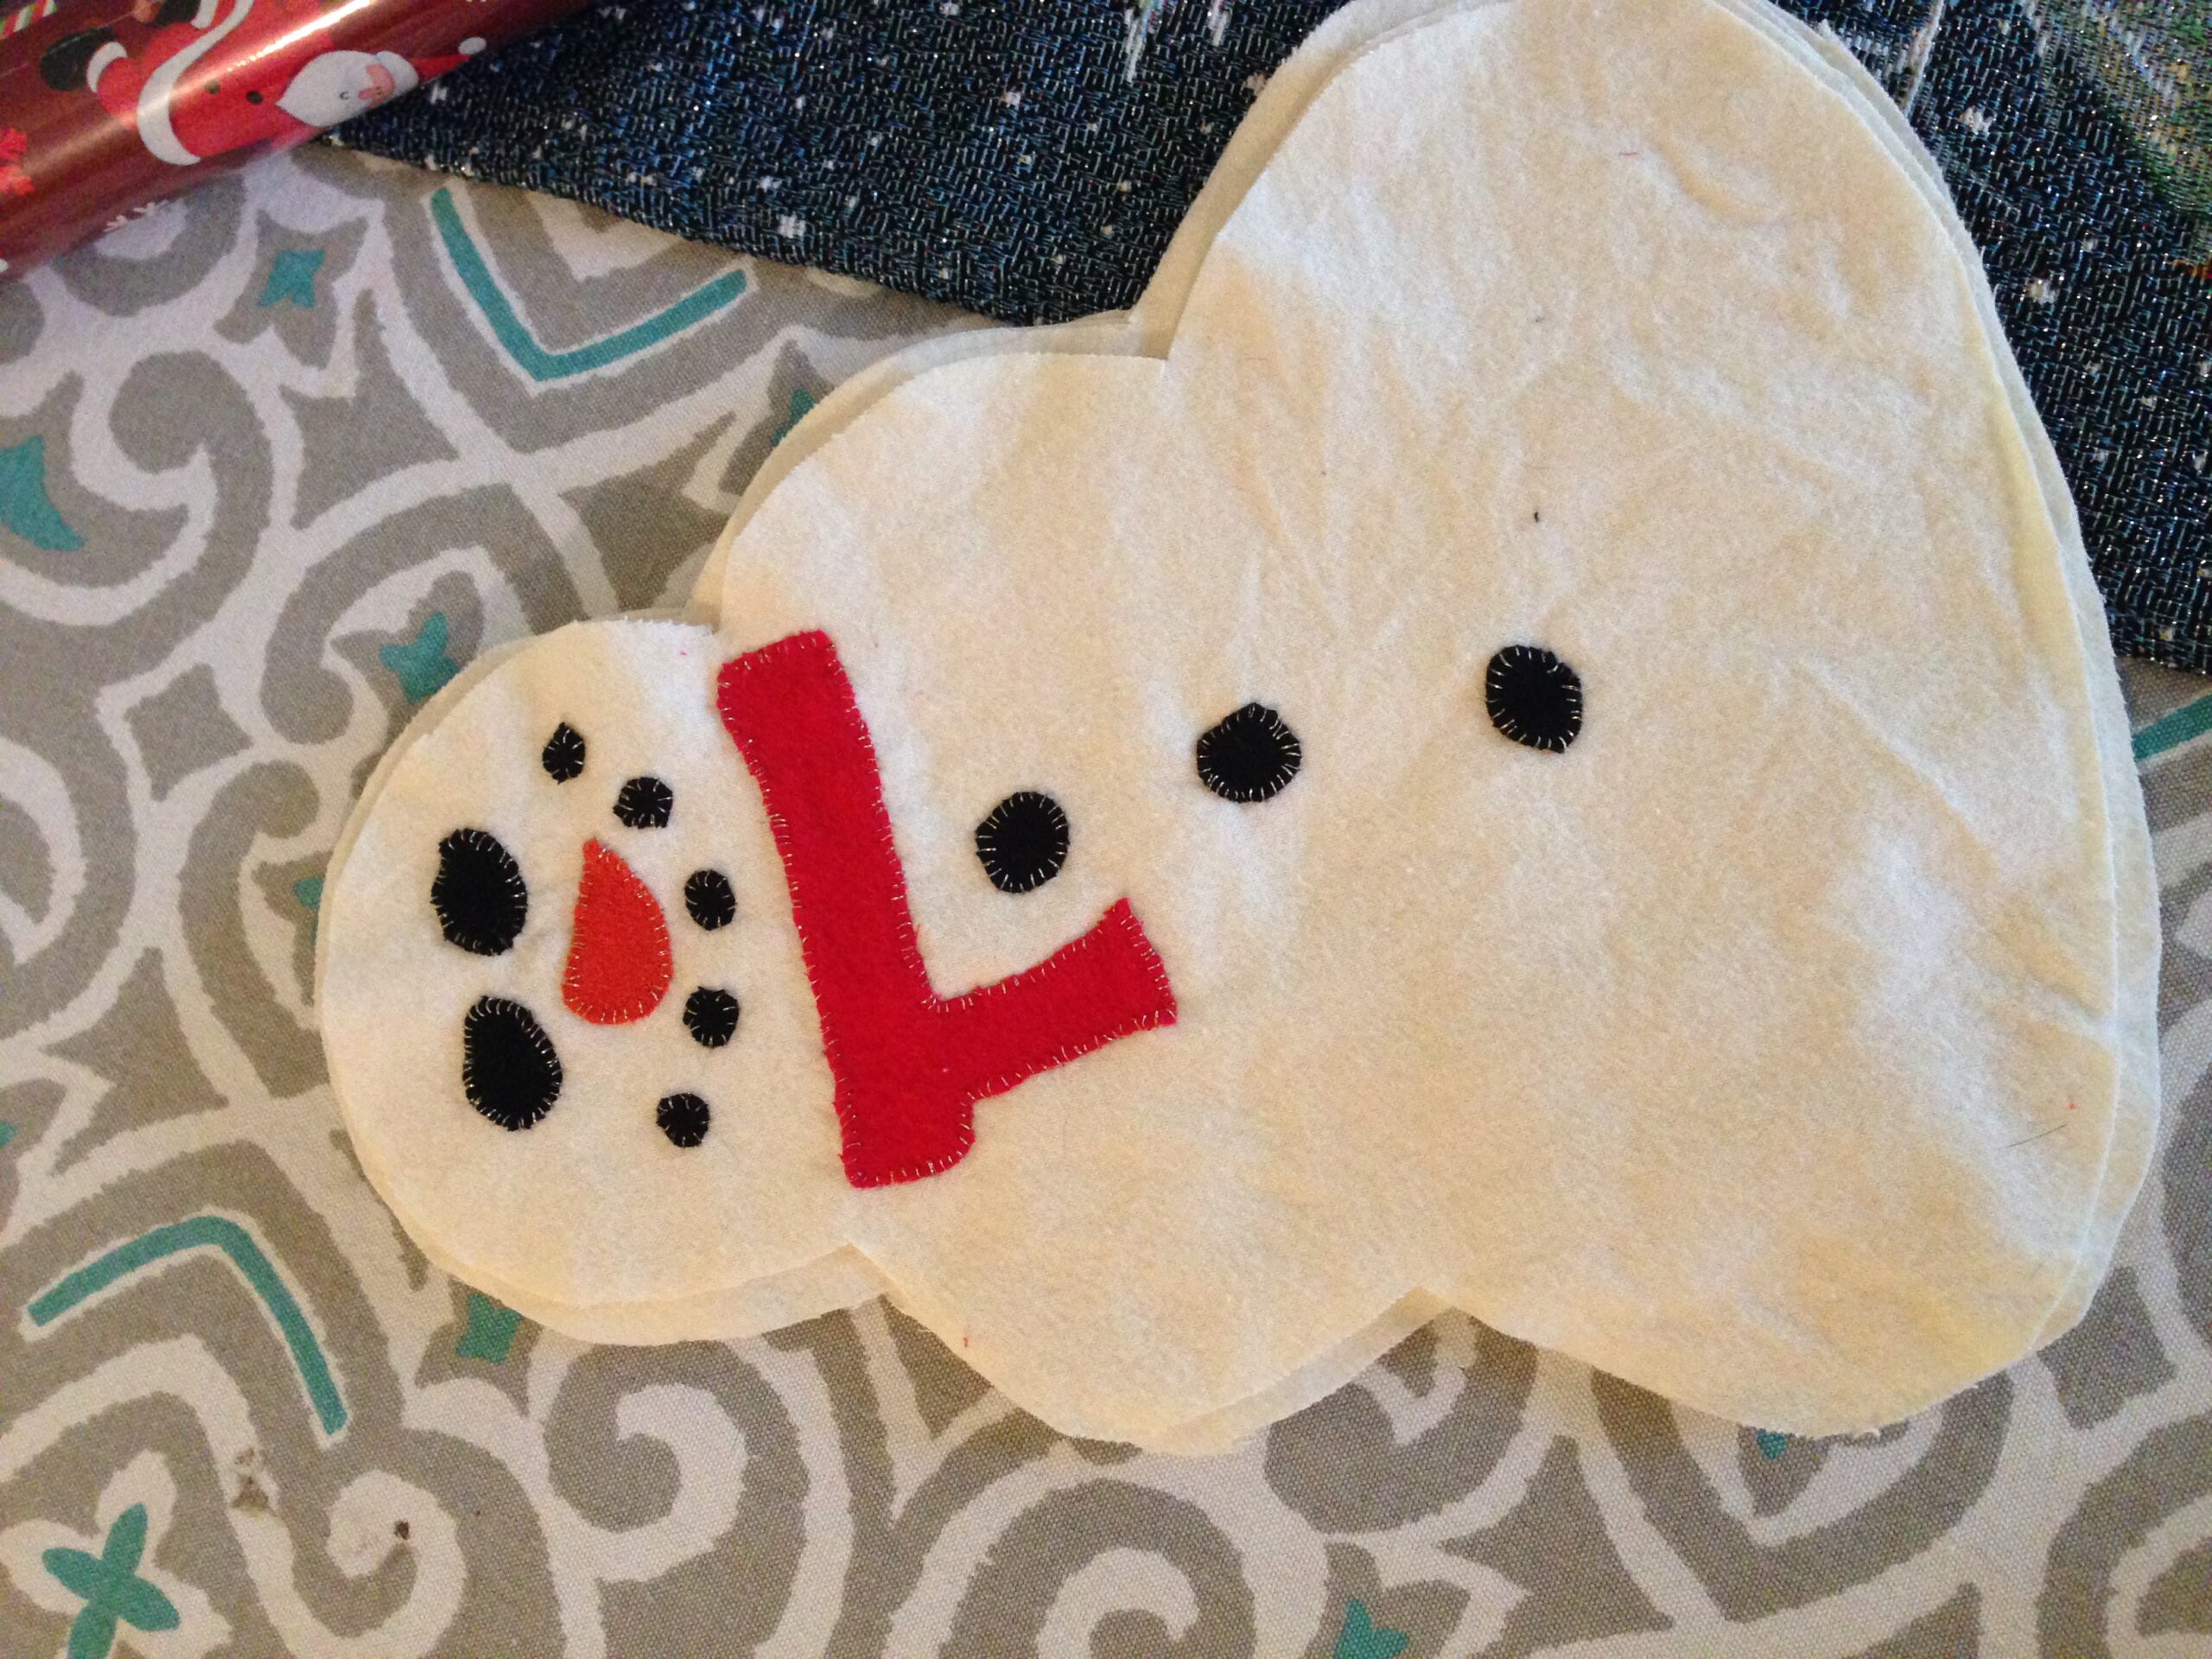
Now comes the part where we add the face and body details to your diy snowman pillow!  I used black for the eyes, mouth, and buttons, red for the scarf, and orange for the nose.  You could definitely mix up the colors however you’d like though!  I sewed on each part to the front body of the snowman…eyes, nose, mouth, buttons, and scarf…by hand using the method shown in the pictures below.  I used a glitzy, gold thread which added some pop to the design.

snowman_3

snowman_2

IMG_9713

Finally, the front body (with the face, scarf, and button details) needs to be sewn onto the back body.  Take the back body and pin it to the front body with the pretty-sides facing one another.  Sew all around the snowman, leaving about 6 inches worth of bottom oval open.  You can do this by hand or with a sewing machine.  Then, turn the snowman right-side-out and stuff him with your batting.

batting

To finish, sew up the bottom 6 inch gap using a hidden stitch.  Voila!

And that’s it!  What do you think?  I love adding fun, wintery touches to my home when it is so cold and dreary outside.  Helps make the winter months more fun 🙂

Some tips that I found helpful…Use a smaller embroidery needle when sewing on the details to the face.  Keep the details of the face towards the center of that face oval.  This will allow for some buffer when you sew the back body onto the front body.  (A stout snowman becomes a normal looking snowman when you lose 1/4″ of sewing allowance all around).

If you have any questions feel free to email or comment them our way!  We’d love to help you complete your own diy snowman pillow!

DIY Holiday Gifts

Holiday buying season is here!  Have you thought of making some of your gifts?  Definitely a fun way to cut costs this holiday season and add a bit of sentimentality to your gift giving!

Over the past few months we’ve done a bunch of DIY projects that could make great DIY Holiday gifts.  Here is a list of some of our favorites…just in case your creative juices are itching for some DIY holiday gift making!

[list type=”like”]
[list_item]a great DIY clutch…make one or buy one of two different designs in our store![/list_item]
[list_item]beautiful DIY throw pillows…customize these anyway you want for some holiday cheer![/list_item]
[list_item]DIY statement necklace…throw in some gold, red, and green and you’ve got a Christmas necklace![/list_item]
[list_item]DIY paint swatch wall art…the possibilities here are endless!  Maybe even try using a snow flake cut out for each swatch?[/list_item]
[list_item]DIY decorated mugs…write or draw any sentiment you want![/list_item]
[list_item]DIY embroidery floss belt…necklace or bracelets work too![/list_item]
[list_item]ready for a teaser of a DIY project that we have in the works?…We can’t wait to show you more![/list_item]
IMG_9713
[/list]

Are you planning on making some of your holiday gifts this year?  Let us know!  DIY holiday gifts are my favorite!

DIY Embroidery Floss Belt

diy embroidery floss belt

Looking for a fun and easy DIY suitable for a young adult cancer survivor, patient, or caregiver?  This diy embroidery floss belt is a great one…easy, portable, and it doesn’t take a ton of brain power 🙂  It also has the added bonus of resulting in a great accessory!  Looking for an easy project for a kiddo in your life?  Look no further!  🙂

All you’ll need are a few colors of embroidery floss…I used 6 colors and used each color two times per row of belt.  This diy is super simple and definitely will take you back to the days of friendship bracelets and summer camp.  So!  To make this diy embroidery floss belt (or bracelet!), take your chosen colors, unwrap each of the skeins (the bundles of embroidery floss are called skeins), bundle them all together, fold the bundle in half, and tie a knot at the halfway point.  You definitely don’t have to fold over the strands to double them up…you *could* just straighten out the skeins and tie them together at the top.  I did the fold over process because I wanted the added width that this would provide.

IMG_7364

IMG_7365

IMG_7368

IMG_7369

IMG_7370

Then, separate out the colors to get started.  My first strand of color is yellow.  You can use whatever colors you want but I’ll tell you which strands on the belt go with which of my colors to help illustrate the method.

I take that first strand (yellow), and fold it over the next strand (mine is navy blue), creating the shape of a number 4.  The tail of the first strand (yellow) then gets looped around the second strand (blue) and looped through.  This is shown in the picture below.  Once this is done, pull the first strand (yellow) tight and up towards the top, creating a knot.  Tie two of these “four” knots for your first strand (yellow), around your second strand (blue).

IMG_7373

You will tie 2, “4” knots of this first strand (yellow) onto each of the subsequent strands in turn.  This creates your first row.  To start your second row, continue onto the second strand (navy blue), tying two “4” knots of the second strand (navy blue) around the third strand (mint green).  This process continues until you have finished tying “4” knots of the second strand (navy blue) around each of the subsequent strands.  That finishes your second row.  And, that’s it! Just keep going, creating rows of these “4” knots with each colored strand.  I suggest looping your top loop (as shown below) onto something so that everything stays in place better while you’re working.

IMG_7375

Following these instructions, your belt/bracelet will naturally obtain this cool looking slant!  If you’re interested in a different style, look here for other tutorials and designs.  (I thought this one and this one looked pretty!)

IMG_8029

Now just keep going until the diy embroidery floss belt is as long as your young adult cancer survivor heart desires 🙂  Want a bracelet instead?  Great!  You’ll be done a whole lot sooner!

Have you tried a belt or bracelet project like this before?  Would you teach this to your kiddos?


DIY Eye Mask!

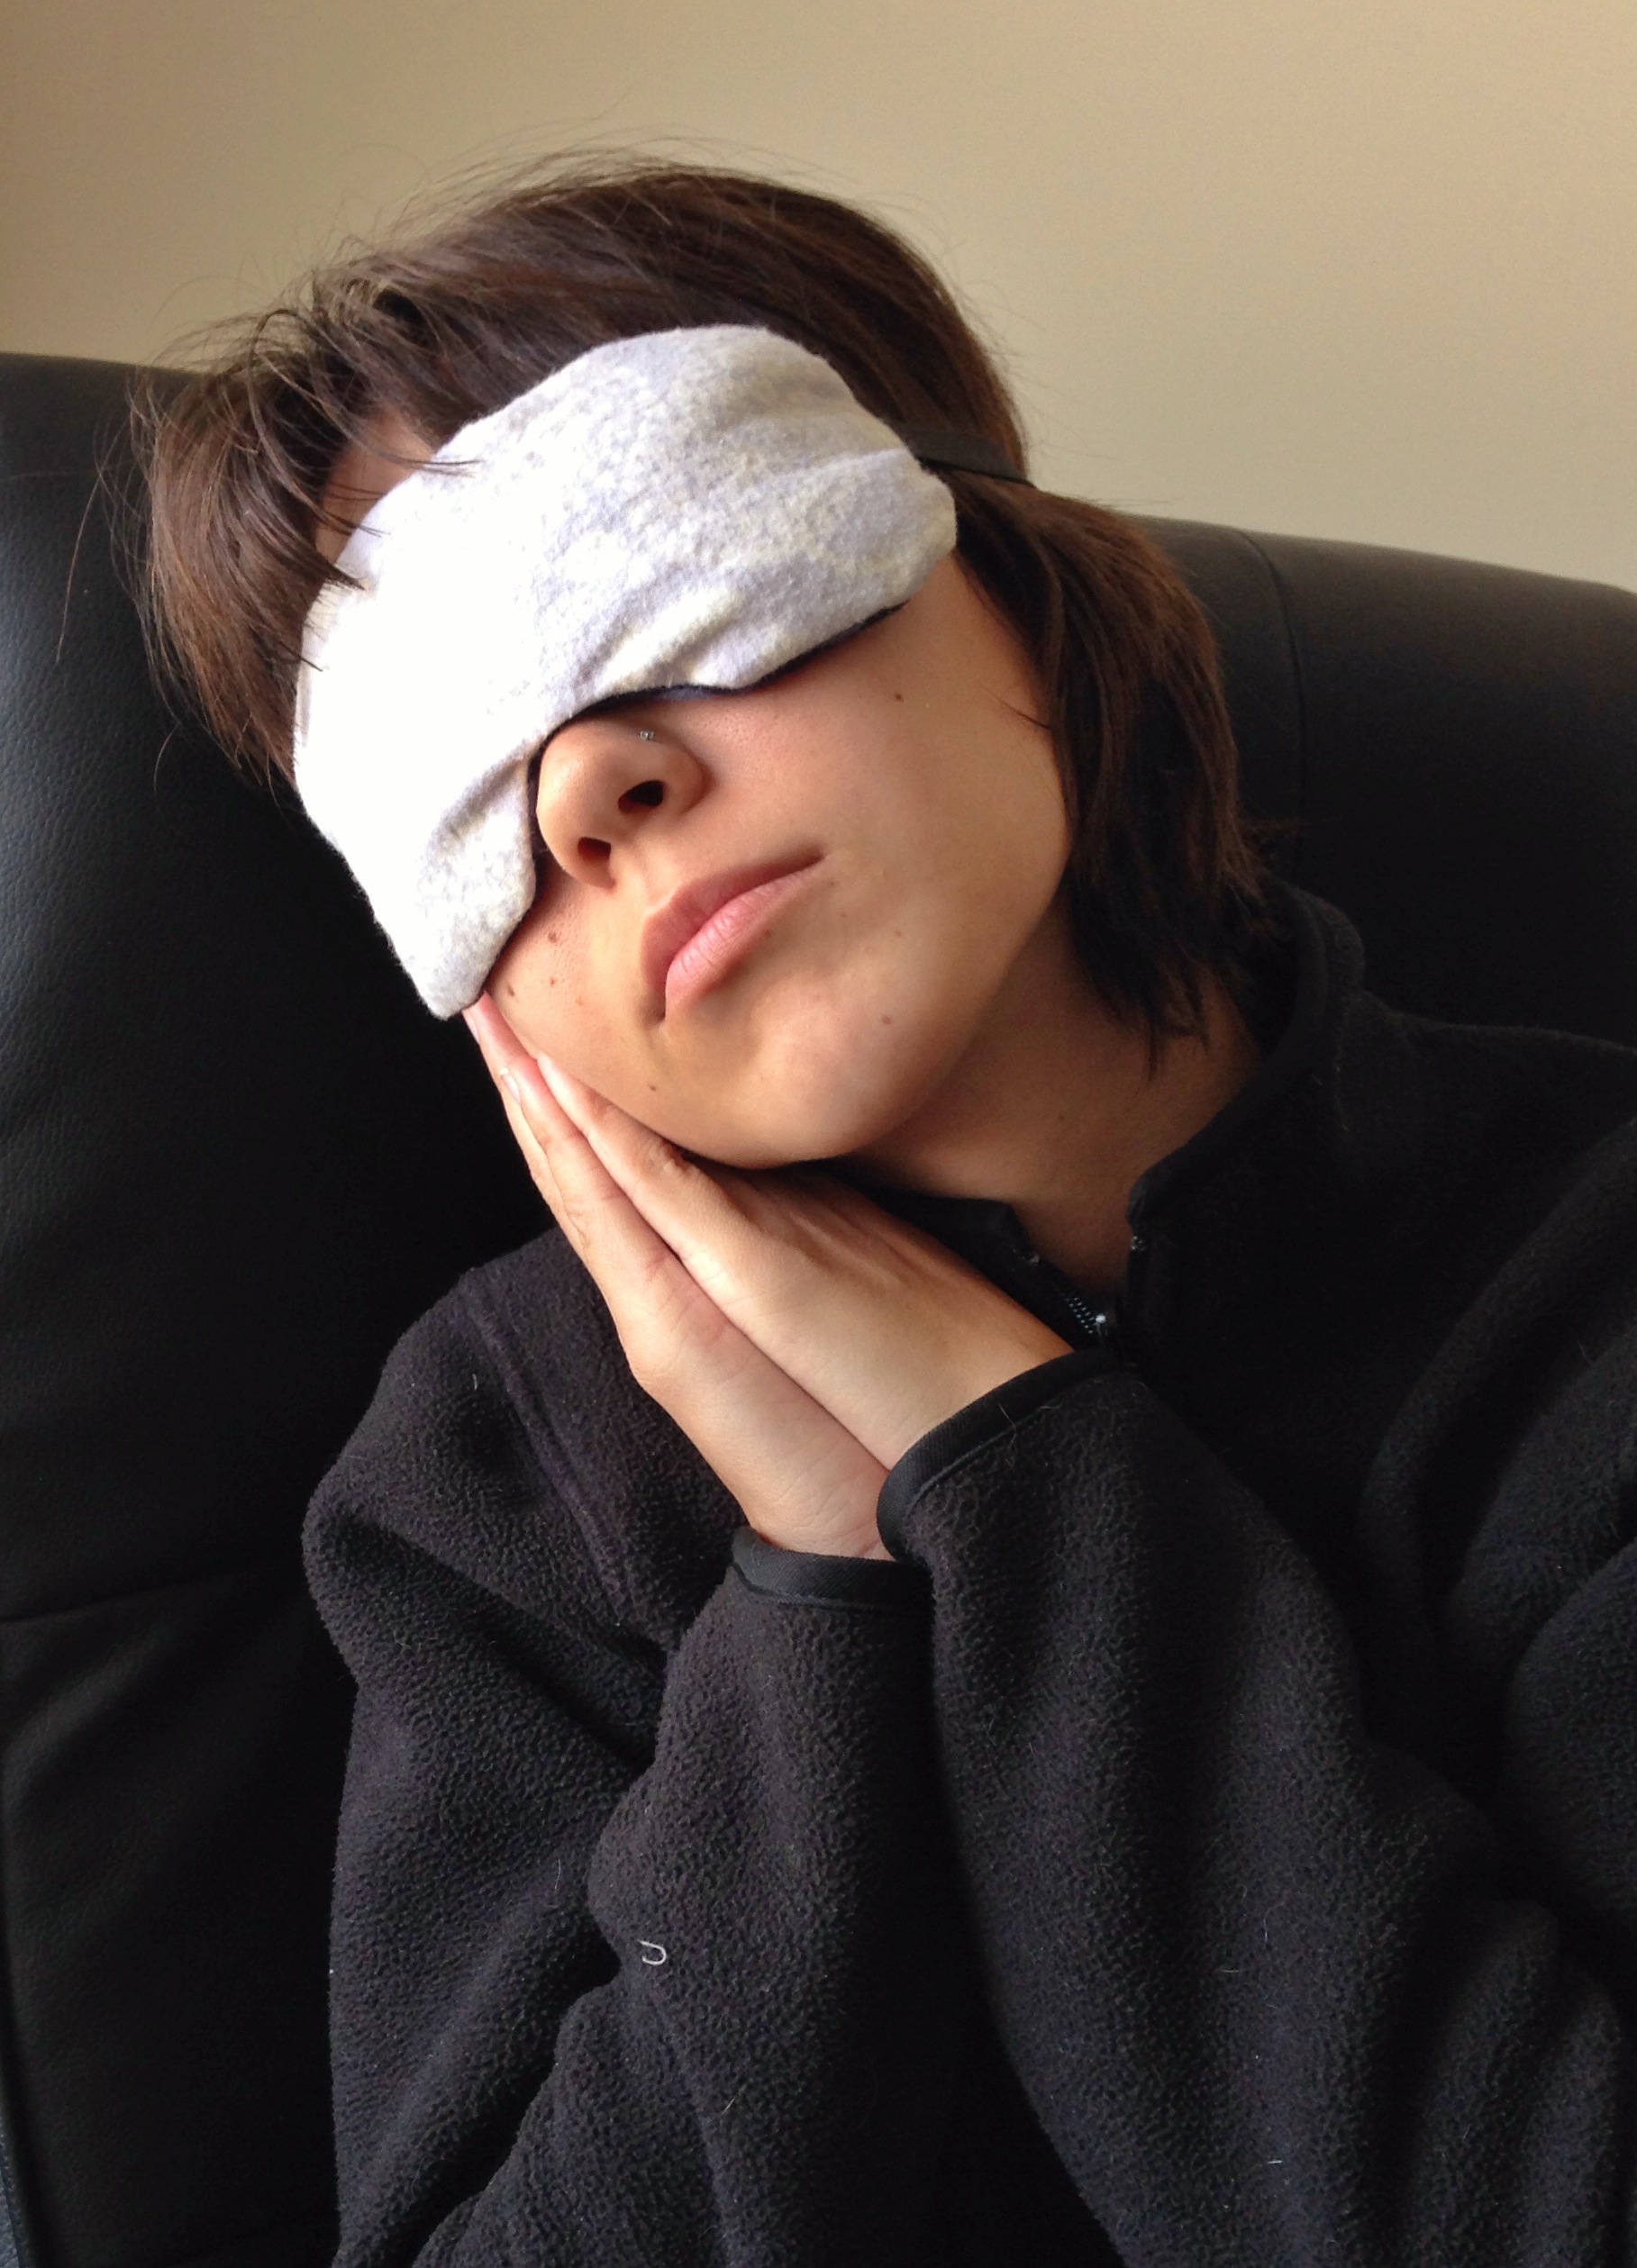
For my trip to Europe this summer to visit family, I knew that I needed to bring along an eye mask.  On a work trip overseas last year, I had so much trouble sleeping with the huge television monitor hanging over my aisle.  I decided then and there that for any next trip, a DIY eye mask would be in order!  🙂  Having the eye mask this time around made my trip much more comfortable.  Another great use I’ve found for this super simple DIY eye mask?  Hospital appointments!  You know when you’re sleepy and in chemo, but the hospital lights are super bright?  This DIY eye mask would definitely make it easier to slip off to sleep for some much needed Zzzzzs.

First, start by download this pattern (just right click on the image below and choose “save image as…”).  The pink, dashed lines show the size the finished eye mask should be while the blue, dotted lines show where you should cut the outer boarder of your fabric.  This is important because your sewing allowance will take up a bit of your fabric and you don’t want the eye mask to be too small.  The horizontal lines on the side show two different placements possible for your elastic band that will keep the DIY eye mask on your head.

eyemask_pattern

Next pick your fabrics.  I chose two flannels that were super soft and cozy.  Then, sandwich the fabrics (nice side in) that you will be using for your DIY eye mask with the pattern pinned on top.  Cut around the outside.

layer

cutfabric

Once you’ve cut out the fabric, decide how long the elastic for your DIY eye mask needs to be…I literally measured one around my head and one around my husband’s head to decide how long to make the elastic for each eye mask.  I chose a 1/2 inch wide braided elastic but you can choose something different if you want!  Then cut off your desired length of elastic band after adding on an extra inch.  You’ll want about 1/2 inch of extra elastic band on each side of the eye mask for sewing purposes.

elastic

The next step is a bit tricky so stay with me 🙂  The bulk of the elastic braid (the part that will encircle your head) and the pretty, outsides of the fabric will need to all be outside of the finished DIY eye mask.  Therefore, when we are sewing, all of these pieces need to be inside of your pinned sandwich.  Soooo, with the fabrics still sandwiched nice sides in, fold up the elastic band so that most of it is in between the sandwiched fabric, and leave 1/2 inch of the elastic poking out of each side.  Make sure when you are pinning the elastic band inside of your sandwiched fabric, that the finished band is the correct length.  Then pin around the outside (making sure that the bulk of the elastic band is not caught in these outer pins…you don’t want the main part of the elastic band to accidentally be sewn into the seam of the eye mask).

sandwich

sew

Then sew around the outside of the sandwich.  Be sure to leave about 2 ” of the eye mask unsewn at the top.  Through this little gap, you will flip everything right side out and then stuff the eye mask with some fluffy batting.  How much batting you use it totally up to you.

batting

Sew up the gap using a hidden stitch and you’re done!

handsewtogether

I ended up making two of these, one for me and one for my husband.  On mine, I have a different fabric facing out compared to the darker fabric that faces in.  On my husband’s DIY eye mask, I used that darker fabric on both sides.  What do you think?  Have you enjoyed an eye mask before on trips or at hospital visits?

An Easy DIY T-Shirt ReMake!

You know how it is so nice to slip on some comfy clothes at the end of the day…or to have comfy clothes on all day when you’re not feeling well?  T-shirts always seem to be a great go-to for just this comfy purpose.  But then, someone comes over unexpectedly and all of a sudden you’re caught wearing clothes that make you look even worse than you feel!  I usually don’t wear t-shirts for just this reason…they definitely give me a rumpled and baggy appearance.  Here is the solution!  Take that over-sized favorite t-shirt of yours and resize it!

Recently, I decided to try my hand at resizing a t-shirt that was too big for me into a shirt that I might actually wear.  My husband sent me a cool tutorial explaining how to do just that and I was ready to try!  I’d like to point out, right off the bat, that this was a fantastically calm, weekend afternoon project.  I am wearing comfy clothes!  This resizing a t-shirt project is a great DIY for any young adult cancer survivor or young adult illness sufferer out there!

I won’t share all of my instructions (though if you try the project and have questions, feel free to email me! mallory(at)lacunaloft(dot)com) but I’ll share a lot of my pictures of the process.  I started with an orange t-shirt and used one of my favorite, slouchy tee-s as the guide.

IMG_8142

IMG_8143

IMG_8152

I had quite a bit of trouble visualizing how to pin on the sleeves properly and ended up with a t-shirt that was too small with inside-out sleeves 🙂  Maybe this will become fashionable in the future?  I’m going to sacrifice another shirt to add some side panels to the t-shirt below…maybe I can at least fix the sizing issue!

front_tshirt

Next I tried a soft t-shirt that I like sleeping in.  I followed the same steps but finally figured out the sleeves…only to have them be too snug!  The second time around though, resizing a t-shirt was a whole lot easier.  (Moral of the story…don’t start with your favorite shirt)

IMG_8156

IMG_8157

IMG_8162

IMG_8161

To fix this sleeve problem, I decided to take it one step further and cut off the sleeves entirely.  So resizing a t-shirt turned into making a tank top.  🙂

front_tank

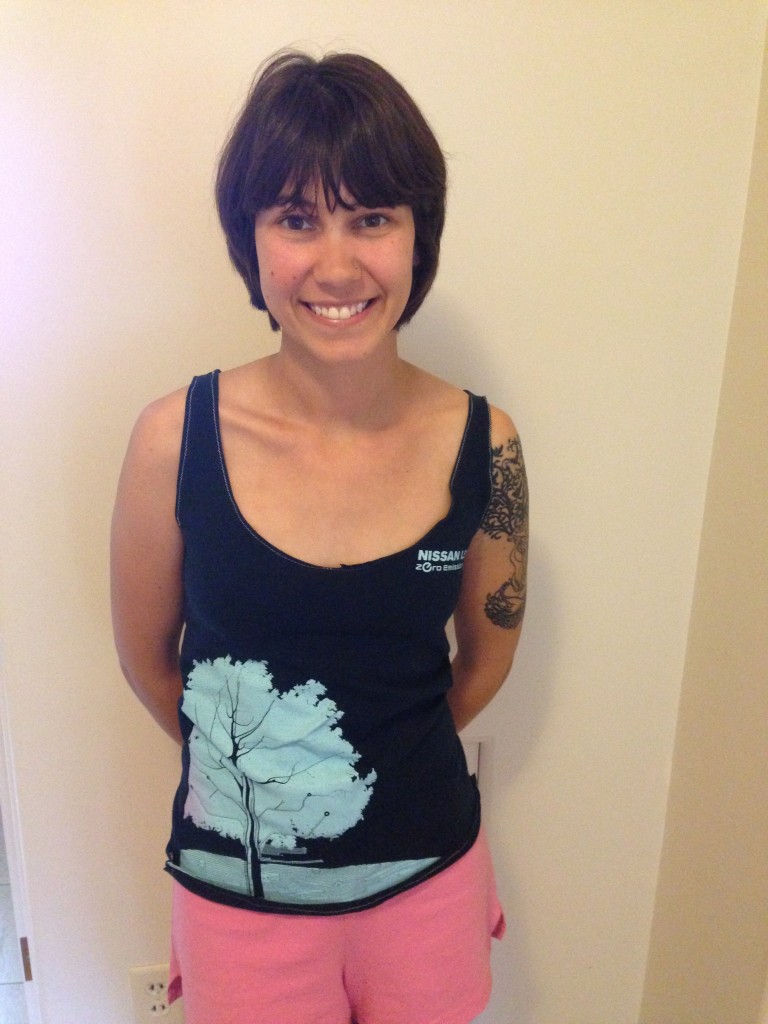
Finally, after all of that trial (and error!) resizing a t-shirt worked!  The result isn’t upscale, by any means, but it fits better than before and is super comfortable.  I wore the new shirt later that day to help some friends move!  I’ve also slept in the shirt and worn it to the gym 🙂

side_tank

Have you tried resizing a t-shirt?  Any tricks up your sleeve to help with the process?

A DIY Clutch

This past weekend, I had a great time at a bachelorette party for a good friend of mine.  Now, we all know that weddings can be expensive and bachelorette-y gifts can get kind of repetitive, so in an effort to offer a gift with some sentiment (and one that followed a bit of a budget) I decided to make the bride a DIY clutch!

Last Christmas I made a foldover, zippered clutch for my sister-in-law.  I followed the instructions carefully from Elise Blaha Cripe‘s Get Quilty eCourse and I was really proud of how it turned out.  There are so many different ways that you can go with clutches or handbags.  Leather, faux-leather, cloth, strap, no strap…the options are endless!

blog_clutch_1

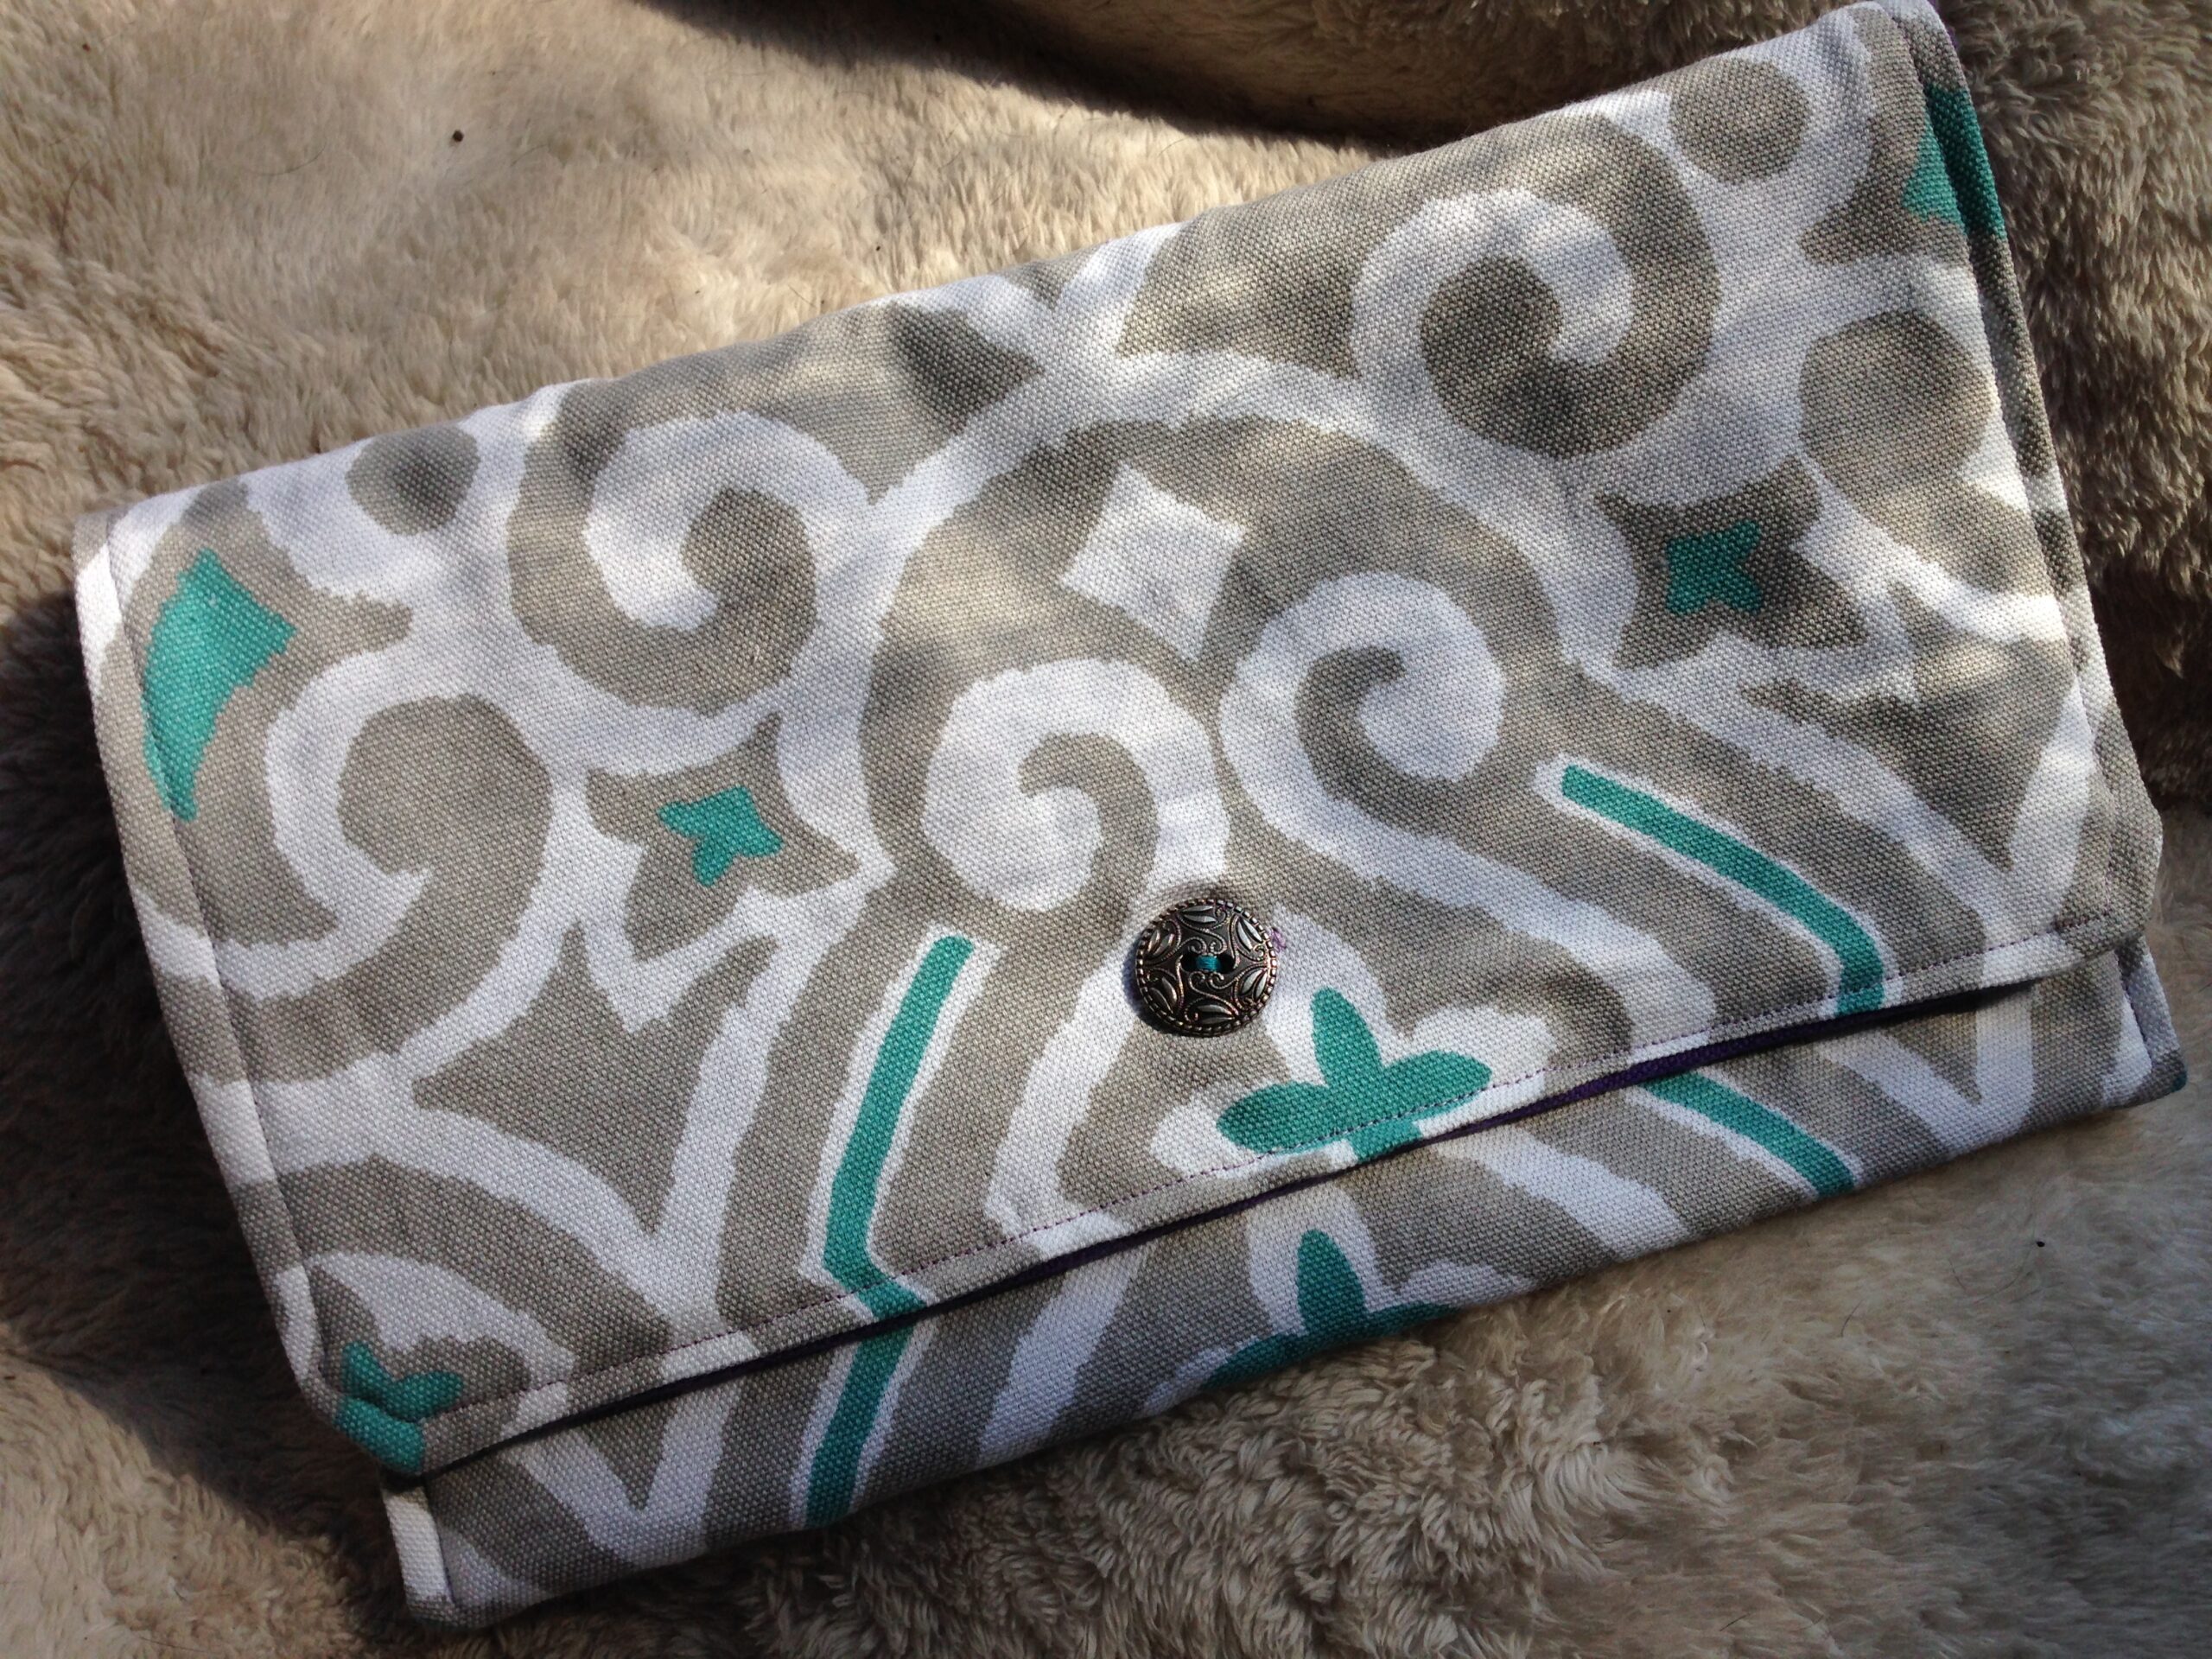
For the bachelorette gift I wanted to switch it up a little bit.  Helping out a friend earlier this past summer, we followed a tutorial online to make clutches as bridesmaid gifts with magnetic snap closures.  In an attempt to try some new things, I decided to make that same clutch but with an actual button instead and a heavier stiffener interface inside.  After a few failed attempts (seriously, if you are going to make changes, expect to have some mishaps), I was really happy with the finished clutch!  (note:  I did not use an interface in the final clutch…there is an outer fabric, an inner fabric, and then another layer of fabric inside to stiffen everything up).

The tutorial online is super easy to follow and the resulting DIY clutch is a great accessory.  The color combinations that you could use are endless as well!

opened_clutch

finished_2

Have you tried making a DIY clutch as a gift or for yourself?  Any other sewing projects that you’ve tried lately?

A Love Affair With Sewing

About a year ago, I talked my dad into buying me a sewing machine as a late birthday present.  I immediately ordered the machine and waited the two days for it to arrive (I LOVE Amazon 2 day, free shipping!)  🙂 I have been sewing every since…

Sewing is really not a mystical activity that requires being taught by someone older and wiser than you.  You can teach yourself to sew!!!  When I bought the machine I had basically no idea what I was doing.  I still don’t really know what I am doing most of the time!  At the beginning, I had a few things that I wanted to make and I found instructions online.  I followed those instructions as closely as I could.  Sometimes the instructions don’t explain everything.  The first time I watched this video explaining how to make an infinity scarf the woman in the video reminded everyone watching to back stitch at the start of sewing.  Back stitch a what?  So…I googled it 🙂  Watching this video made the instruction to back stitch make a lot more sense.  Anyone can make almost anything they want by just learning the basics of a sewing machine and then having some enthusiasm and patience 🙂

The first thing that I attacked was a tablecloth project…besides a pair of my husband’s pj pants that I basically made even worse than before I started trying to “fix” them…hehe.  I didn’t wash the fabric ahead of time so the tablecloth ended up shrinking a bit and doesn’t fit the table as well….I also ran out of fabric and had to buy more part way through the project…I also started putting the fabric together initially in the wrong way, causing the seam to be very very visible.  Other than all of that though ( 🙂 ), the tablecloth is totally rad and I love it!

blog_tablecloth_8

blog_tablecloth_9

Next I decided that a DIY holiday gift was in order.  I had been eyeing a quilting e course online from my all-time favorite blogger and decided to go for it.  I picked one of the projects, a quilted-foldover clutch, and dove in!  The step by step instructions were really straight forward to follow and Elise responds to email questions very quickly 🙂  The results are pretty cool…if I say so myself 🙂  At the very last minute, I ran the zipper pull completely off the zipper and needed a you-tube video to save the day.  Everything worked out in the end though!

blog_clutch_1

blog_clutch_2

Then I took those instructions and modified them a little to make a tote.

photo 2 (1)

photo (3)

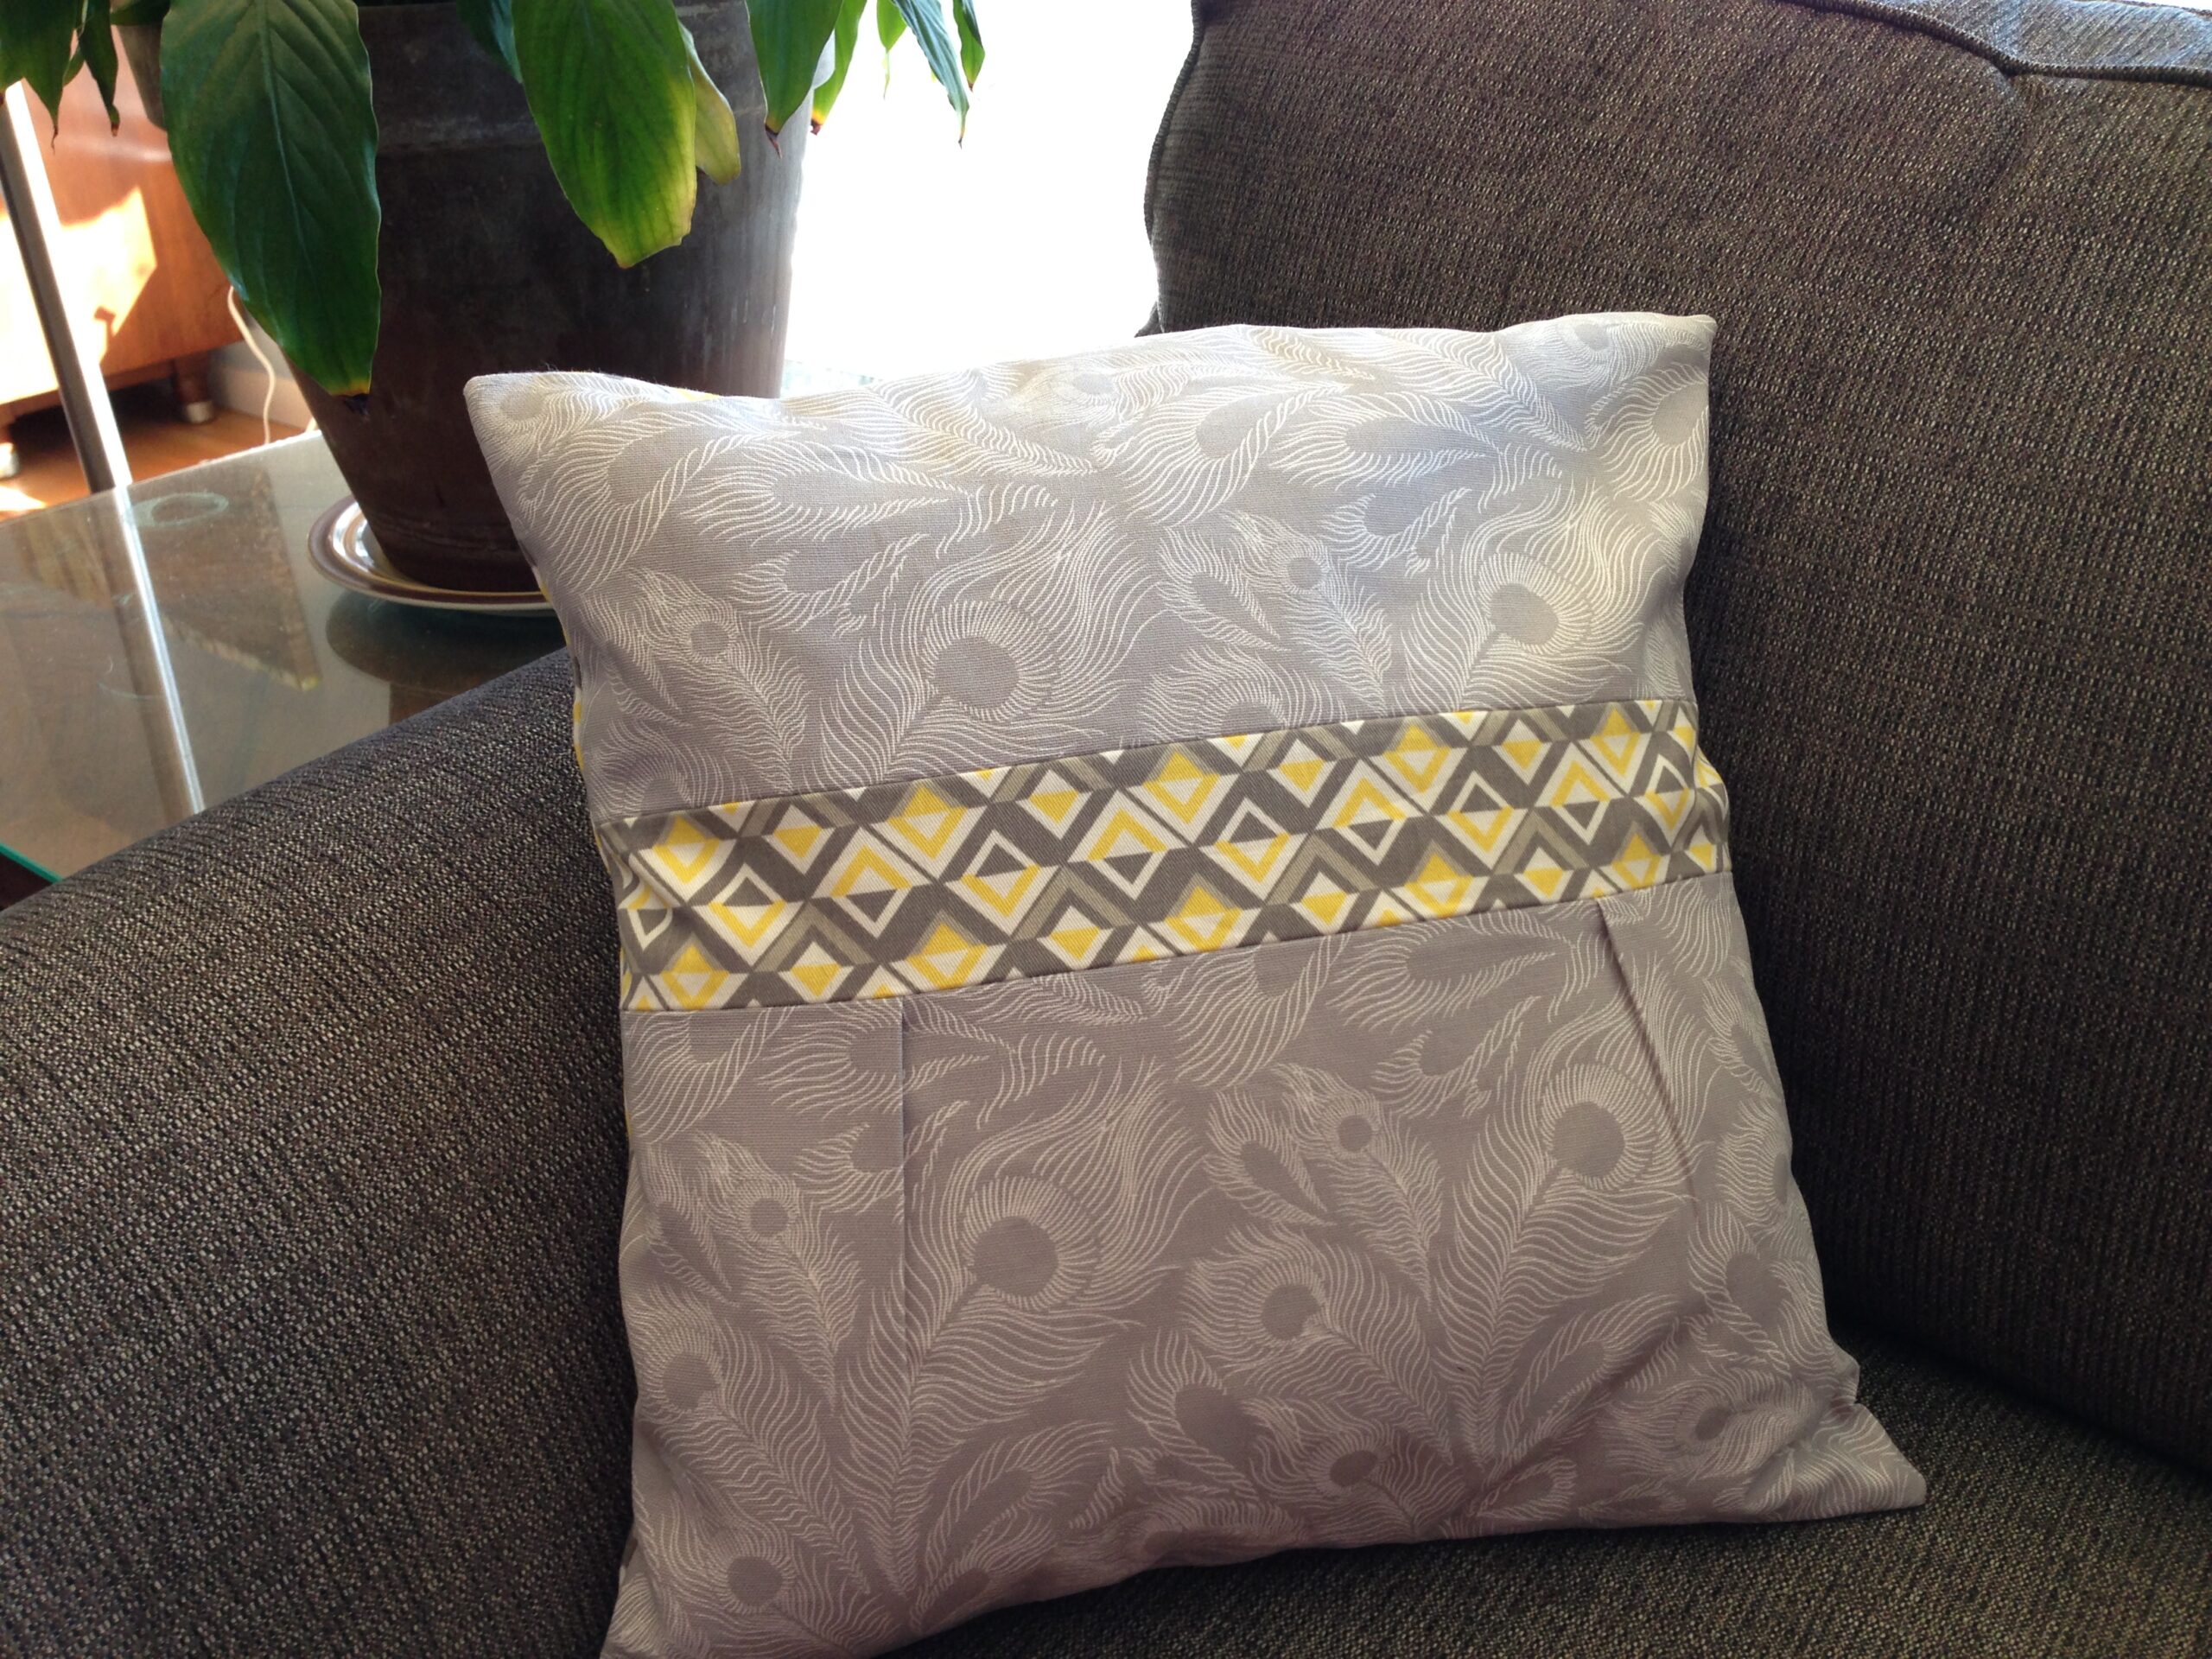
Next I made another item off the quilting ecourse…a quilted triangle throw pillow.  A few months later I made another throw pillow…totally different but using the same skills I had learned the first time.

blog_pillow_5

blog_pillow_6

pillowcase_13

pillowcase_14

Soon after that I made a fun and easy dog bed.  We’ll blog about this project another day too.  It is a really great, on a budget gift idea or just a really great, on a budget thing to make for your own pup!

photo 2 (1)

photo 2

I helped a good friend sew some clutches for her sister’s wedding.  A few of us carted our sewing machines all together and spent the afternoon cutting fabric, chatting with each other and with a toddler, and sewing.  🙂

IMG_7044

Lately I’ve been sewing scarves and dabbling in tshirt remakes…I’ll blog more about this another time 🙂

IMG_8156 front_tank

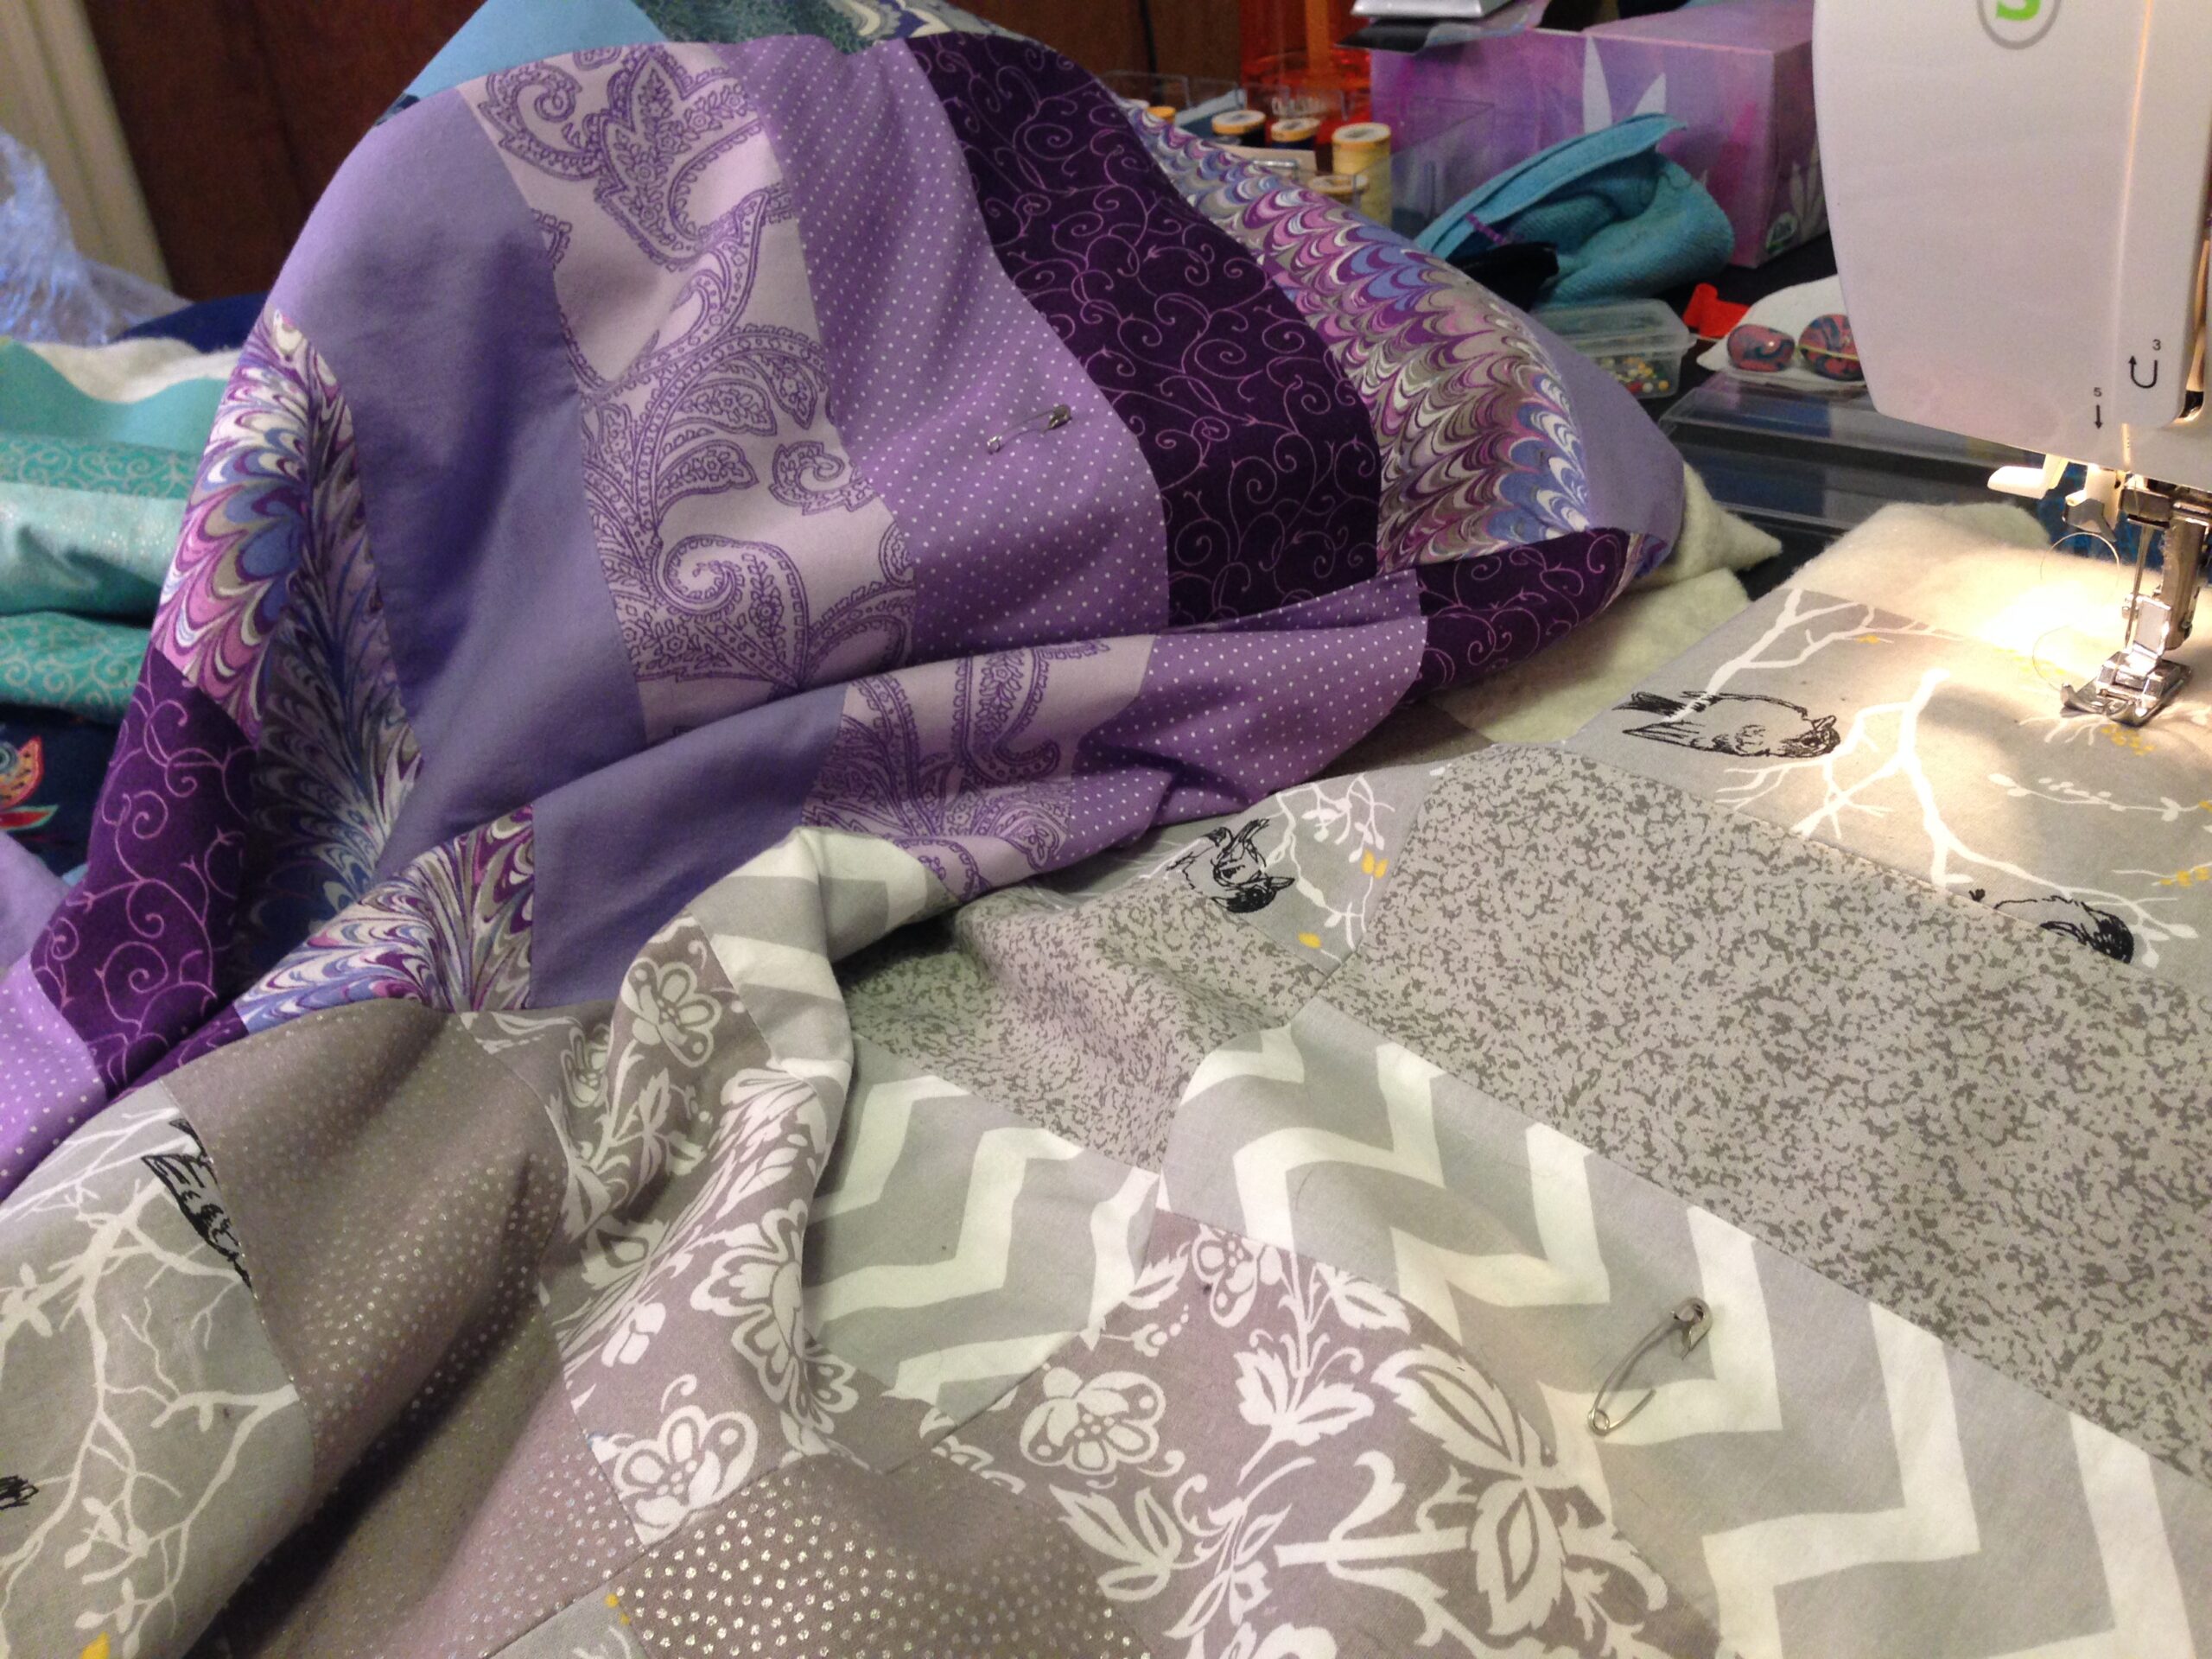
The biggest project though…and one that took up most of this past weekend, is a quilt!  I’ve been following instructions from the quilty ecourse (LOVE this course!) which has made the project a great, step-by-step adventure.  The course makes a 40″x60″ quilt though and I am making one large enough for our bed (or almost large enough) so sometimes the amount of shear fabric seems overwhelming.  So far so good though!  I’m almost finished! (which is good because then I have a King size quilt to make for a friend’s wedding!)

blog_quilt_1

aroundhere2_1

photo 2_sandwich

photo 3 (1)

photo 4 (1)

photo 5 (1)

Have you attempted sewing as a hobby or household necessity?  A cousin of mine approached me recently and asked if I started sewing because I was married now and feeling the need to be domestic….ummm, no.

I.love.making.things.

Sewing is another craft outlet in my opinion.  I get to make a brand new physical object that gets to be in my home!  I don’t know about you, but that sounds really cool to me.  So, when I got my sewing machine I threw out the window all of the “quilts should look like this” and “everything has to be perfect” notions and have just loved experimenting and creating.

Have you tried any fun sewing projects recently?  Interested in starting sewing as a hobby?  Let us know!

DIY Statement Necklace

Lacuna Loft loves a good DIY project…especially one that also helps you feel gorgeous and put together!  When we saw this DIY for Marble Jade Earrings and Pendant by A Beautiful Mess, we knew we had to make a version of our own!  Here are directions to a DIY statement necklace with a marbled color charm 🙂

Here’s what you will need:

[list type=”like”]
[list_item]2 different colors of polymer clay[/list_item]
[list_item]long eyelets[/list_item]
[list_item]necklace chain or embroidery floss[/list_item]
[list_item]polymer safe gloss finish[/list_item]
[list_item]oven + baking sheet[/list_item]
[/list]

I took two lovely shades of clay, warmed them each up in my hands, and gently rolled them together until the colors were blended like I wanted.  The tutorial from A Beautiful Mess focuses on creating a beautiful jade color but I mixed a pale pink and turquoise 🙂  I repeated this process 5 times to create 5 small “beads” (I put that in quotation marks because there has to be some sort of size limit to calling something a bead and I am sure that I’ve surpassed whatever that limit might be haha).  In each “bead” I stuck a long eyelet.

clay

longeyelet

The clay came with directions for baking.  I ended up baking the largest “bead” (the one I’ll put in the middle of the statement necklace) for 1.5 hours and the smaller ones for an hour.  I suggest reading the instructions, baking as instructed, and then checking each “bead” when it comes out of the oven.  I had to put mine back in a few times because they hadn’t completely hardened yet.

beads

allbeads

After letting the beads cool (this could take a little while), I coated each bead with this glossy glaze to give them each a glossy finish.  I used a different glaze than the tutorial this post was inspired from…mainly because I couldn’t find the one she used.  You can use any kind of polymer safe gloss finish.  When they dried, I strung them in the order I liked best onto a length of embroidery floss (I just couldn’t find a chain that I liked!) and voila!

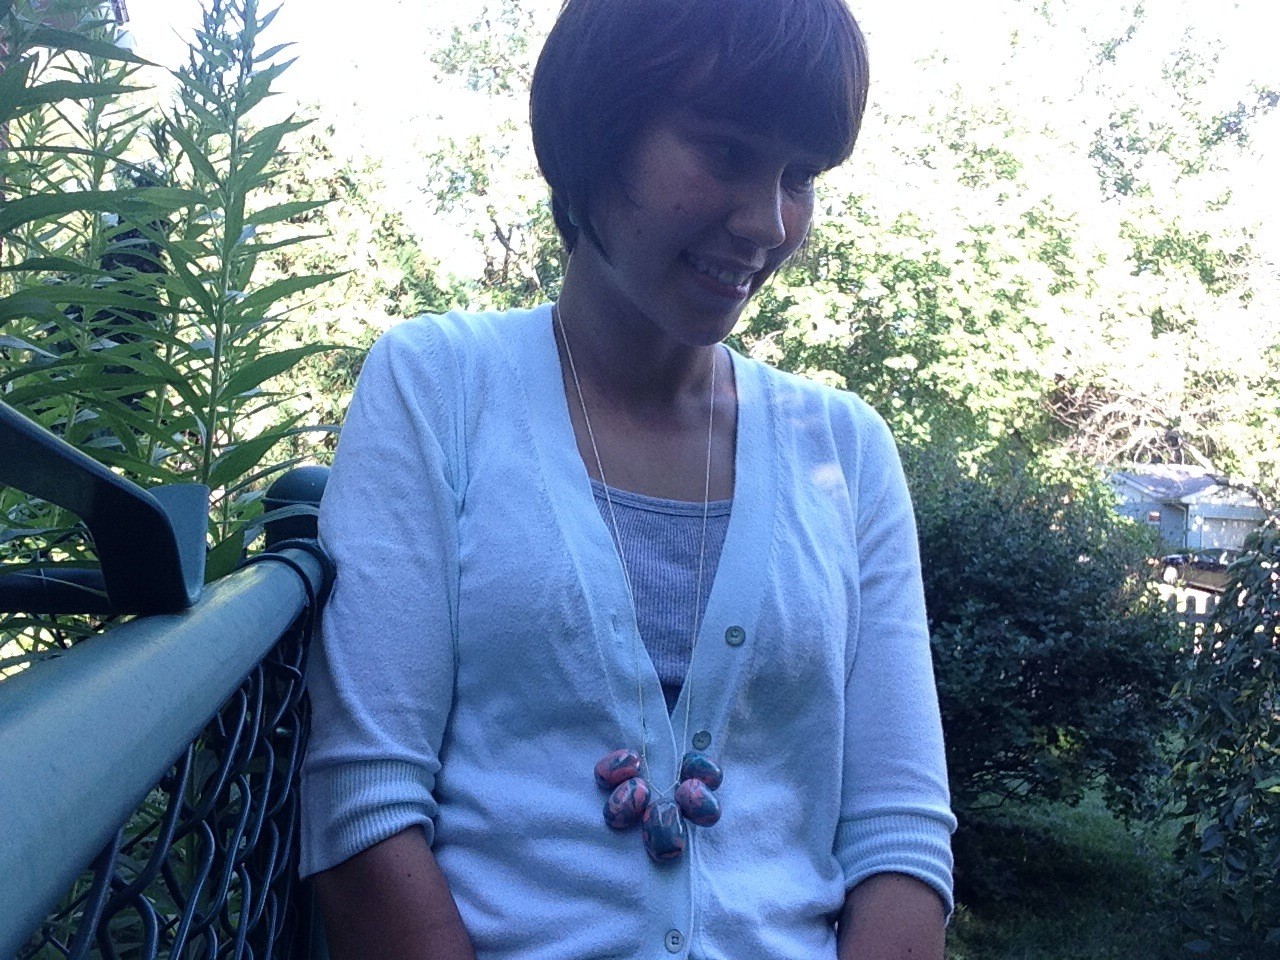
necklace

I really love the finished product.  This DIY statement necklace is really nice to dress up a pair of jeans or add some great color to a darker outfit.  What do you think?  🙂