Pumpkin Cinnamon Rolls

pumpkin cinnamon rolls

Some neighbors of mine recently hosted a Thanksgiving in September celebration so I found myself officially calling it Fall and breaking out some pumpkin.  I baked these delectable Pumpkin Cinnamon Rolls and some creamed corn, all from scratch.  Now that October is underway, I’m feeling the need for some more pumpkin in my life, pronto!  Seemed like a good week to share the pumpkin cinnamon rolls recipe!  I’d call these rolls an intermediate baking activity but the instructions in the recipe are VERY step-by-step and straight forward.  I followed them exactly and my rolls turned out absolutely delicious.

To start, the recipe for these mouth watering pumpkin cinnamon rolls is found here, at Averie Cooks.  I used canned pumpkin…there weren’t many harvested pumpkins yet back in September, and honestly, given the time it takes to make these rolls, I think I’ll go for canned pumpkin the next time I make them too.  I’ll also admit to having served these pumpkin cinnamon rolls for dessert and then for breakfast the next morning.  🙂

2015-09-04 12.41.12-1

2015-09-04 14.43.26

2015-09-04 14.52.48

2015-09-04 14.55.50

2015-09-04 15.07.48-1

risen-rolls

icing

2015-09-05 09.33.29-1The pumpkin cinnamon rolls are tender and gooey.  Not overly pumpkin-y but just the right amount.  Too bad I made these a few weeks ago…I’m really getting a craving for one now!

Are you doing any baking with pumpkin this fall?  Share your recipes!

Baked Apples

Well, since it is officially fall, I decided to grab some apples and start baking!

While at the grocery store the other day, I picked up 6 apples, fully intending to make homemade applesauce.  Well, when I got home, I remembered that I’m in the middle of a move and don’t have a large enough pot to cook as much applesauce goodness as I wanted.  So, I improvised!

Baked Apples

What you’ll need:

[list type=”like”]
[list_item]6 apples of any kind you’d like[/list_item]
[list_item]pumpkin spice[/list_item]
[list_item]cinnamon[/list_item]
[list_item]1 Tb. brown sugar[/list_item]
[list_item]1/2 c. water[/list_item]
[/list]

Preheat your oven to 350 °F.  Rinse the apples and cut them into quarters.  This is easily done if you first cut off the bottom.  Then you have a nice, flat surface to cut the apple in half.  Then lay each half down on your cutting board and cut into fourths.  Taking each fourth and setting it upon it’s flat bottom then makes it really easy to cut out the core.  I like to keep the skins on the apples as it lets you keep all of that awesome fiber…but you can definitely skin them too if you prefer!

IMG_3242

IMG_3244

IMG_3243

Lay the cut apples in a baking dish.  Add the 1/2 c. water.  Then sprinkle with the brown sugar, cinnamon, and pumpkin spice.

IMG_3245

Cover the baking dish with tin foil and place in the oven.  After 20 minutes, take the dish out of the oven, and carefully stir around.  If the apples appear dry you can add a bit more water to the bottom of the baking dish.  Bake another 25 minutes.

IMG_3247

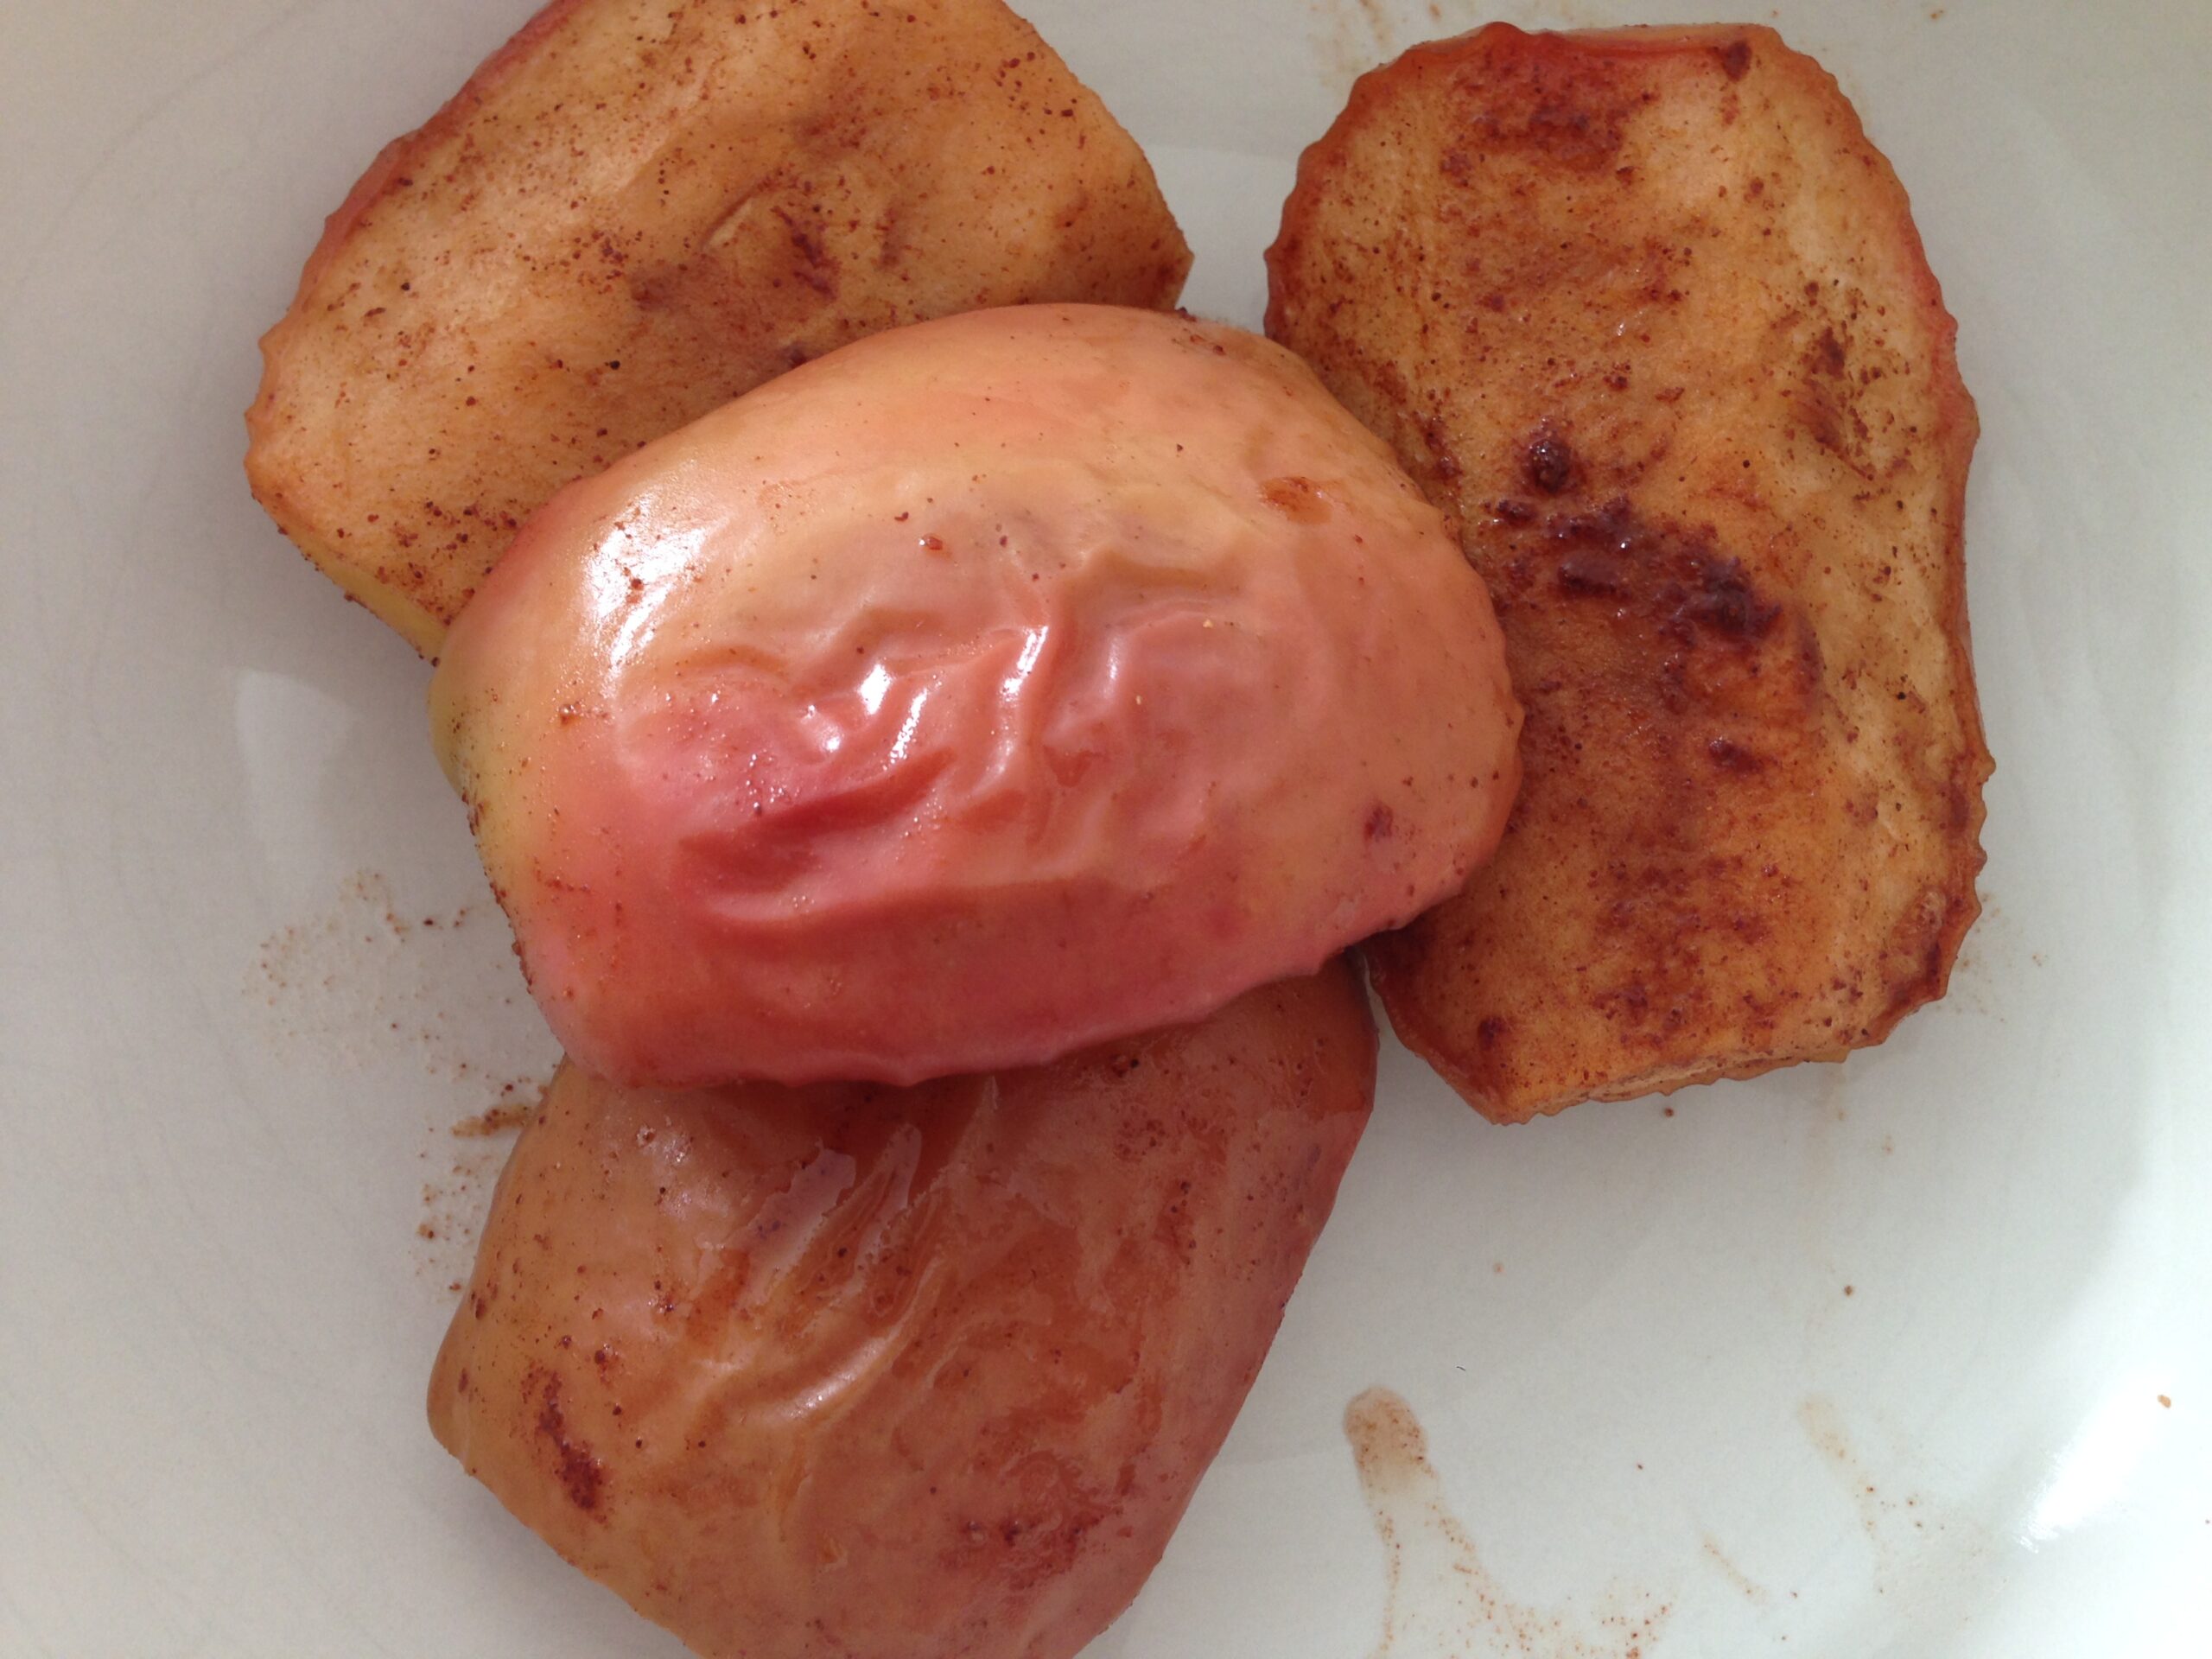
And that’s it!  Not too sweet, not too mushy.  A yummy, healthy, and delicious baked apple treat for your fall!  Once the pan has cooled a bit, the water and sugar in the bottom of baking dish will thicken slightly and add a great syrup to your served baked apples.

Want the apples more thoroughly cooked?  Cutting them into smaller pieces should help as well as baking them for longer.

Do you have any baked apples recipes for this fall?  We’d love to hear more!

Easy Self-Care Tip #3

easy self-care tip

Welcome to our new series of easy self-care tips!  If you have an easy self-care tip that works for you, share with us!

Easy Self-Care Tip #3:

You can only choose one thing.

Feeling like you need some space today to relax and rejuvenate but frustrated because you’re not getting any work done?  You can only choose one.  Either push your own needs aside and put your nose to the grind OR take some needed time and space for yourself.  (My two cents:  If you take space for yourself now, I’ve found that I then have more energy for work later on.)  Stressed because you need to pack but feeling sick and unmotivated? (That was me, sick with a sinus infection and pink eye a few weeks ago).  You can only choose one.  Either grab your box of portable tissues and pack those boxes, OR put yourself to bed for some rest and relaxation.

Feeling pulled in two directions only leads to stress, resentment, or guilt once you choose one.  Knowing that, no matter what, you can only choose one thing, lets you off the hook.  Since you can only choose one, think about it, and then choose without any remorse about the loss of the other choice.

When things get tough, what do you choose?

Fighting Cancer With Humor

fighting cancer with humor

What tools do you use to combat your young adult cancer?  Modern medicine perhaps?  Maybe some alternative therapies too?  (I’m thinking maybe meditation, acupuncture, diet changes, or counseling?)

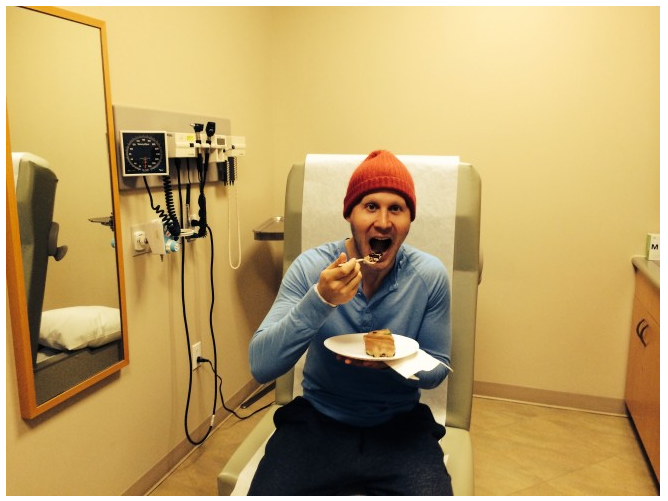
Well, one young adult cancer survivor uses humor to provide himself and those around him with hope.  Alex Niles is a cancer survivor and a strong young adult cancer advocate.  He challenges us all to find humor in our everyday, despite the difficult circumstances where we may be.  Fighting cancer with humor can be a monumental task sometimes…but keeping yourself armed with positive thoughts helps keep you in control over an important piece of your journey.

You can read the whole article he wrote here (including a pretty chuckle-worthy bit about his sperm donation experience).

How do you try fighting cancer with humor?

image via

Developing A Home Yoga Practice (Pt. 2)

home yoga practice tips

There are so many benefits from a regular yoga practice.  Being in my body teaches me how to safely expand beyond what I thought were limits.  I learn to trust the teacher within me – the voice of intuition or deeper knowing that guides my next pose, my next breath, and my big decisions.  Of course a teacher and the support of a class of peers is helpful and feels awesome.  I need that, too.  I need someone to reflect back to me where I can adjust, what I’m doing that isn’t safe or best.  But I also need to be on my mat with just ME.  (And, you may save a lot of money this way).

I learned how to develop my own home yoga practice by starting with a plan and then learning to listen to my body (part 1).  I realize that not everyone has a teacher writing a plan for their body to start us on the path.  So here are some ideas for creating a little bit of a plan that may get you going towards something steady.

Home yoga practice tips:

1.  Make some note cards of poses.  You know, the poses you know.  The ones you want to know.  The ones you don’t like.  On each card, write the poses out in words (English, Sanscrit, made-up home name for a pose) or draw them (I tend towards stick figures).  Arrange them into an order that you want to practice and do it.  See how it feels in your body.  What transitions are awkward or awful?  Why?  Continue to practice the same pattern and see if it improves over days.  Or, change it up each day and notice what you like better.  What you don’t like.  What is good for you even if you don’t like it.  What do you learn about yourself and your body?  The INQUIRY is the yoga.  The poses are a vehicle into knowing ourselves.  When we know ourselves, we can be free to choose any way of being in the world.  And then we can experience joy, love.

2.  Get a Book.  If you are like me, you love reading these and hate doing what they say!  But seriously, for some people, this is awesome.  PS – books come from libraries, too, so you don’t have to break the bank on this.

  • Light on Yoga (BKS Iyengar) has a VERY detailed plan for home practice in the back and of course tells you a lot about each pose, how to enter it, how long to hold it, etc.  The tone is very direct and detailed.  (This is a great supplement to practicing with a teacher, especially at an Iyengar Yoga studio.  These teachers are trained thoroughly and know how to adjust poses and people of all types and maladies.  They have an understanding of the therapeutic workings of yoga.  Super safe, super effective, super detailed.)
  • The Heart of Yoga (TKV Desikachar) has various Vinyasa sequences.  His focus with Vinyasa is moving the the breath so you move back and forth between two or more poses using inhales and exhales.  He also has written a lot of great information about the philosophies of yoga.  This book is really approachable for even a raw beginner.
  • Jivamukti Yoga (Sharon Gannon & David Life) is a classic book about this stye of yoga.  Really respected.  Rigorous.  I love the voice of this book, it makes me love yoga more.  They have tons of mini sequences that move with the breath that you can link together however you want (but they also have complete practices for multiple difficulty levels at the back).
  • Yoga Mala (Sri K Pattabhi Jois) is a similarly designed book for Ashtanga yoga.  Ashtanga is a physically demanding practice system and has poses divided into Series.  One progresses from Primary Series to Secondary, etc., by practicing the same series of poses each day.  You may change, the days change, but the poses remain the same.  And thus, you can see how you progress.  I haven’t read this book yet but have browsed it at studios and think it would be a gem.

3.  Take a class (in a studio or online), write down what you remember doing, and do it again at home for a week until your next class.  This will challenge your brain and memory (yes we can all further develop our creative recall powers) as well as your body.  You will improve.  Notice if parts of your body are extra tired or feeling left out.  Here, you can learn to add what you need.  Maybe the class was all about backbends.  That’s cool for a day or two… but now you need to stretch your back because it’s getting so strong so you do some forward bends and twists… and then maybe you move into some standing poses because you are tired of looking upside down in bridge.  Awesome.  Strong legs and stretched hamstrings!  Side bends sound good too… look, you’ve started to create a rhythm of a balanced home practice!

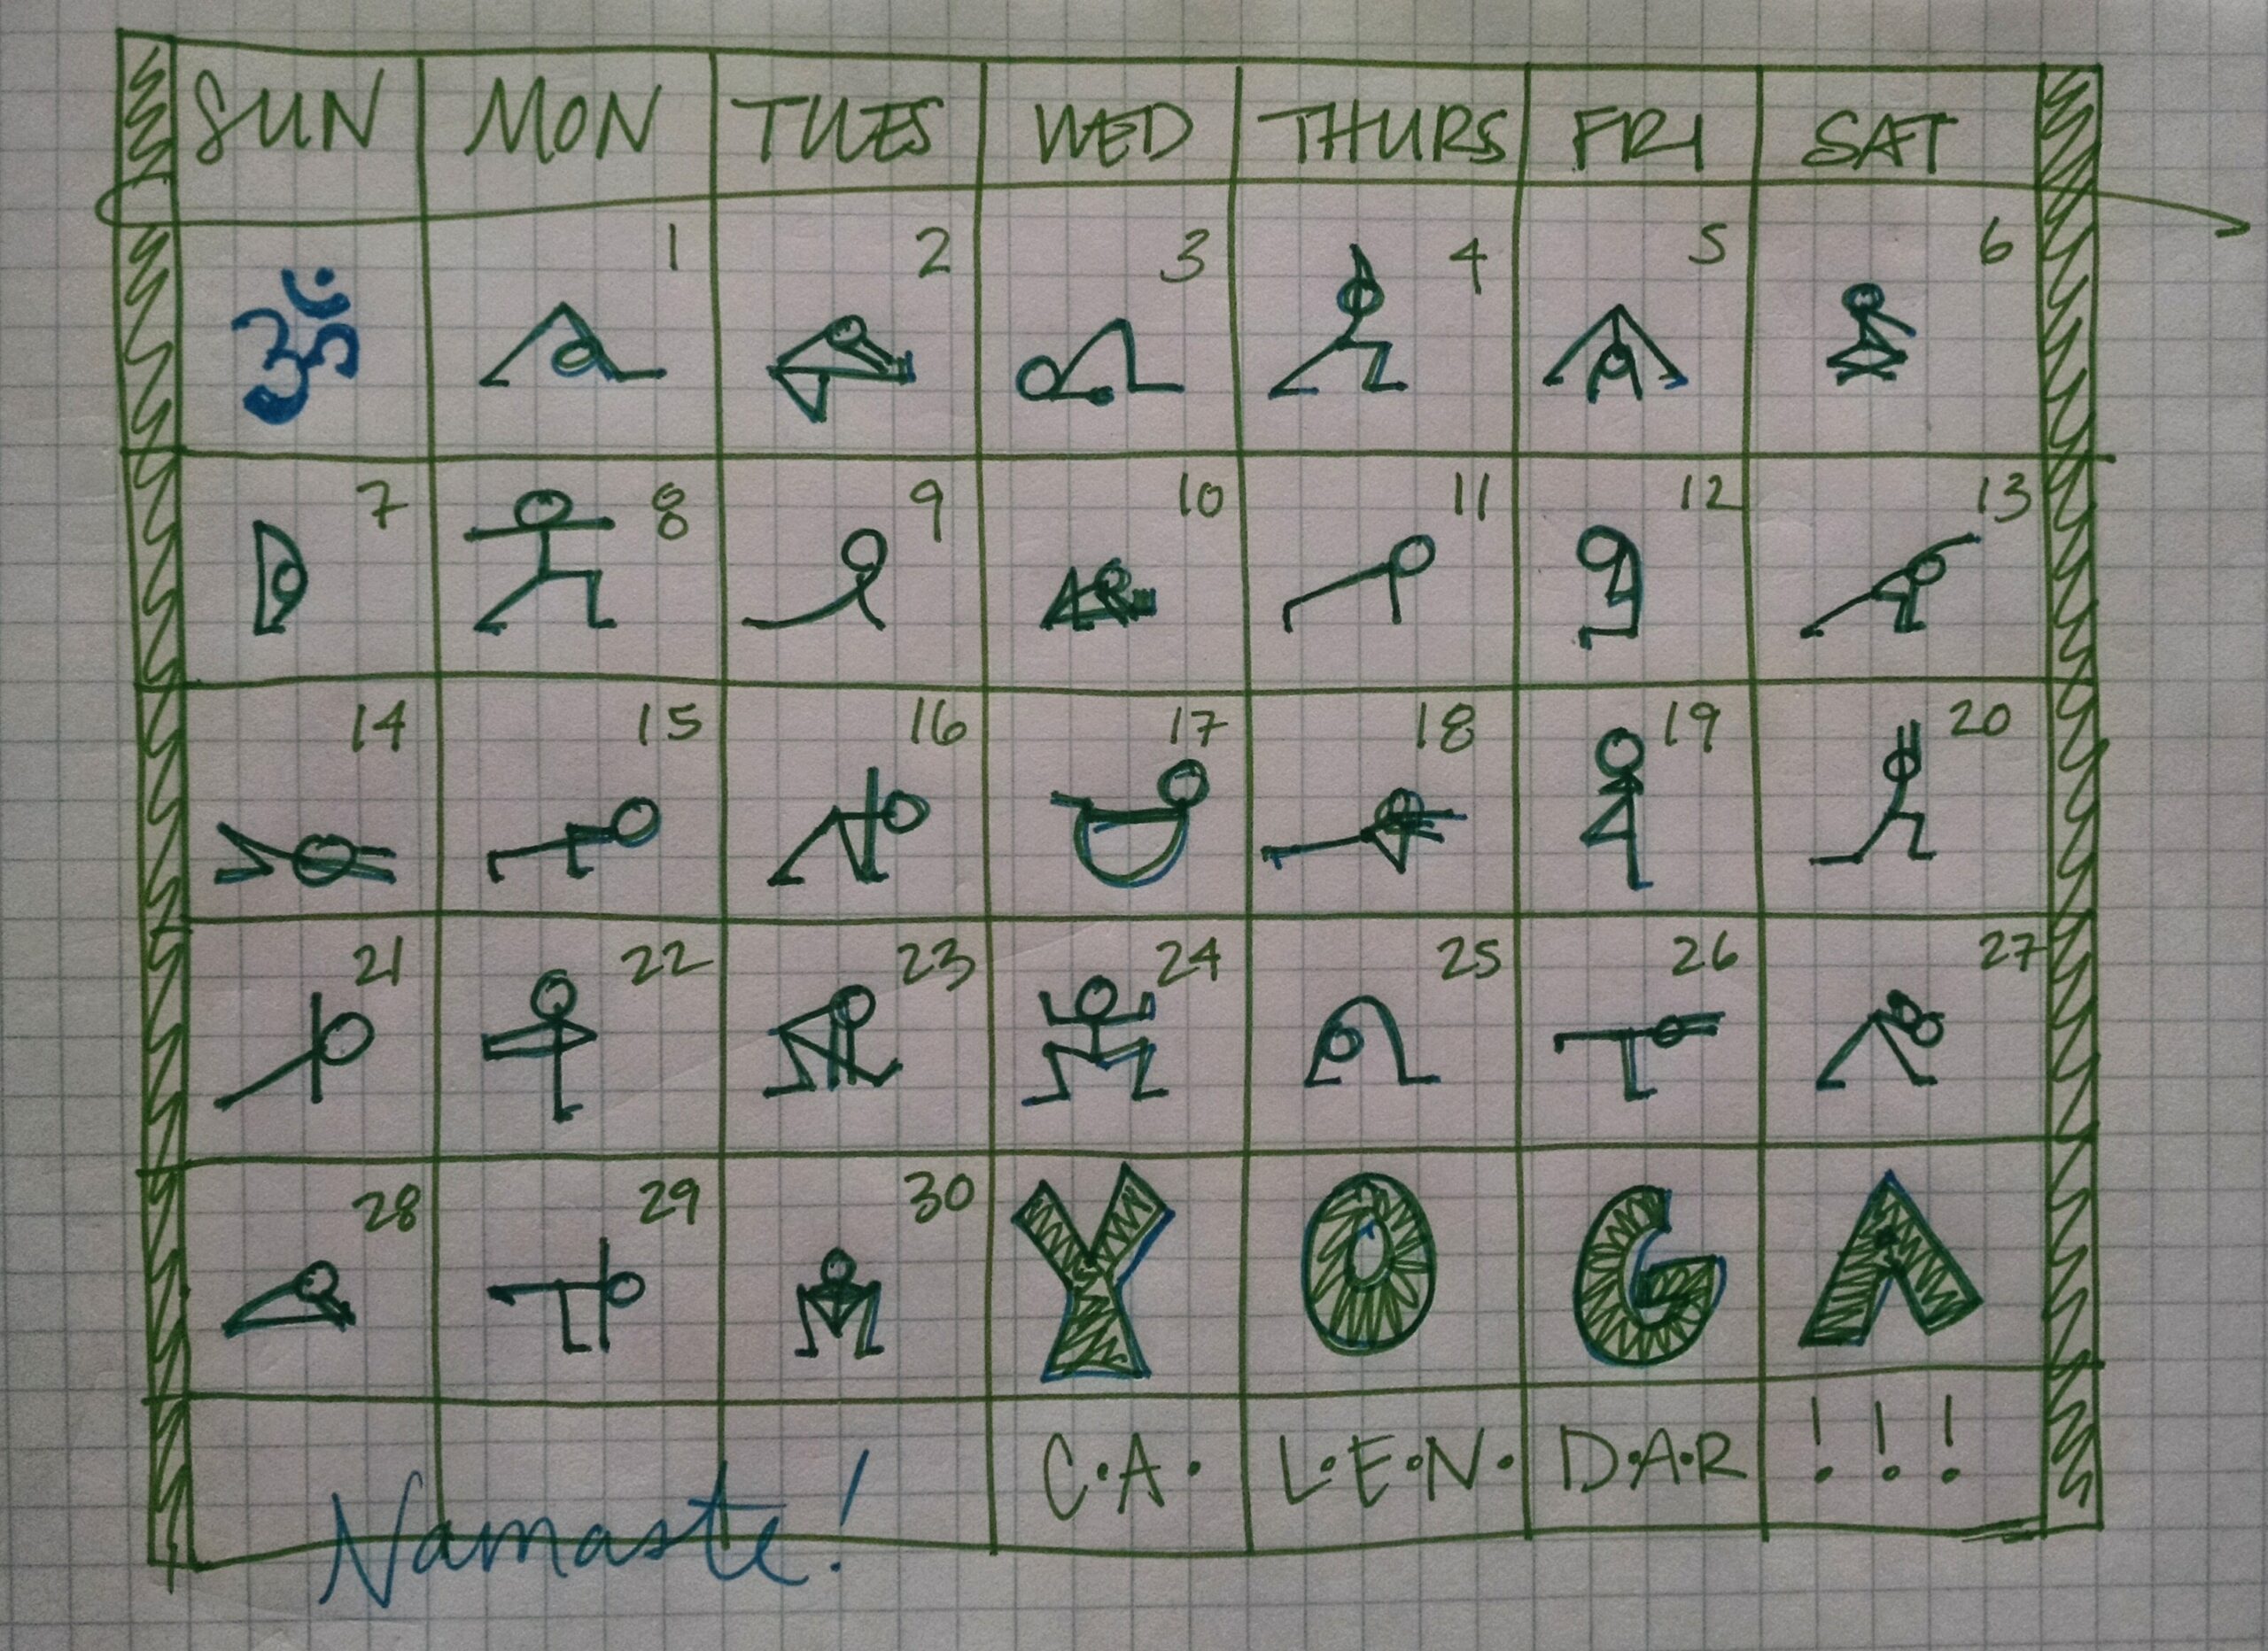
4.  Mark up your calendar with different poses.  Draw one one each day and do it.  Then, decide what didn’t feel right and needed help.  Do some work to help out those tough spots and do the pose again.  For example: I do Down-Dog.  It feels AWFUL.  Okay, I need to stretch the backs of my legs.  Well, I can also stretch my hips to give my legs freedom.  And maybe massage my feet or calves to loosen them up.  I’ll do a little backbend or twisting to wake up my back.  I’ll stretch my arms overhead and do some side bends so I can really get length in my back.  Now, I do Down-Dog again.  I bet its much better.  My heels are even making their way towards the ground now.  And I did well today – savasana or meditation to end.  Way to go!

5.  You can also check out our posts on restorative poses and start with one a day!

Do you have any home yoga practice tips to add?  What do you use to help build or expand your yoga at home?  Where have you found yourself doing yoga?  What else do you need to help you grow?

Songs For Feeling Strong

young adult cancer

I have a scan this week.  It is my first scan of my 4th year of remission.  It is also the first scan that happens a whole year after the previous one.  All of that extra time in between scans has made me nervous.  I feel nodes that I don’t remember feeling.  I’ve cried in the shower as I fathomed what it would be like to face another round of being in active treatment.  But I’ve also found this song during all of that time.  I play it when I run, I play it when I’m in the shower, I play it while I clean the house…it is basically on repeat all the time.  Fight Song makes me feel strong.

Young adult cancer is no joke and finding something that makes you feel stronger isn’t either.

Do you have a song that makes you feel strong?

Easy Self-Care Tip #2

self-care tip

Welcome to our new series of easy self-care tips!  If you have an easy self-care tip that works for you, share with us!

Easy Self-Care Tip #2:

Do something nice for yourself today.

Whether that is adding a bit of honey to your tea, taking a bubble bath at the end of the day, spending a few minutes reading a favorite book before bed, or anything else…do something nice for yourself today.  Think of it as if you were doing something nice for a good and kind friend.

Developing A Home Yoga Practice (Pt. 1)

home yoga practice

I got into yoga because there was a free class I could walk to.  Yoga wasn’t in my plans (or budget) but I thought that even better than taking a day off from running, I could get a different type of workout in. (This was during a stressful time in my life – I used workouts for self-care/sanity.)

I began to fall in love though.  I fell in love with the person I remembered that I really was, beyond the stress and frustration at work or in relationships.  I remembered how my soul ached to be bathed in (and bathe others in) compassion.  I loved the calling into love that I knew but didn’t always experience.  I loved that I could embody and practice my philosophy, my values, my faith.

So I became a yoga hopper.  I did classes at almost all of the studios in town.  When I traveled, I couldn’t wait to look up studios and visit.  To learn new moves, experience new styles, and glean wisdom from new teachers.  I was soaking it up.

Then, one winter, I got it into my head that I was interested in teacher training.  I loved how the teacher I went to the most (also a free class, mind you) moved in her body.  She had such freedom and power in her movements, her voice, and her presence.  I wanted more of that.  I also am the personality type that wants to know why and what and more and how (did I miss my calling as an engineer?)… so I needed to get deeper into these questions and find some answers.  I signed up and paid in full.

After a 12-day intensive with our teacher, we were told that we now had to go home and practice on our own and NOT go to other teachers’ classes.  WHAT?!?!  I mean I had done a little yoga on my own before that.  In hotel rooms, usually in dire circumstances without a class.  What would I do?  How would I know what pose to do when and how could I learn without a teacher?  She weaned us with a custom “routine” to do for three weeks.  After that, it was up to each of us.

I got sick of her routine.  I longed to do anything else.  And there I was, at the end of three weeks, with an empty mat.  It was up to me to make an hour a day happen (since I was in training I was doing at least this much a day – not true anymore).  I started by doing some Sun Salutations.  I knew those from my Ashtanga-inspired teachers.  And then I did some Warrior poses.  And then, all of a sudden, my body started ASKING me for poses.  My hip flexors almost begged for a lunge.  My hamstrings groaned with gratitude when I did forward bends.  The joy/agony/release of each pose was already known by my body.  I learned to listen.  To trust.  To know the voice of a deeper part of me than just my head.

And a home practice was born.  Not without struggle.  Oh man, I am good at coming up with urgent things that must be done on my computer, on my phone, around my house, “for someone else”… to avoid going to my mat.  I struggle to give myself time to be with me, to gain clarity and compassion.  And honestly, I still don’t understand why this is a human struggle, but it is.  It is good for me, it is good for others, and yet I avoid it.  Maybe I’ll have more for you in another decade of learning.  (See some posts on meditation to help clear the way.)

Do you have a home yoga practice?  What are your struggles?  What helps you carve out time for you and your body/soul?  

Check out Part 2 next week for some ideas on creating your own home practice!

An Easy Self-Care Tip

easy self-care tip

Believe me, I know.  Self-care is not a piece of cake.  Sure, once you hear a tip is sounds easy enough but all the real work is found in the implementation.  Even so, never to late to hear a new, easy self-care tip right?  I learned this one when I was in grad school.  I’ll admit that I don’t quite have the hang of it yet…but I’m working on it!

When you’re facing a tough day or a tough situation (or both!), try talking to yourself like you would talk to a really good friend, or to your younger self.  How would you react to your best friend (or the younger you) if he or she lost that big client or didn’t do well in that race or had a less than stellar day?

Would you blame them for the mistake?  Would you pile on all of the other things that your friend did wrong that day?

I didn’t think so.

Try talking to yourself like you would a very good friend.  You are with yourself all the time for goodness sake!  Treat yourself like your own best friend!  Nurture yourself and be kind.

Have you heard of this easy self-care tip before?  What other self-care tips do you use?