How To Create Natural Brows During Hair Loss

How to Create Natural Brows During Hair Loss
coffee brow mug 2
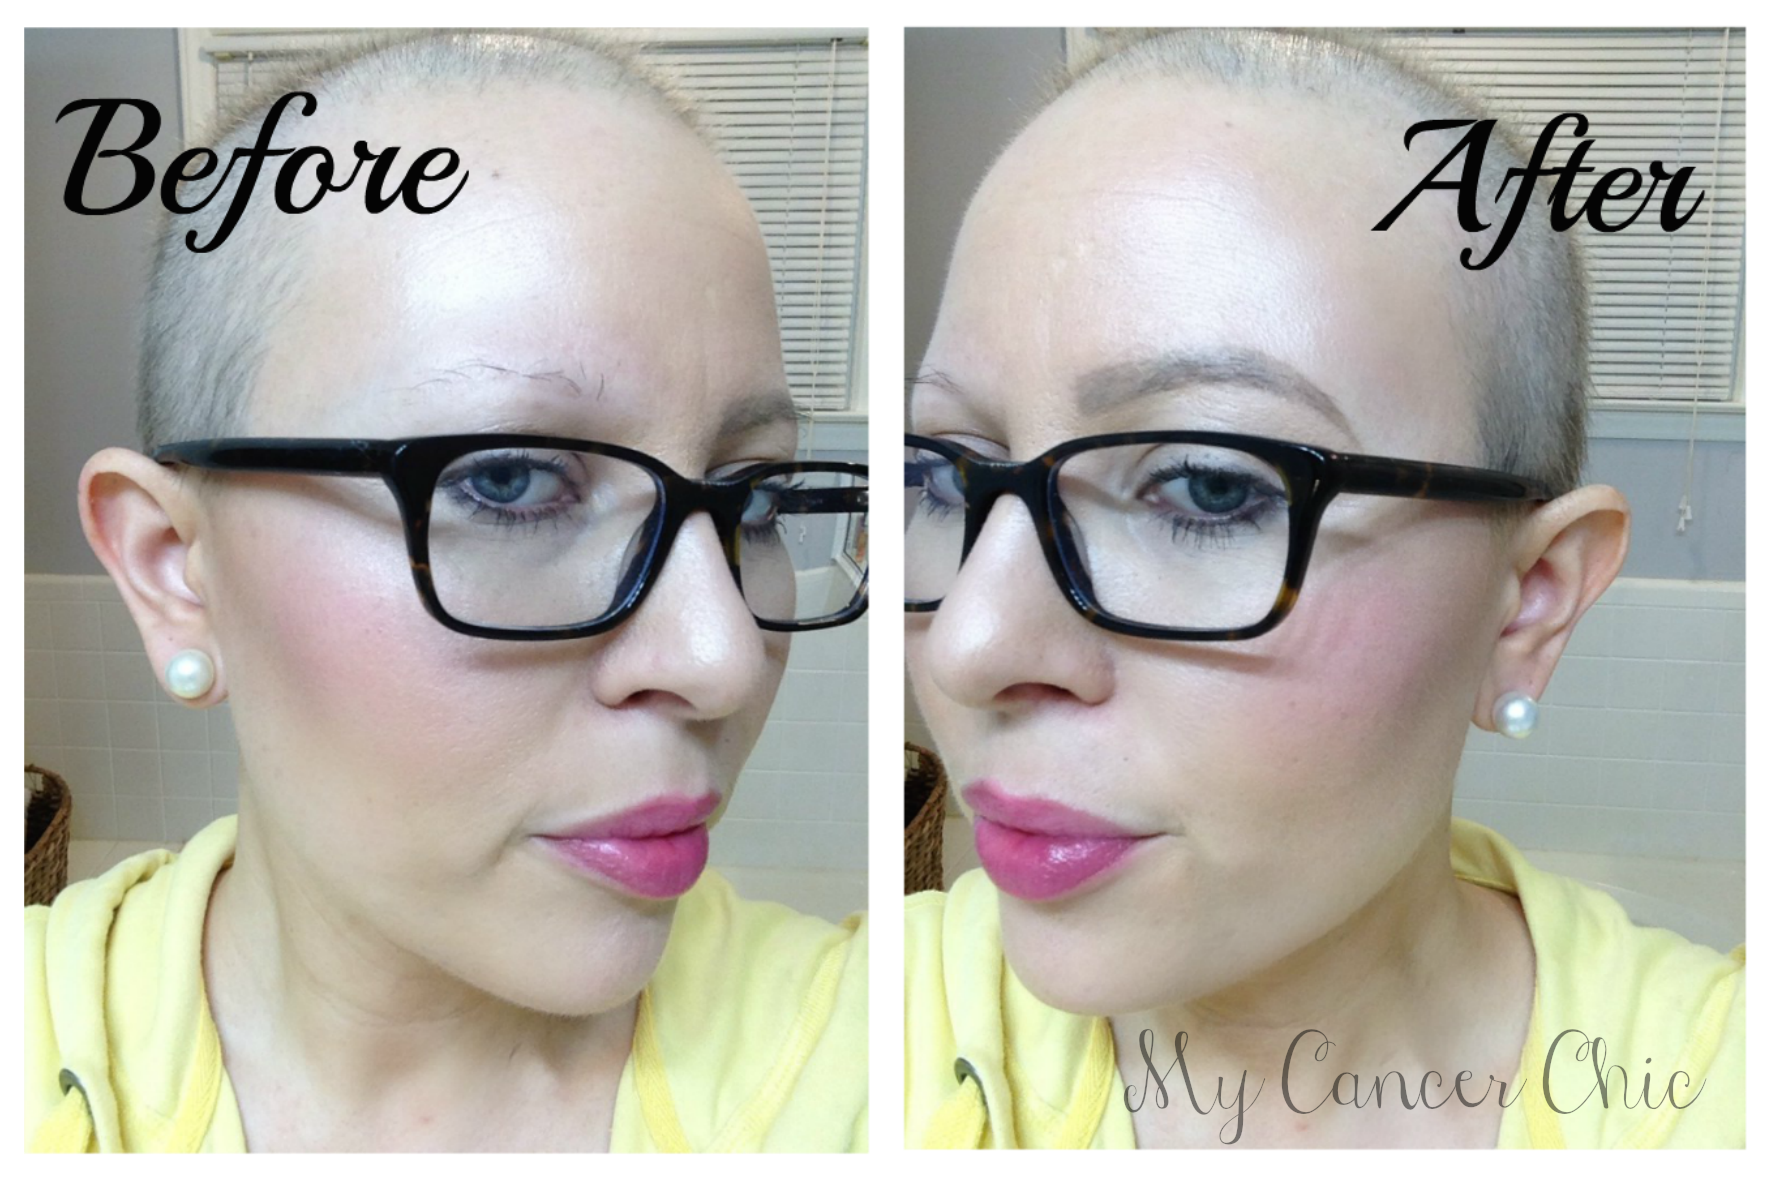
Hair loss can be devastating and it is an unfortunate side effect of most chemotherapy cocktails. Luckily, there are wigs, head scarfs, and hats if you don’t feel comfortable rocking your bald head. You may become surprisingly comfortable with the bald head look like I did.  Losing your eyebrows on the other hand can be a bit more challenging. I felt like I looked like ET — bald and brow-less. Don’t despair!!! There are wonderful products that can be used to create natural looking brows, even when you only have a few lonesome brow hairs left. Due to sparse brows and over plucking as a teen, I have been filling in my brows for years and I have learned a lot along the way. I hope you find the products and suggestions below helpful. I have also provided some links to my favorite YouTube brow gurus.

Product graphic wwatermarkProduct Links:

Brow Gel ~ Brow Pencil (fine tip) ~ Brow Pencil (thick angled tip, smudge proof, long lasting)~ Brow Pencil (cheaper version) ~ Concealer

Brow Steps graphic final

YouTube Brow Gurus:  Desi PerkinsNikki Tutorials

*Coffee mug from Etsy

Welcome Anna!

Lacuna Loft is excited to continue introducing more young adult voices! These great folks represent a variety of perspectives on the myriad of topics covered here at Lacuna Loft. Before everyone starts really getting into the nitty-gritty of all they have to say, we wanted to introduce them a bit. Without further ado, here is Anna!

We were newlyweds, buying our second home, and planning to start a family. It was July 2015 right before my 28th birthday when I got that dreaded call and everything changed. Breast cancer had other plans for me. Since that terrifying moment, cancer has challenged me mentally, emotionally, and physically. After multiple surgeries, complications, and chemotherapy, I can look back as a survivor and say I am proud of the happiness I was able to find during that awful time. Cancer challenged me to change my outlook on life and I was able to reach a new level of personal growth and self love.

While going through my battle, I found that the young adult voice and the availability of resources tailored for young people in the cancer world were greatly lacking. I was inspired to share my story as a means to raise awareness. I created a blog called My Cancer Chic focused on positivity and strategies for maintaining style and confidence during cancer treatment. Young women diagnosed with cancer face a unique set of challenges and they deserve to have resources tailored to those needs.

Through My Cancer Chic I have been able to connect with women across the globe and give back to this amazing community through my writing. I hope that by sharing my story, I am able to impact the lives of other young women who may feel alone in their struggle and are looking for ways to maintain aspects of “normalcy”, beauty, and confidence during treatment and beyond. I continue to write about my experience as a survivor to help me work through my own challenges and to bring awareness to the young adult cancer experience in hopes that one day we will have a cure.

Watch That Hair Grow!

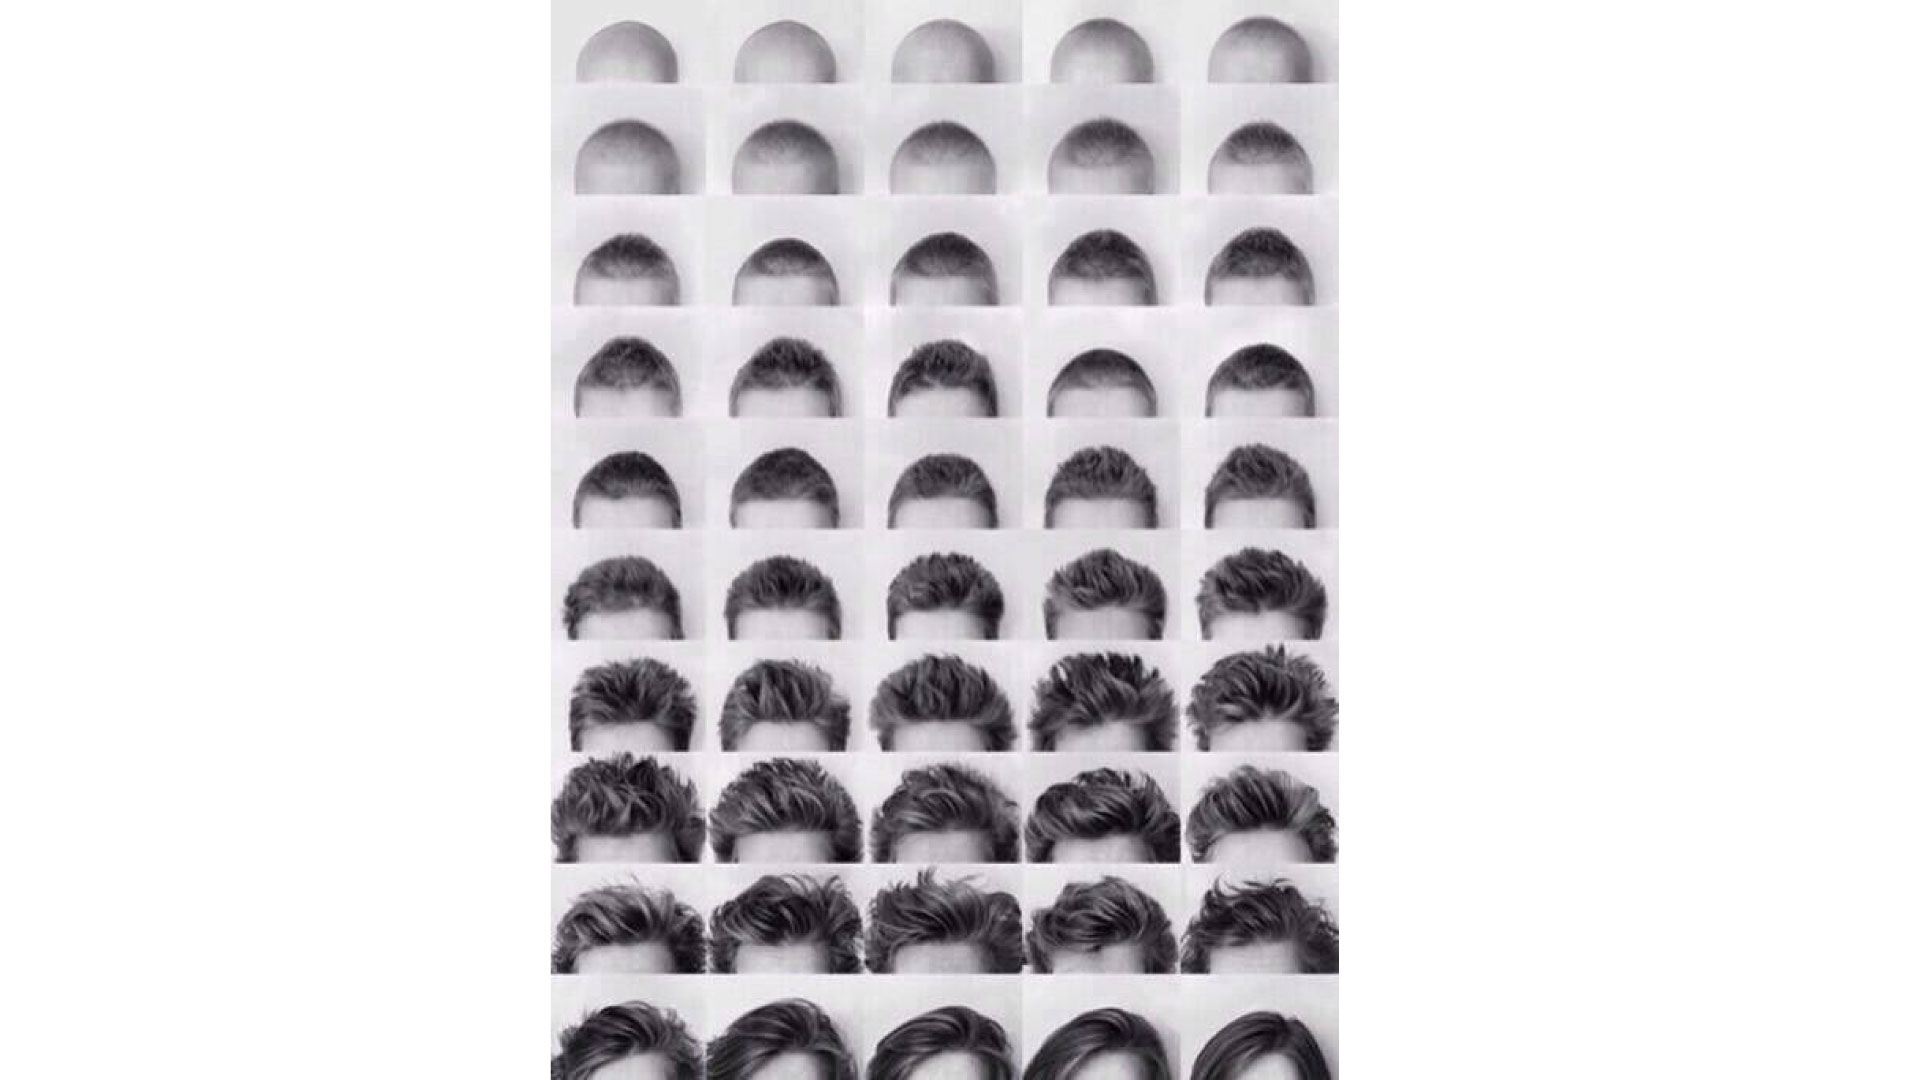
A female cancer survivor took frequent pictures of her hair growth after she finished chemo.  You can see how she goes from rocking the ‘no hair don’t care’ look, to a great pixie cut, to a short bob.  While your hair may not act just like hers did (her short hair flows up and around like a rock star), her hair growth diary offers endless inspiration.

Growing out your hair after chemo doesn’t have to be painful.  Talk to your hair stylist, learn to use some great products to style your short hairs however you’d like, and have some fun!  Would you take pictures while you are growing out your hair after chemo?

image via

P.S. Growing out your hair after chemo

Hair Loss Makes Vogue

vogue hair loss

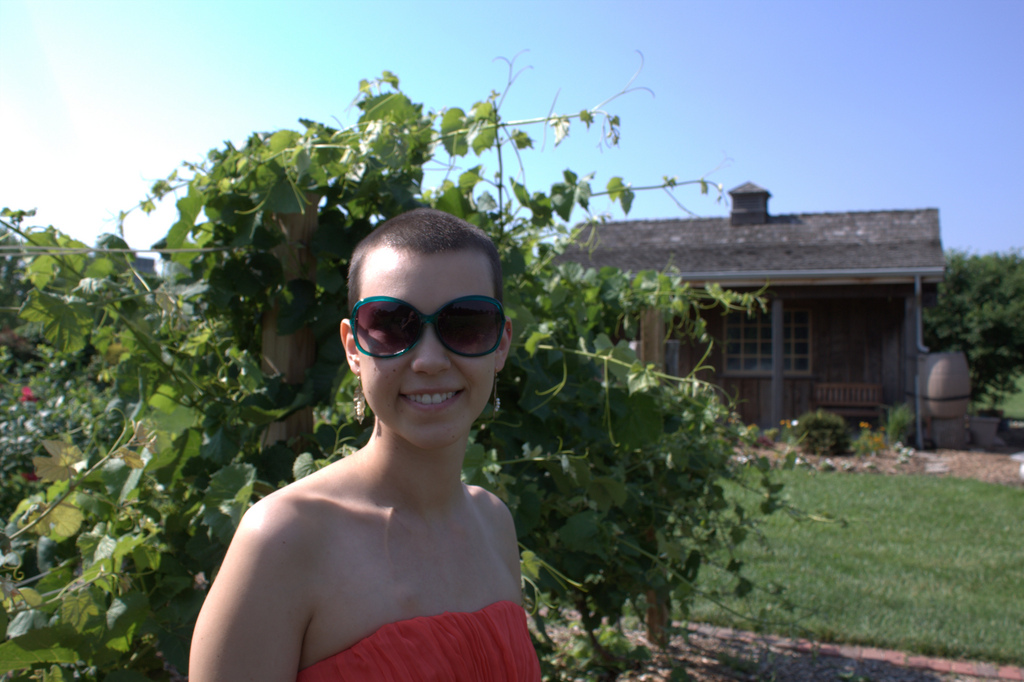
Vogue has tackled one of those all important features of a woman’s external persona…her hair.  Hair loss is a topic that is near and dear to my heart after I lost most of my hair during chemo treatments.  For so many survivors with whom I’ve spoken, losing their hair was detrimental.  It represented just one more thing that cancer was taking from them.  Some of us rock wigs, scarves, and others go around bald or with a buzz cut for months at a time.

The point is: the choice is yours!

Vogue talks with 9 women as they embrace hair loss for various reasons, from alopecia to cancer treatments.  These women are forced to see their beauty in a new light and master their style in a creative way.

vogue quote

The women in the feature are beautiful and dynamic.  Each has a different story of how her hair loss affected her (or didn’t) and how she has redefined her sense of beauty and fashion as a result.  For Vogue hair loss presents a different side of the beauty, style, and fashion equation.  Losing your hair forces you to reexamine outward perception of what is “normal” and what will “fit it.”  The whole piece and the accompanying video are truly beautiful.

Check out the great article and the powerful video!

How have you changed your style and fashion following hair loss?  How have you adapted your sense of beauty?

Styling Pixie Cut Hair

styling pixie cut

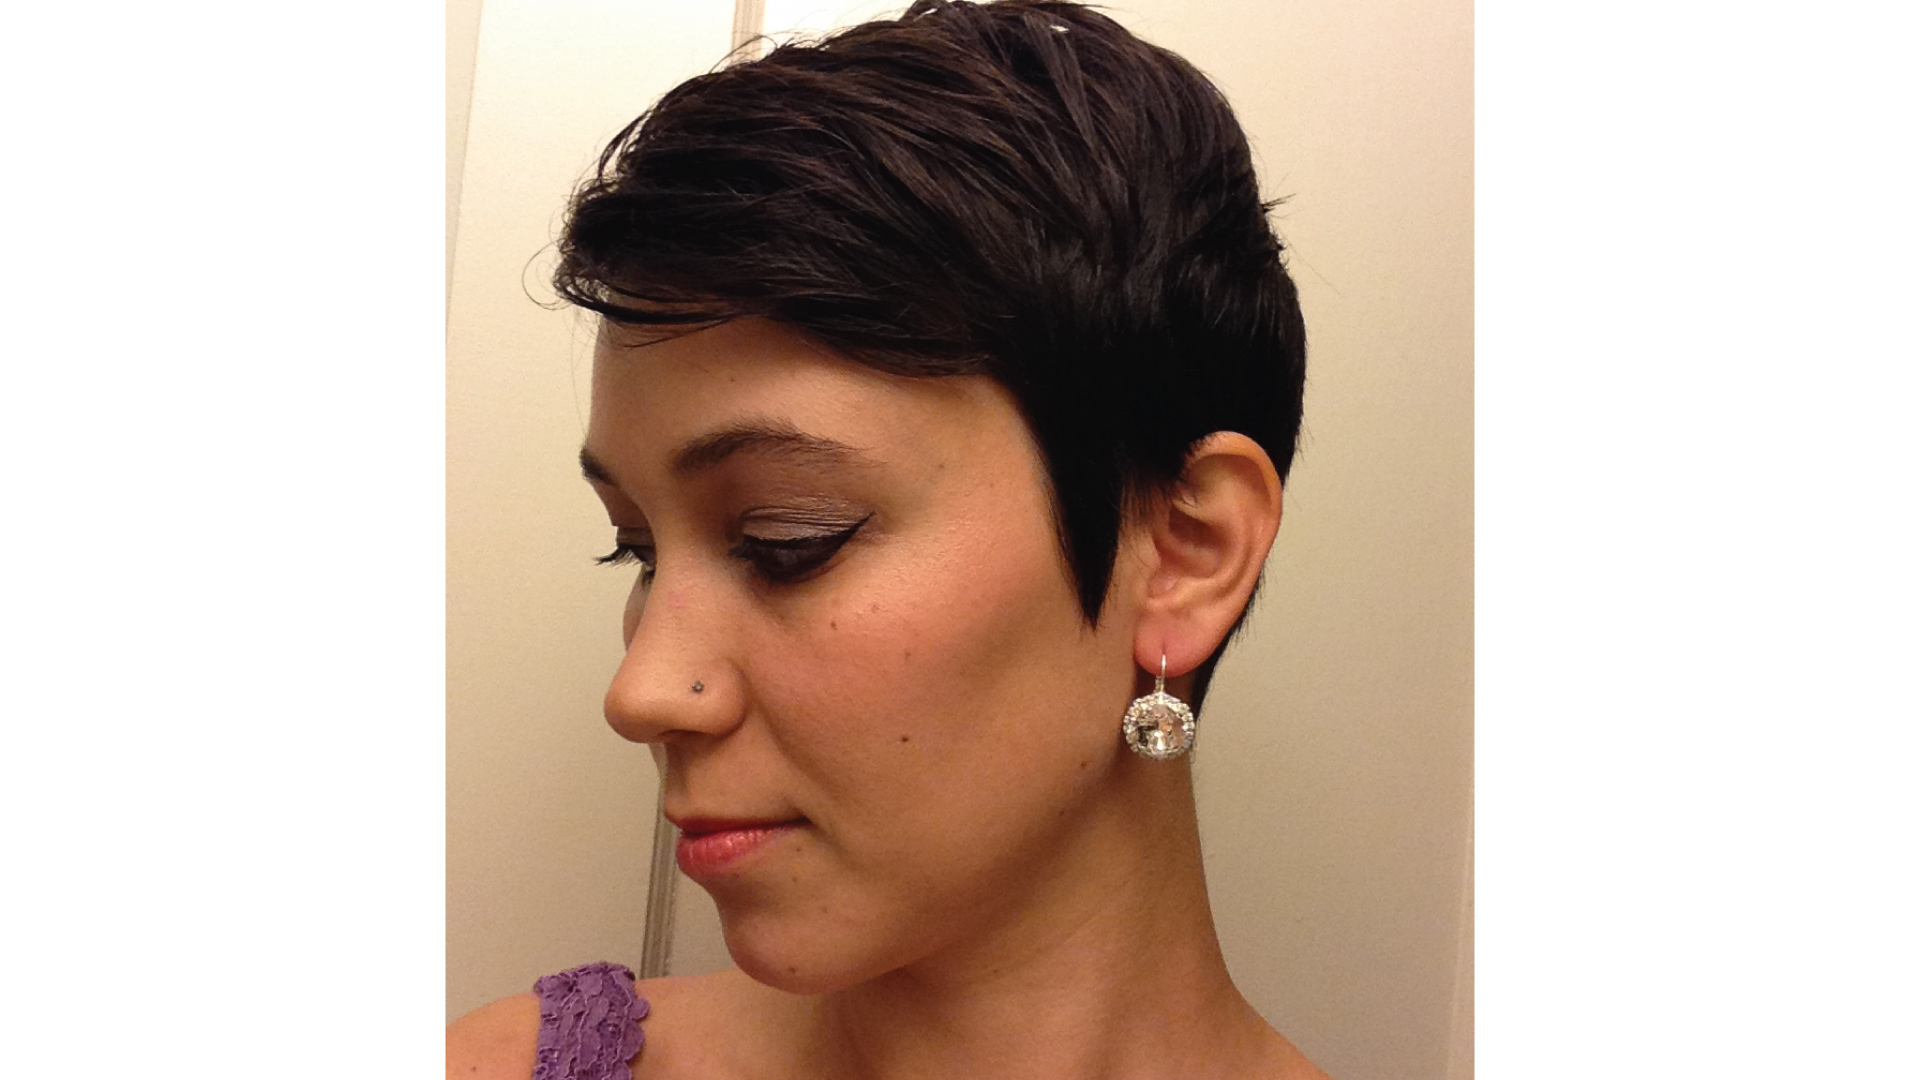
My sister-in-law is getting married this weekend!  With my short hair, I was worried that my options for wedding worthy style were limited…boy was I wrong!  There are SO MANY different ways to style pixies and quite a few video tutorials to help you along the way.  Whether short hair is your jam, or you’re growing your hair out after chemo treatments…you definitely have more than a few ways to style your pixie cut!

[list type=”like”]
[list_item]5 ways to style a pixie cut[/list_item]
[list_item]5 more ways to style a pixie cut[/list_item]
[list_item]styling a pixie haircut for everyday[/list_item]
[list_item]taking a pixie from day look to evening look…talk about hair product!  wowza![/list_item]
[list_item]an Audrey Hepburn crop style[/list_item]
[list_item]a formal updo for short hair[/list_item]
[list_item]short hair do for an elegant event[/list_item]
[list_item]…and as always, pinterest has a TON of pictures for inspiration :)[/list_item]
[/list]

Have you tried any of these for styling pixie cut hair?  How do you think I style my pixie cut for the wedding?

image via

P.S.  This was my first try…  🙂

IMG_0933

A 2 Step Easy Smokey Eye

easy smokey eye

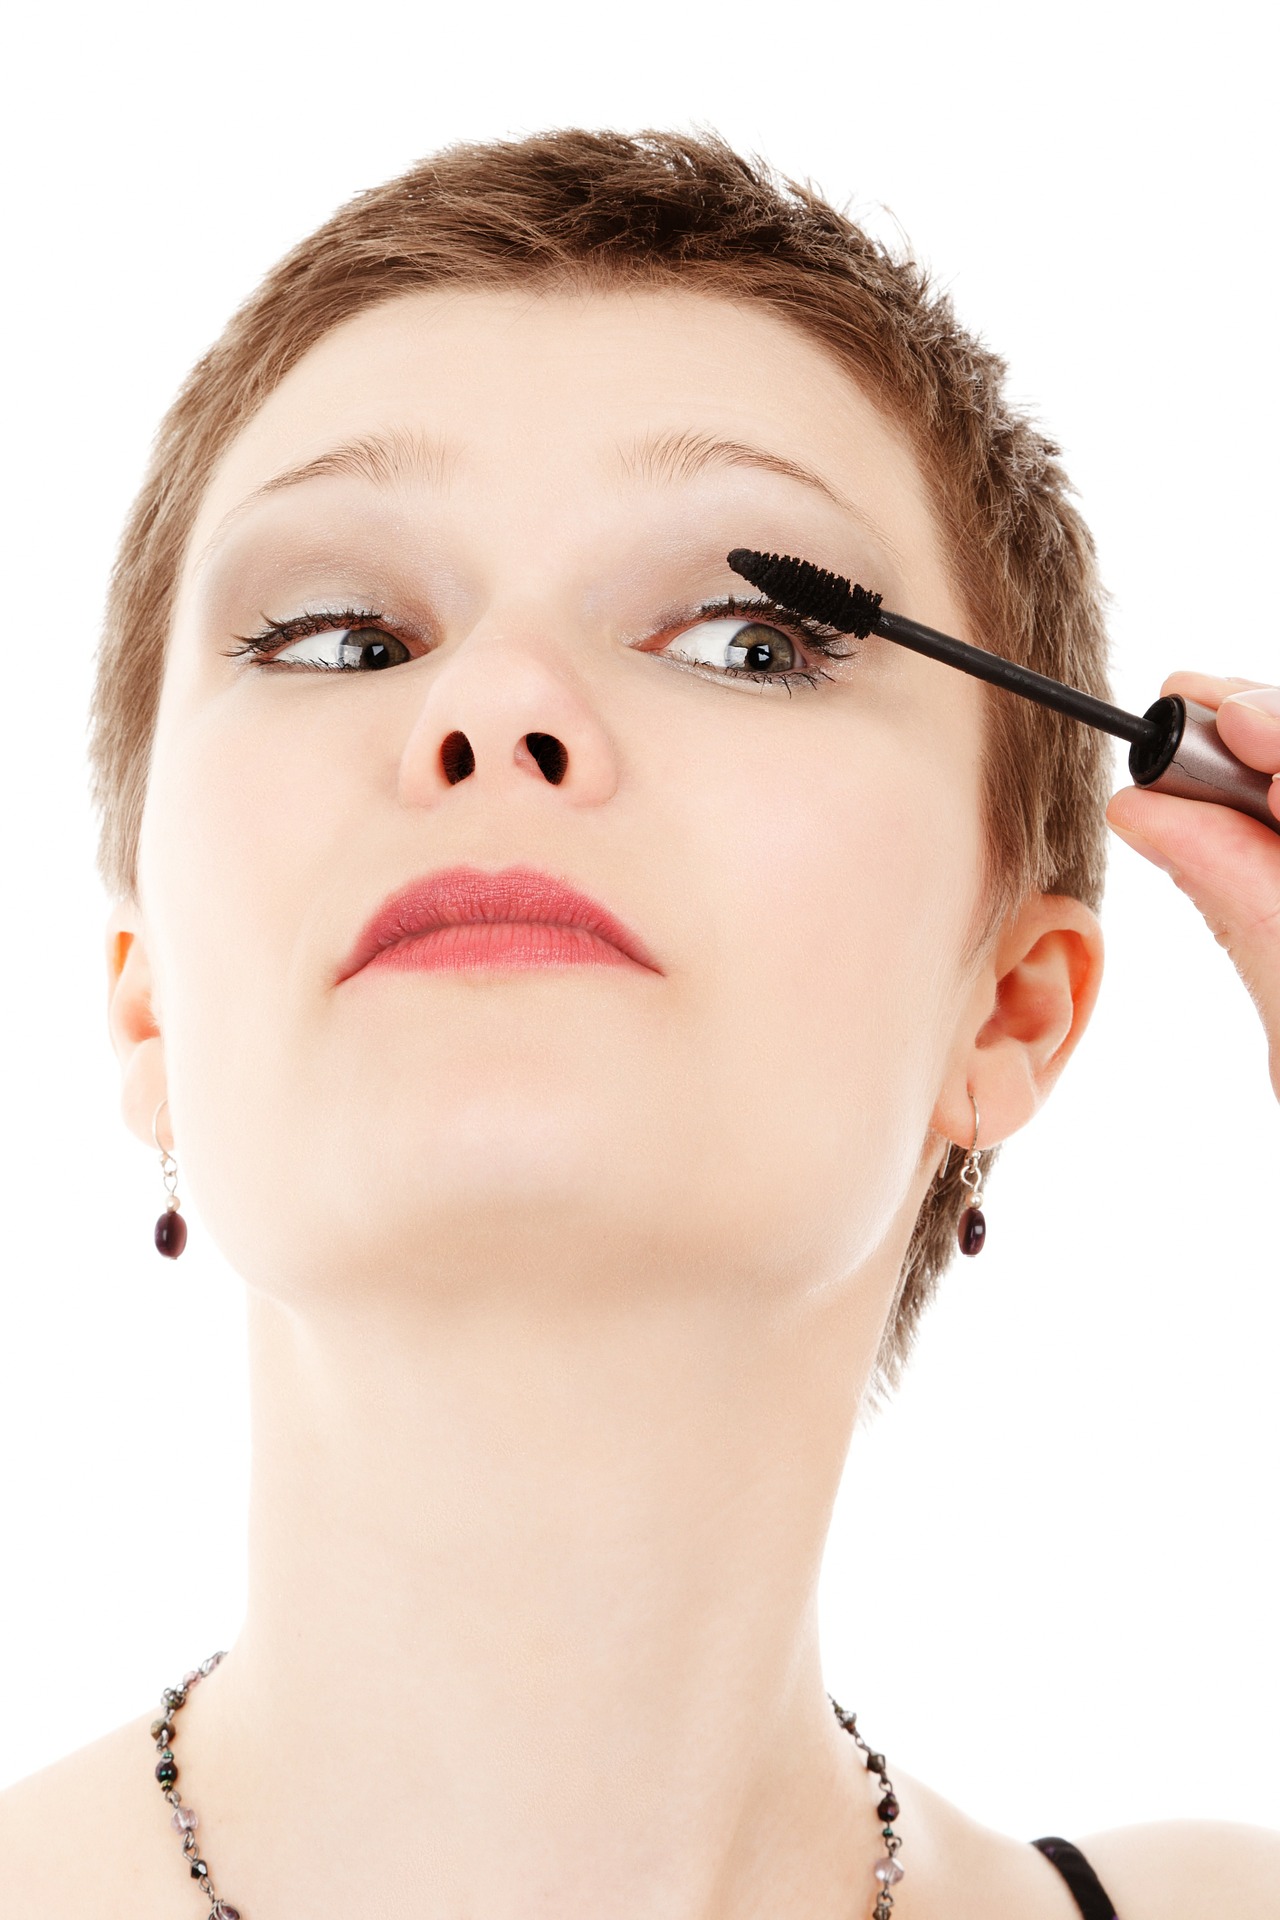
Don’t you just love a makeup tip that only involves two items, is super easy, and results in a great look?!  (Me too!)  For a young adult cancer survivor, sometimes it is hard to feel like yourself.  I found that when I took care getting myself ready in the morning, I looked better…and felt better.  Sometimes that little bit of eye makeup can really help to brighten up your face, helping you to look more like yourself.

The Beauty Department is a great place for makeup and style tutorials and tips.  This easy smokey eye trick of theirs is great…and it only involves mascara and some smudgeable eyeliner!

easy smokey eye tbd


Draw it on, then smudge it up! So easy!

What do you think?  Have you used this trick before?

P.S.  Are you a young adult cancer survivor or caregiver?  Do you have any makeup, beauty, or style tips that you’d like to share with us?  Email info@lacunaloft.org!

image via

Easy Short Hair UpDo

short hair updo

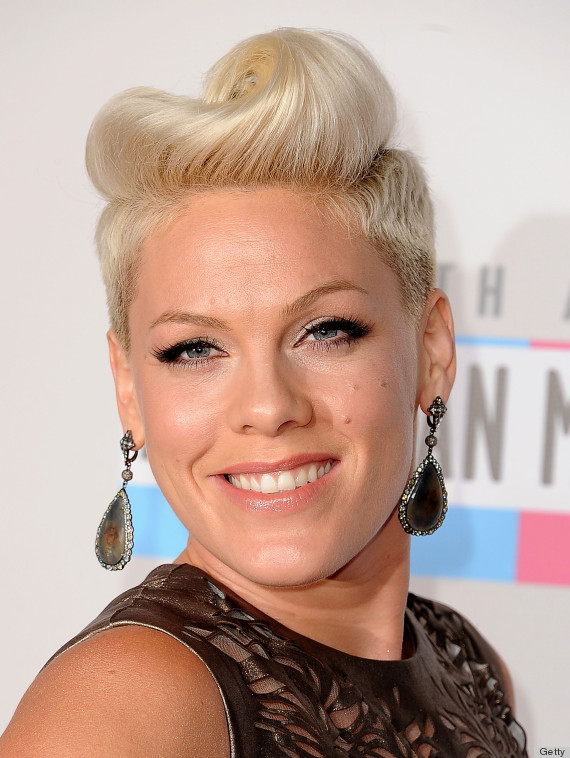
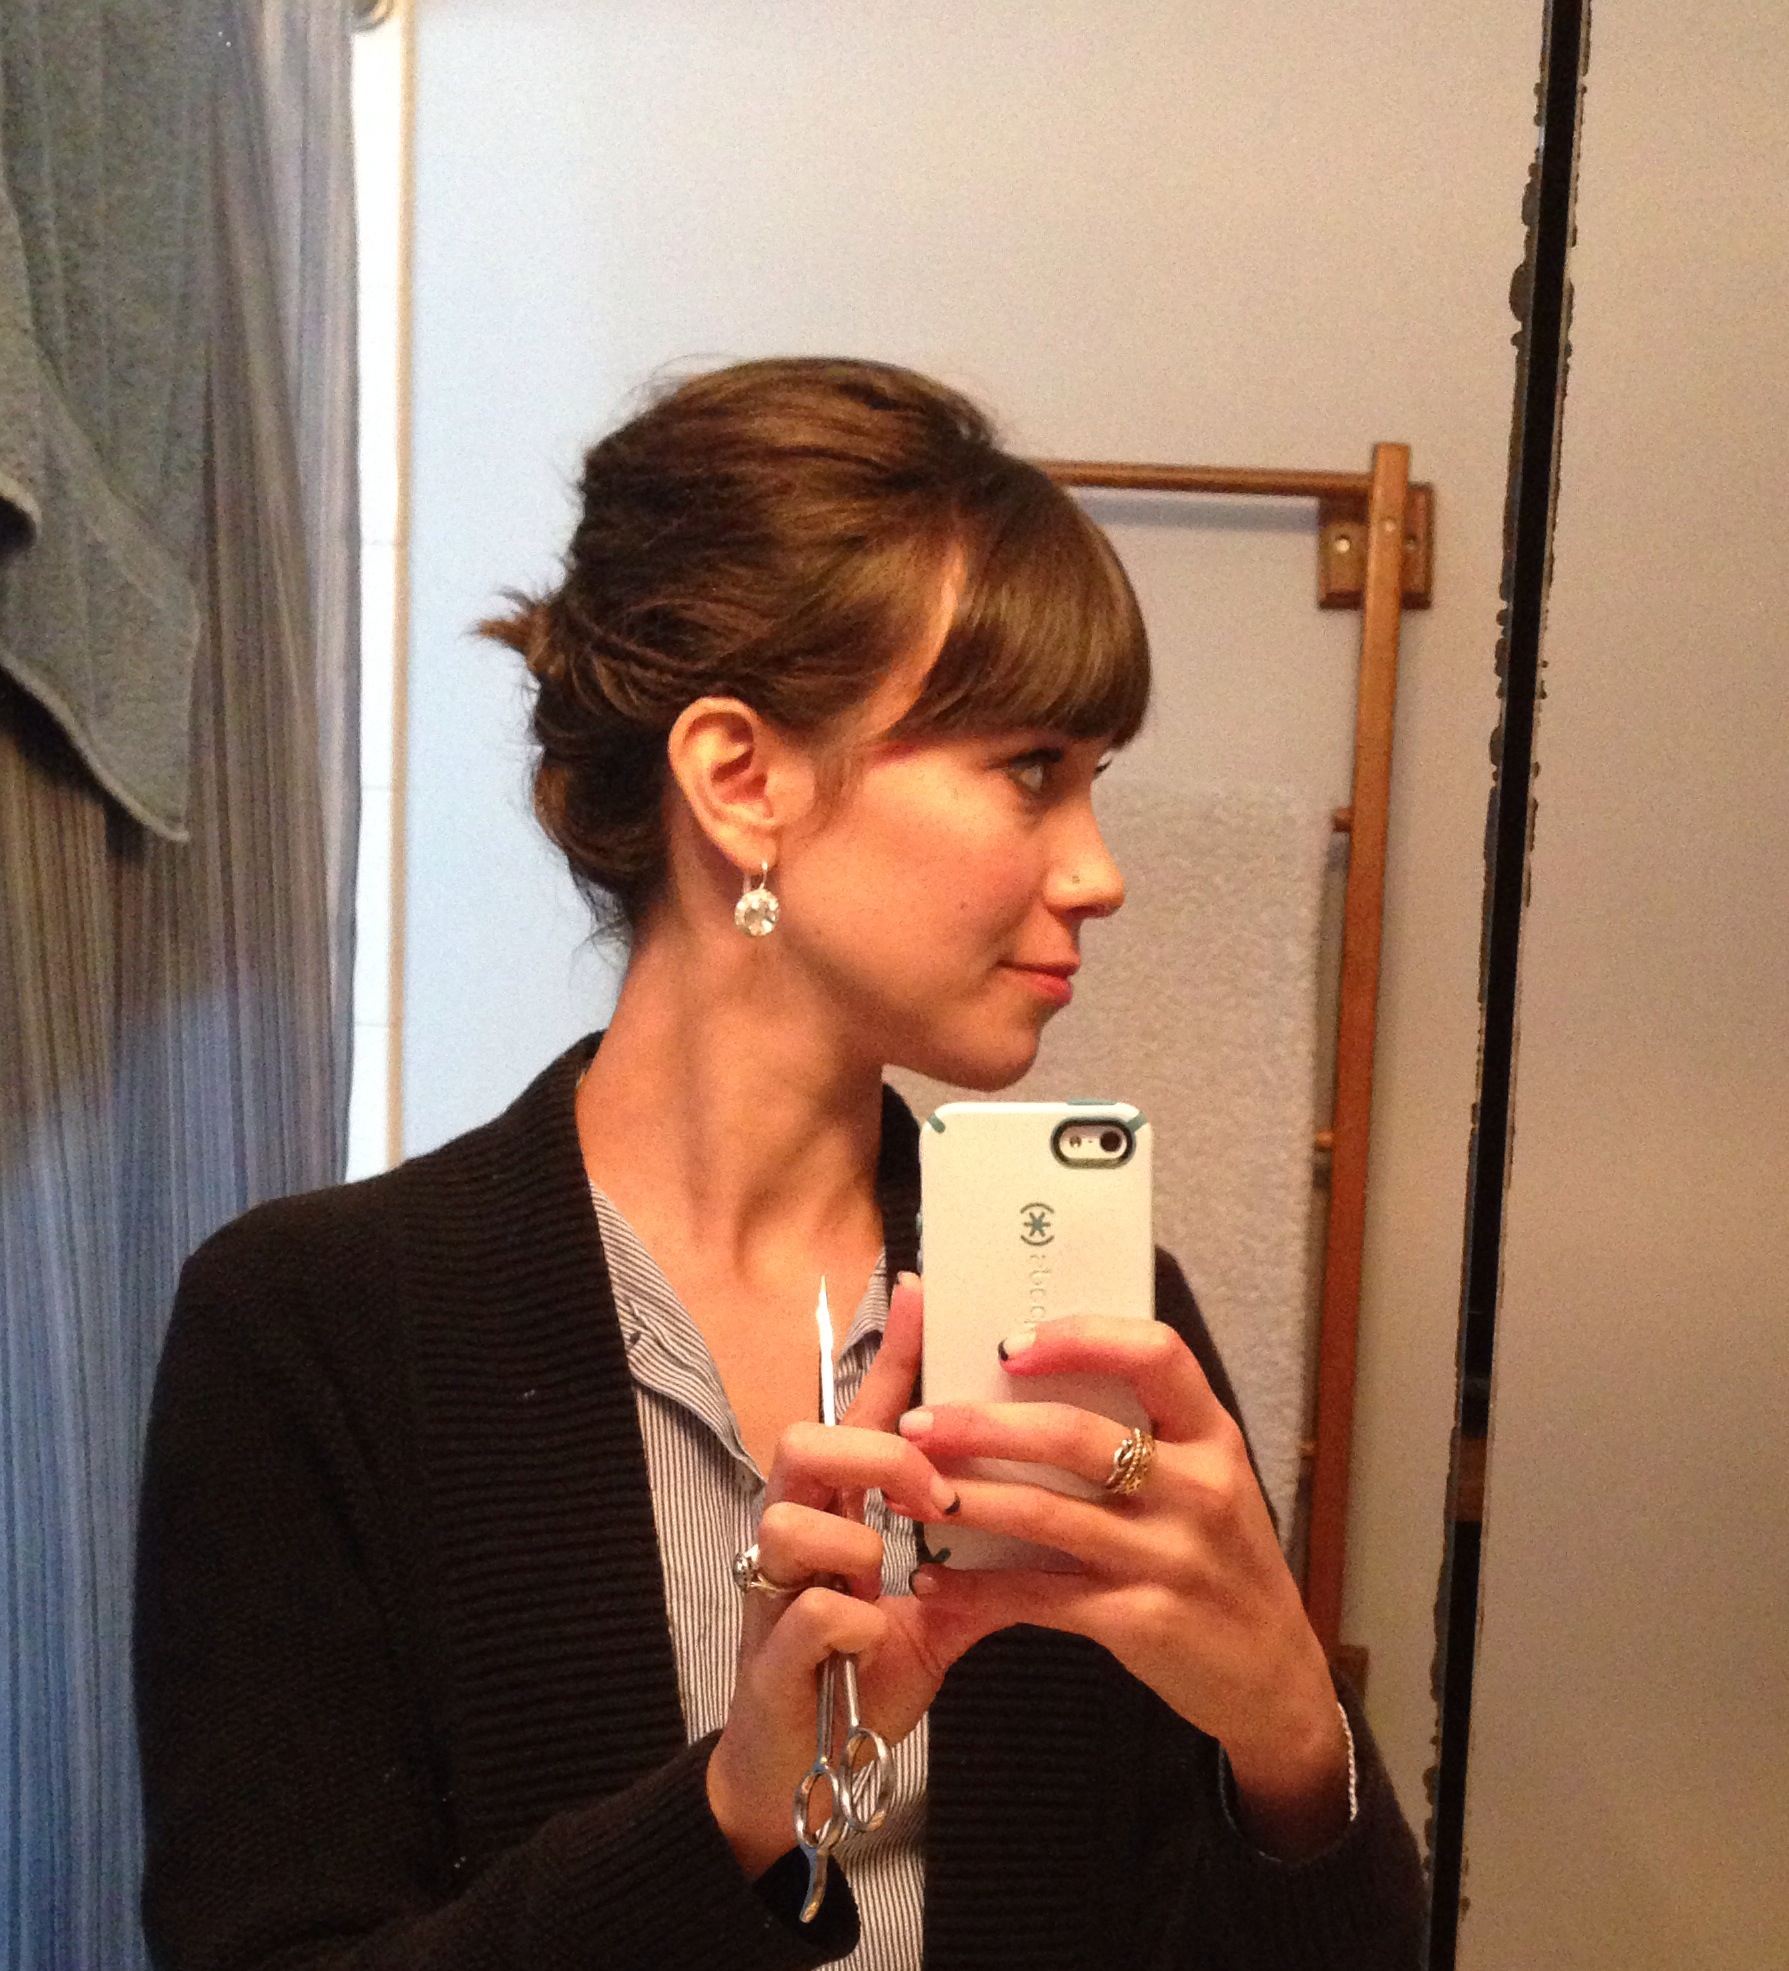
Nothing makes a snazzy event more than a snazzy updo.  But what shall all of the short haired people do???  Look no further!  We offer a no fuss short hair updo!

While we talked a little bit about creating a short hair updo here, we haven’t gone into detail before now.  While we do not have step by step photos, the process is easy and straight forward.  You can piece everything together however you would like!  The main point we’d like to show you, is that even YOU can create a short hair updo yourself 🙂

Just for a reference point…this is a picture of Mallory’s hair length (she is on the left)

10653723_10152357493601689_2915063817310060248_n

For the short hair updo in the top most photo, we started by teasing the crown of Mallory’s hair.  Do this by taking a group of hair just behind your forehead or bangs, lift them vertically, and carefully use a comb or brush to brush down, against the hair.  This will create volume. (This video shows you how).  Once you have your desired volume, smooth the top layer of hair.

Next, we created two, small fishtail braids…one on each side of Mallory’s head.  This helps add a bit of texture to your short hair updo.  Fishtail braids are super simple, even in short hair.  (This video shows how to do your whole head into one fishtail braid..but you get the picture.  I also didn’t use an elastic to hold the initial hair in place.).

Now, by this time, with short hair, you don’t actually have much left to work with.  Grab chunks of what is left, and braid each one (the simple three strand braid), pinning up and to the center when done.  Spray with some hair spray and voila!

IMG_8936

An At Home Manicure & Pedicure

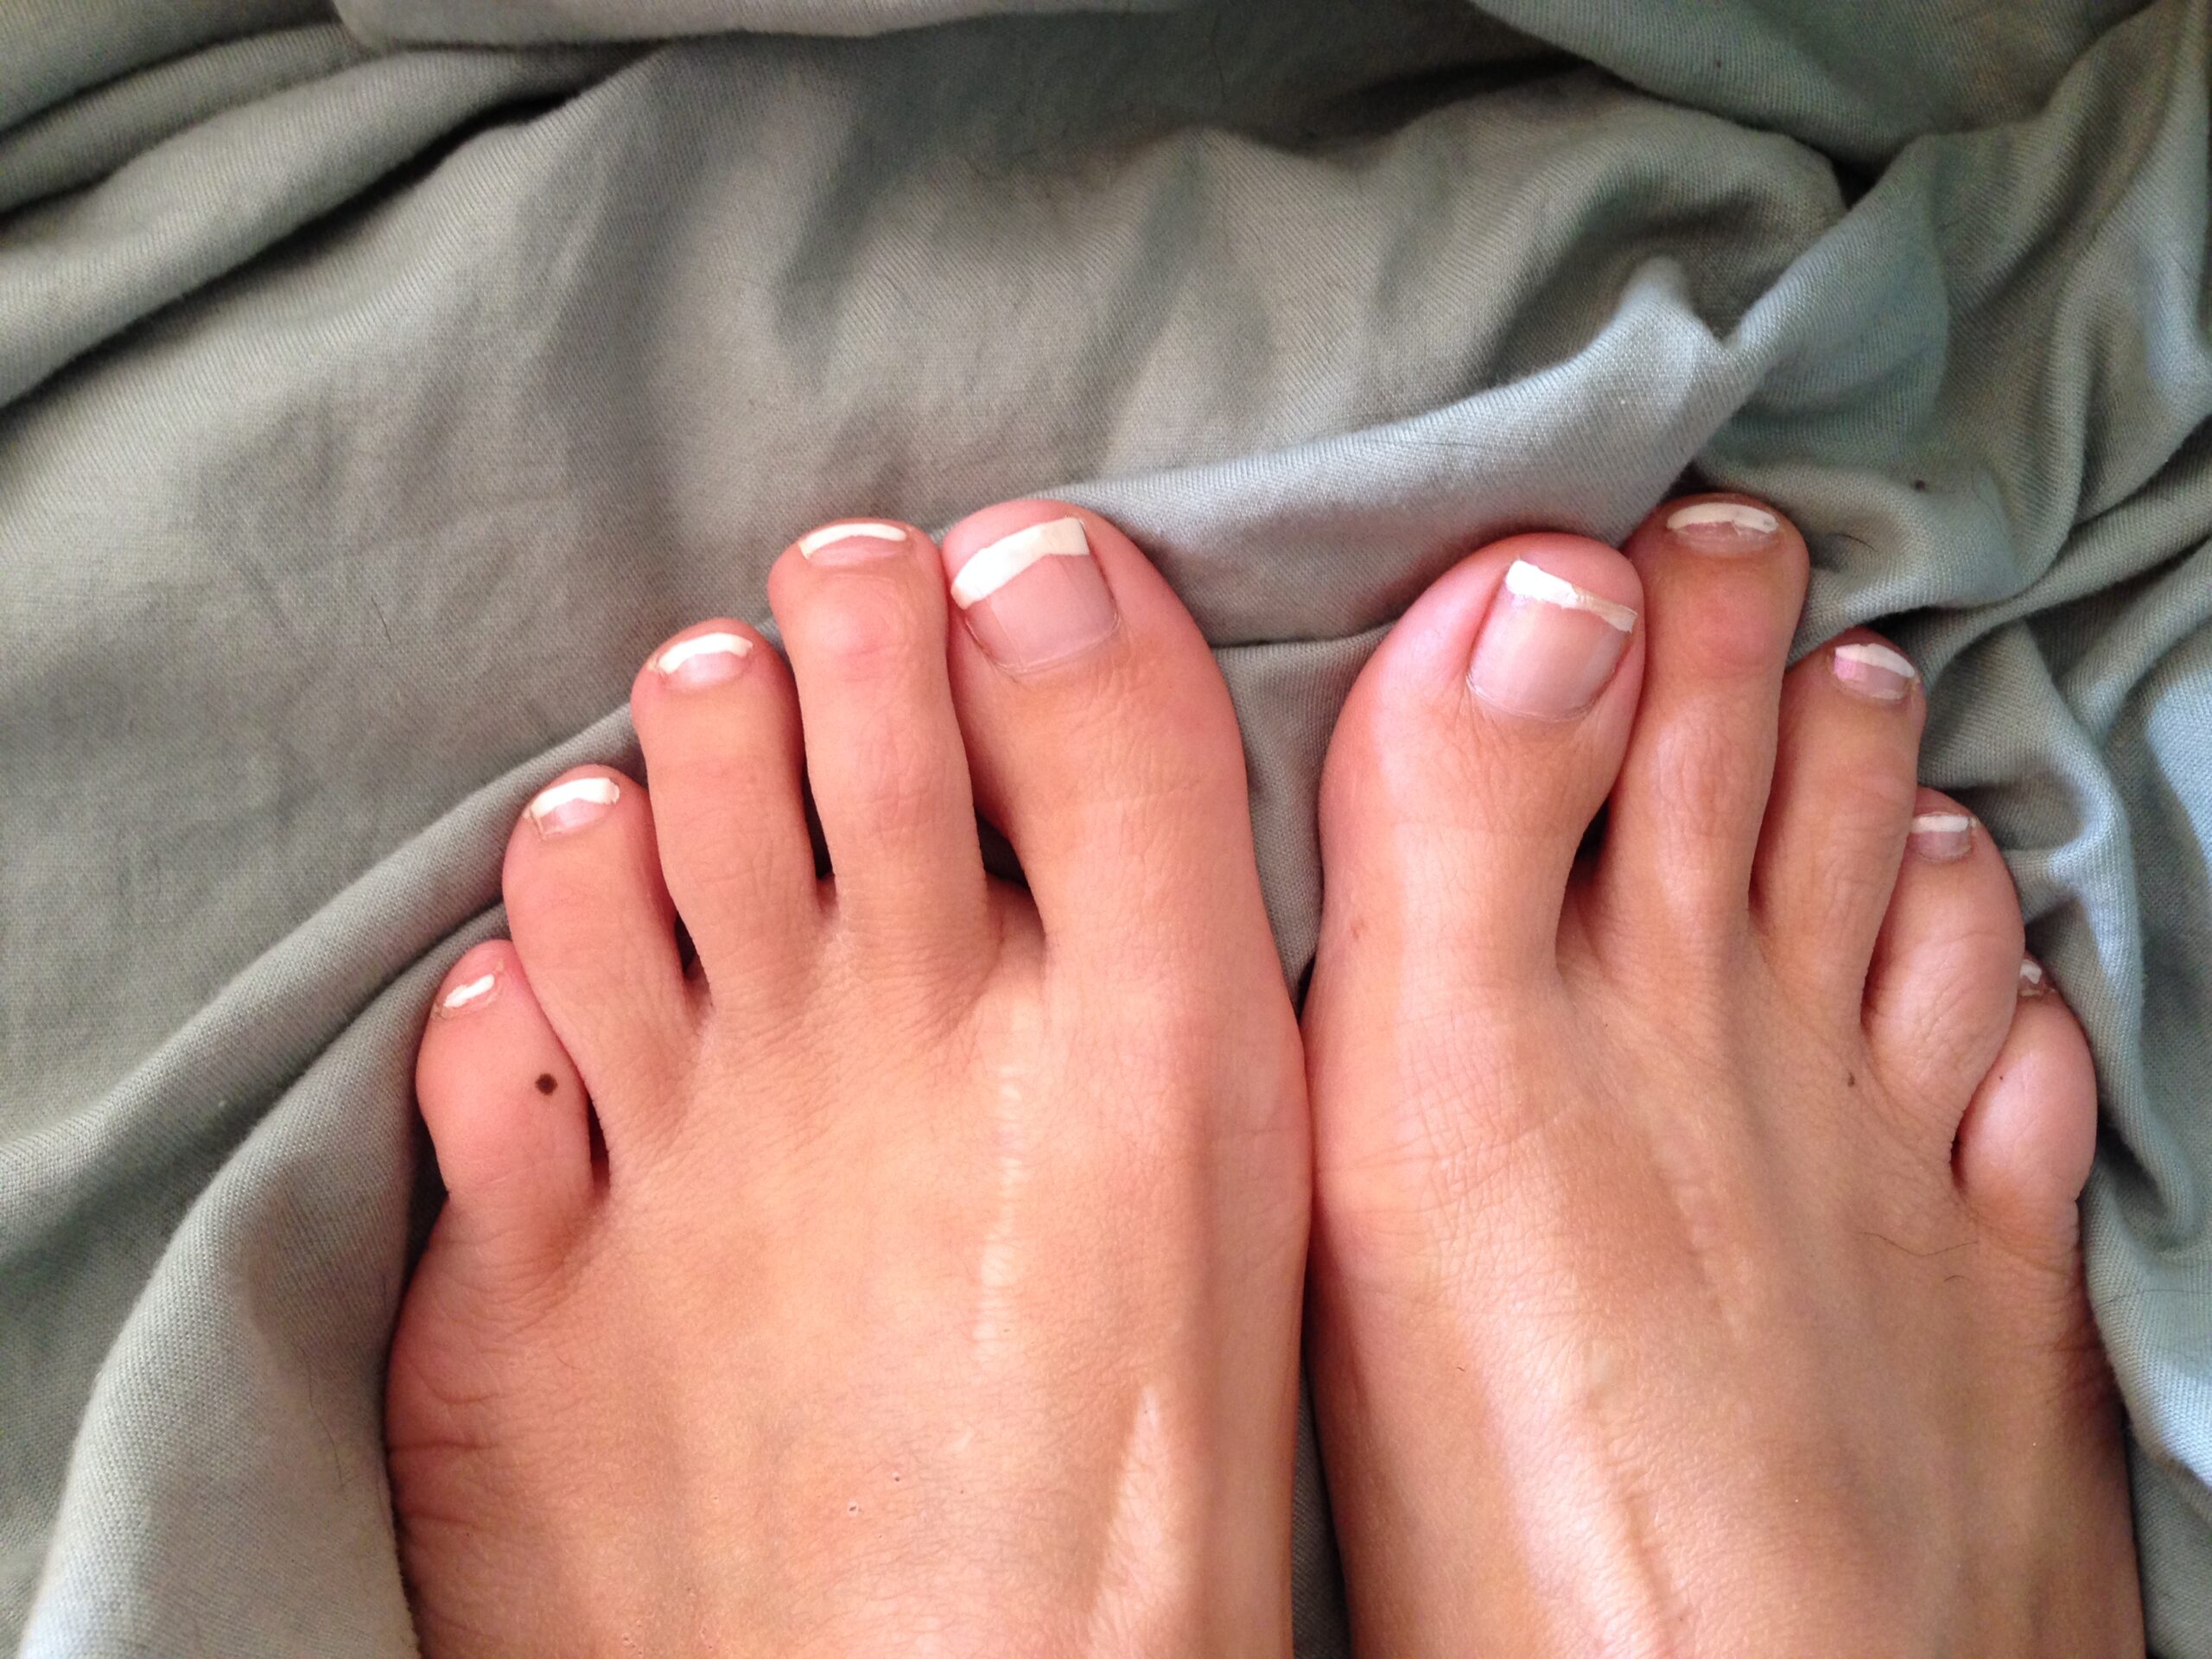
Everyone loves a good manicure or pedicure…or a mani-pedi combo!  Am I right?  The big problem?  They can be quite expensive!  This past weekend I was in a wedding of a great friend of mine.  To cut some personal costs, I decided to do my nails myself!  The day before the wedding, all of the women involved spent some quality bonding time at the nail salon.  While I already had my own DIY mani pedi done ahead of time, I still had a great afternoon spending time with all of the other ladies!

Setting aside time for a DIY mani pedi is also a great way to take some quality time for yourself.  While the mani pedi is fairly straight forward, the nail polish takes time to dry…creating a great space to just sit and relax.  Whether you’re a caregiver or survivor, or a long term illness sufferer, this DIY mani pedi is a fabulous excuse for having some self-care and you time.  🙂

Here is how you can do your own, at home DIY Mani Pedi!

First off, to get a great french manicure or pedicure, I suggest a french manicure boxed set.  I used a Sally Hansen French Manicure boxed set.  The little sticker guides that the sets give really help you get the hang of creating the white tipped nails…and later on when you run out of the stickers you can improvise because by then, you’ll be a pro!  I misplaced the top coat that went with this set though so recently I invested in an Essie top coat.  One key thing to do-it-yourself nails?  Buying quality polishes.  While paying $8 for a bottle of nail polish may seem outlandish (yea, it is), you will use that small bottle over and over and over…and definitely get your money’s worth compared to the $20 nail salon french manicure that lasts 1-2 weeks.

So, here’s what you’ll need for your at home, DIY mani pedi:

[list type=”like”]
[list_item]nail polish remover[/list_item]
[list_item]cotton balls (or tissues)[/list_item]
[list_item]french manicure set (or just white polish and your favorite nude/almost nude polish) (or just a colored polish!)[/list_item]
[list_item]base coat[/list_item]
[list_item]top coat[/list_item]
[/list]

Best to get all of the supplies you’ll need right from the start.  This way, you can settle in for a great chat with a friend, movie, television show, or radio listening hour while you paint your nails and calmly let them dry 🙂

nails_1

Quickly swipe all of your nails with nail polish remover…even if you didn’t have nail polish on already that needed to be removed!  This will take away the dirt and oil on your nails and help the polish to stay on, chip free for longer.

nails_2

Next, apply a thin coat of a base coat.  I don’t have a particular brand to recommend.  I’ve used SinFulColors base coat for a while now and like it a lot.  It is important though, to not use a base coat that also acts as a top coat…they aren’t the same thing and the polishes that act as both don’t do either task as well.

Once the base coat has dried, I used the sticker guides provided by the french manicure set to define where the white tipped region of my nails would be.  I also did a french manicure on my toes, did not use the stickers, and was quite happy with the result.  I think whether you use the french manicure set, and whether you use the sticker guides, is just up to you.  As I’ve become more comfortable with my steady hand, I tend to like the white tips that I can apply myself to nails just as much as the ones I can draw when helped by the sticker guides.  If you want to try without the guides, I suggest taking a bit more time to let each hand dry before applying the white tips to the other hand…this way you can prop your hand in any position to make the best looking white tip and not have to worry about ruining the white tips you’ve already painted on.  🙂

If, however, you are just painting your nails a regular color, this is where you go to town with a few, thin layers of your chosen colored nail polish.  Make sure to let each coat dry completely before painting the next coat.

nails_3

The last step of the french manicure set kit is to apply the nude/shimmery/pink color over the dried white tipped nails.  I actually have an Essie shade that suites this purpose quite well if you just add a thin coat….the pink is really transparent in a single coat and quite lovely.  Once this dries, apply a thin coat of your top coat and you’re done!

nails_4

Now that you have the basics, you can experiment any way you want!  You can try painting the tips with another color…maybe gold or dark blue?  🙂  You can add a few embellishments before adding the top coats…flowers, flags, stars.  The possibilities are endless!

nails_6

Have you done your nails at home before?  Do you have any techniques to help the polish stay on longer?

Workin’ It Out

I know Mallory has referenced what her self-care post-cancer looks like, and going for long walks with her 2 adorable pups made the list. Personally, I have never been an athlete in any traditional sense (seriously, have never been on a sports team in my life), but creating time for fitness has been a priority for me since graduating college. Some of this is related to my self-image (I know I do not feel good about myself if I haven’t been running and/or have put on extra pounds), some is related to wanting to be as healthy as I can be (…and to compensate for my less than healthy choices—lookin’ at you, beers & burgers). I aim for a few traditional “treadmill/weights at gym” sessions a week, and also try to get in plenty of long walks around Chicago with my fiance’ and our pup. As long as I could run a 5k with no advance notice, I don’t worry too much (you just never know when a Color or Mud run might present itself!).

I think everyone has very different preferences on their workout wear, but just thought I’d list some of my favorites. I feel like I’ve purchased so many duds over the years (skorts that ride up, bras with zero support), so I always enjoy hearing what works for others people. I have thighs that do not tolerate short-shorts and boobs that can’t make do with a flimsy top, but I think most of these pieces could work for anyone. My go-to place for budget-friendly workout clothes? Target (Of course. I love you too much, Target). I also love GapFit’s and Athleta’s pieces, though they’re not as budget friendly.

photo 2

1. C9 by Champion High Support Sports Bra: The only sports bra I’ve found that, for under $25, actually provides good support and coverage.

2. C9 by Champion Women’s Singlet: My favorite top to layer over the sports bra above. I sweat A LOT while running, so if I can avoid sleeves, I do! I bought this one a size big for a looser fit.

3. GapFit gFast cropped capris: I think the exact pairs I have are no longer available, but anything made with the material GapFit uses is my favorite. Again, how much I sweat means that the cheaper cotton-blend Target varieties don’t work well for me as bottoms. Wait for a 40% off sale!

4. Crush Dress Stripe: My Swiss friends introduced me to this brand. It’s not cheap, though their sales can be pretty nice. I obviously don’t go for runs in this dress, but have loved going for long walks in it, feeling a little more put together when my destination might be a restaurant (…but one that is 1.5 miles away). My fiance’ is loving their tees. We got engaged while hiking, and I almost wish I had been wearing this instead. Okay, probably wouldn’t have been as functional as the tank/shorts I had on in reality, but still…

Do you have any go-to stores for workout gear? What do you like to do to work on your fitness?